1. Introduction
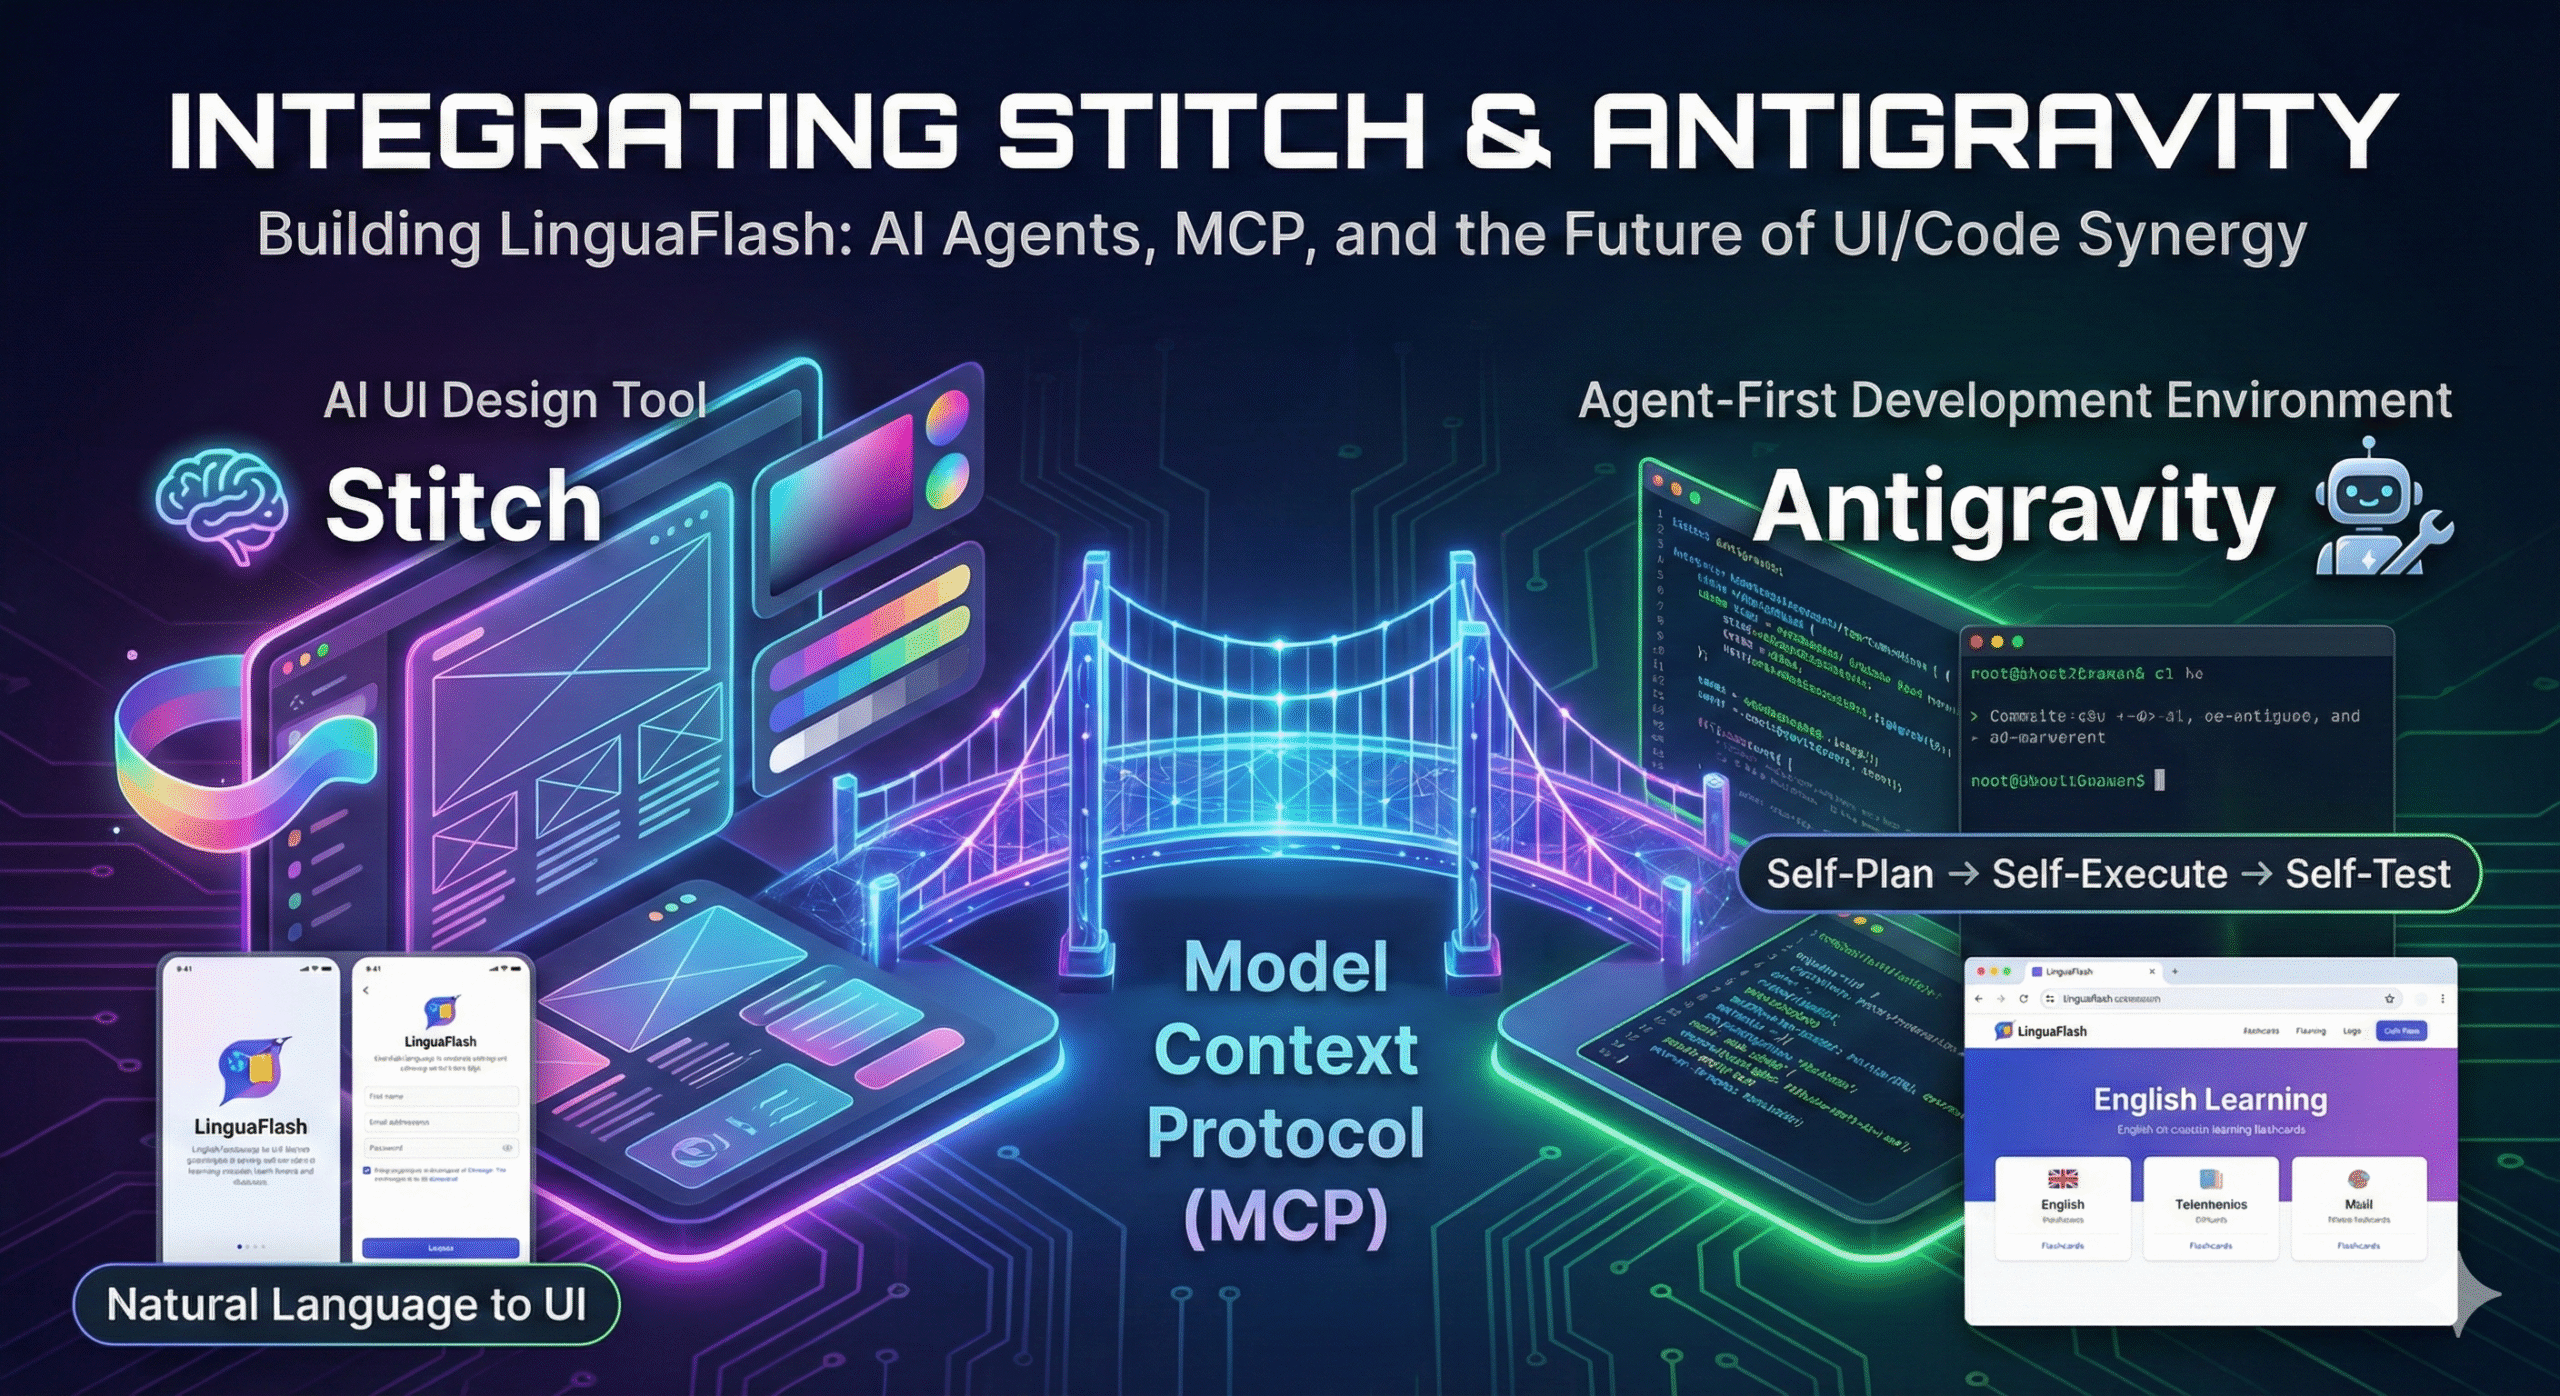
This document provides a comprehensive guide to integrating Stitch—a cutting-edge AI UI design tool—with Antigravity, an “agent-first” development environment. While traditional development requires manual, line-by-line coding, the synergy between these two platforms allows for a high-level, goal-oriented workflow. By leveraging the Model Context Protocol (MCP), users can seamlessly bridge the gap between visual design and functional source code. Through the development of “LinguaFlash”—an AI-powered English learning website—this guide demonstrates how AI agents can autonomously plan, design, execute, and test a complete digital product.
2. Main Content
a. Features of Antigravity
“Agent-first” architecture
- Unlike traditional IDEs, Antigravity allows you to assign a high-level objective (e.g., “Build an English learning website with a flashcard feature”) rather than writing code line-by-line. The AI Agents will:
- Self-Plan: Decompose the primary objective into manageable sub-tasks.
- Self-Execute: Write source code, manage file structures, and install necessary libraries.
- Self-Test: Run the application and instantly debug any issues that arise.
The “Three Surfaces” Model
- This is the powerhouse of Antigravity. The AI doesn’t just “know” code; it interacts directly with three vital environments:
- Editor: A source code editor (based on VS Code).
- Terminal: Executes system commands, manages npm packages, and runs servers.
- Browser: An integrated Chrome instance that allows the AI to “see” the interface, click buttons, capture screenshots of errors, and autonomously fix UI/UX bugs.
Artifacts & Transparency System
- To build trust and eliminate “black box” processing, Antigravity generates Artifacts to keep the user in the loop:
- Implementation Plans: Outlines the AI’s intended strategy before it starts working.
- Visual Logs: Videos or screenshots capturing the AI’s testing process within the browser.
- Task Lists: A live tracker of completed and pending items.
Multi-model Support
- While powered by the Gemini 3 suite (Pro, Flash, and Deep Think), Antigravity is model-agnostic. It allows you to switch to other models, such as Claude 4.6 or various open-source models, to optimize for specific types of tasks.
b. Features of Stitch
- Input flexibility: Use natural language prompts or upload sketches, wireframes, or screenshots to generate UI. Stitch also supports visual style matching using reference images.
- Dual AI modes: Users can choose between two AI models:
- Gemini 3 Flash (Standard mode) for fast, lightweight design generation (up to 350 generations/month).
- Gemini 3 Pro (Experimental mode) for higher-quality, detailed designs (up to 50 generations/month).
- Smart design capabilities: Generate UI for web and mobile, explore multiple layout variants, customize themes, and refine designs through interactive chat and history tracking.
- Seamless export and integration: Designs can be pasted directly into Figma or exported as HTML/CSS code, making handoff between design and development smooth.
- Accessible and evolving: Stitch is a fully web-based platform, requiring only a Google account to use. It’s currently free via Google Labs with no usage cap announced.
c. How to Install Stitch MCP on Antigravity
- First of all, you need to install Antigravity on your computer, and access the Stitch website.
- Then, log in to your Google account for both the app and the web.
- Create your API key:
- In the landing page of Stitch, click your avatar and choose the “Stitch setting” tab.
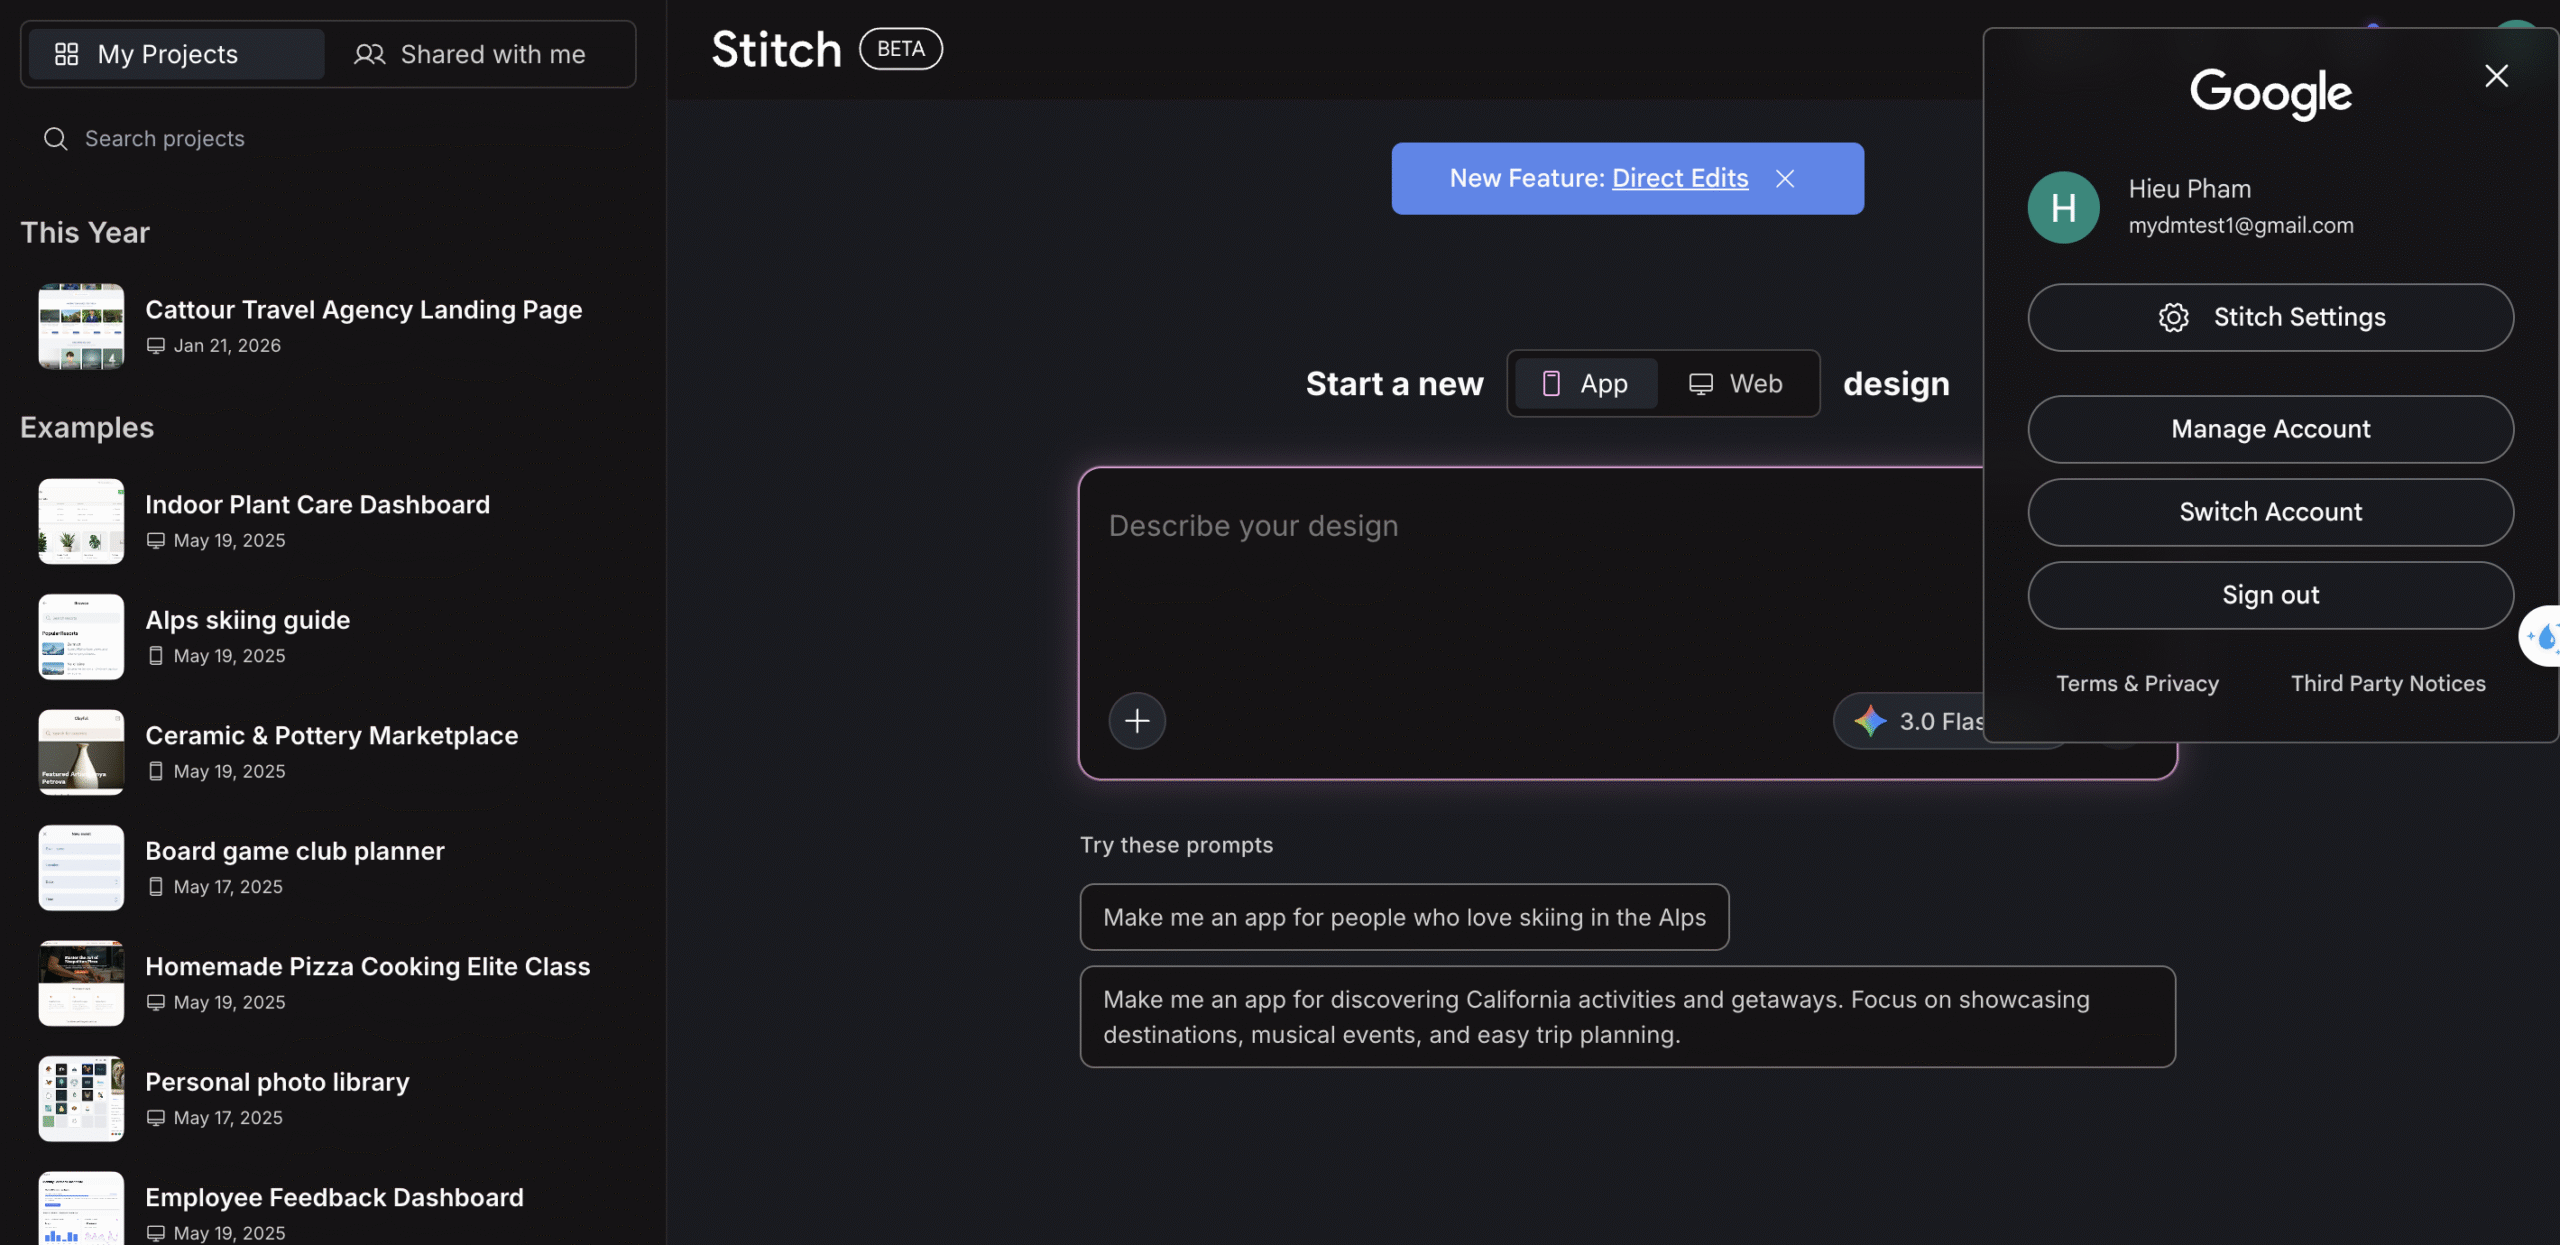
- In this section, create your API key.
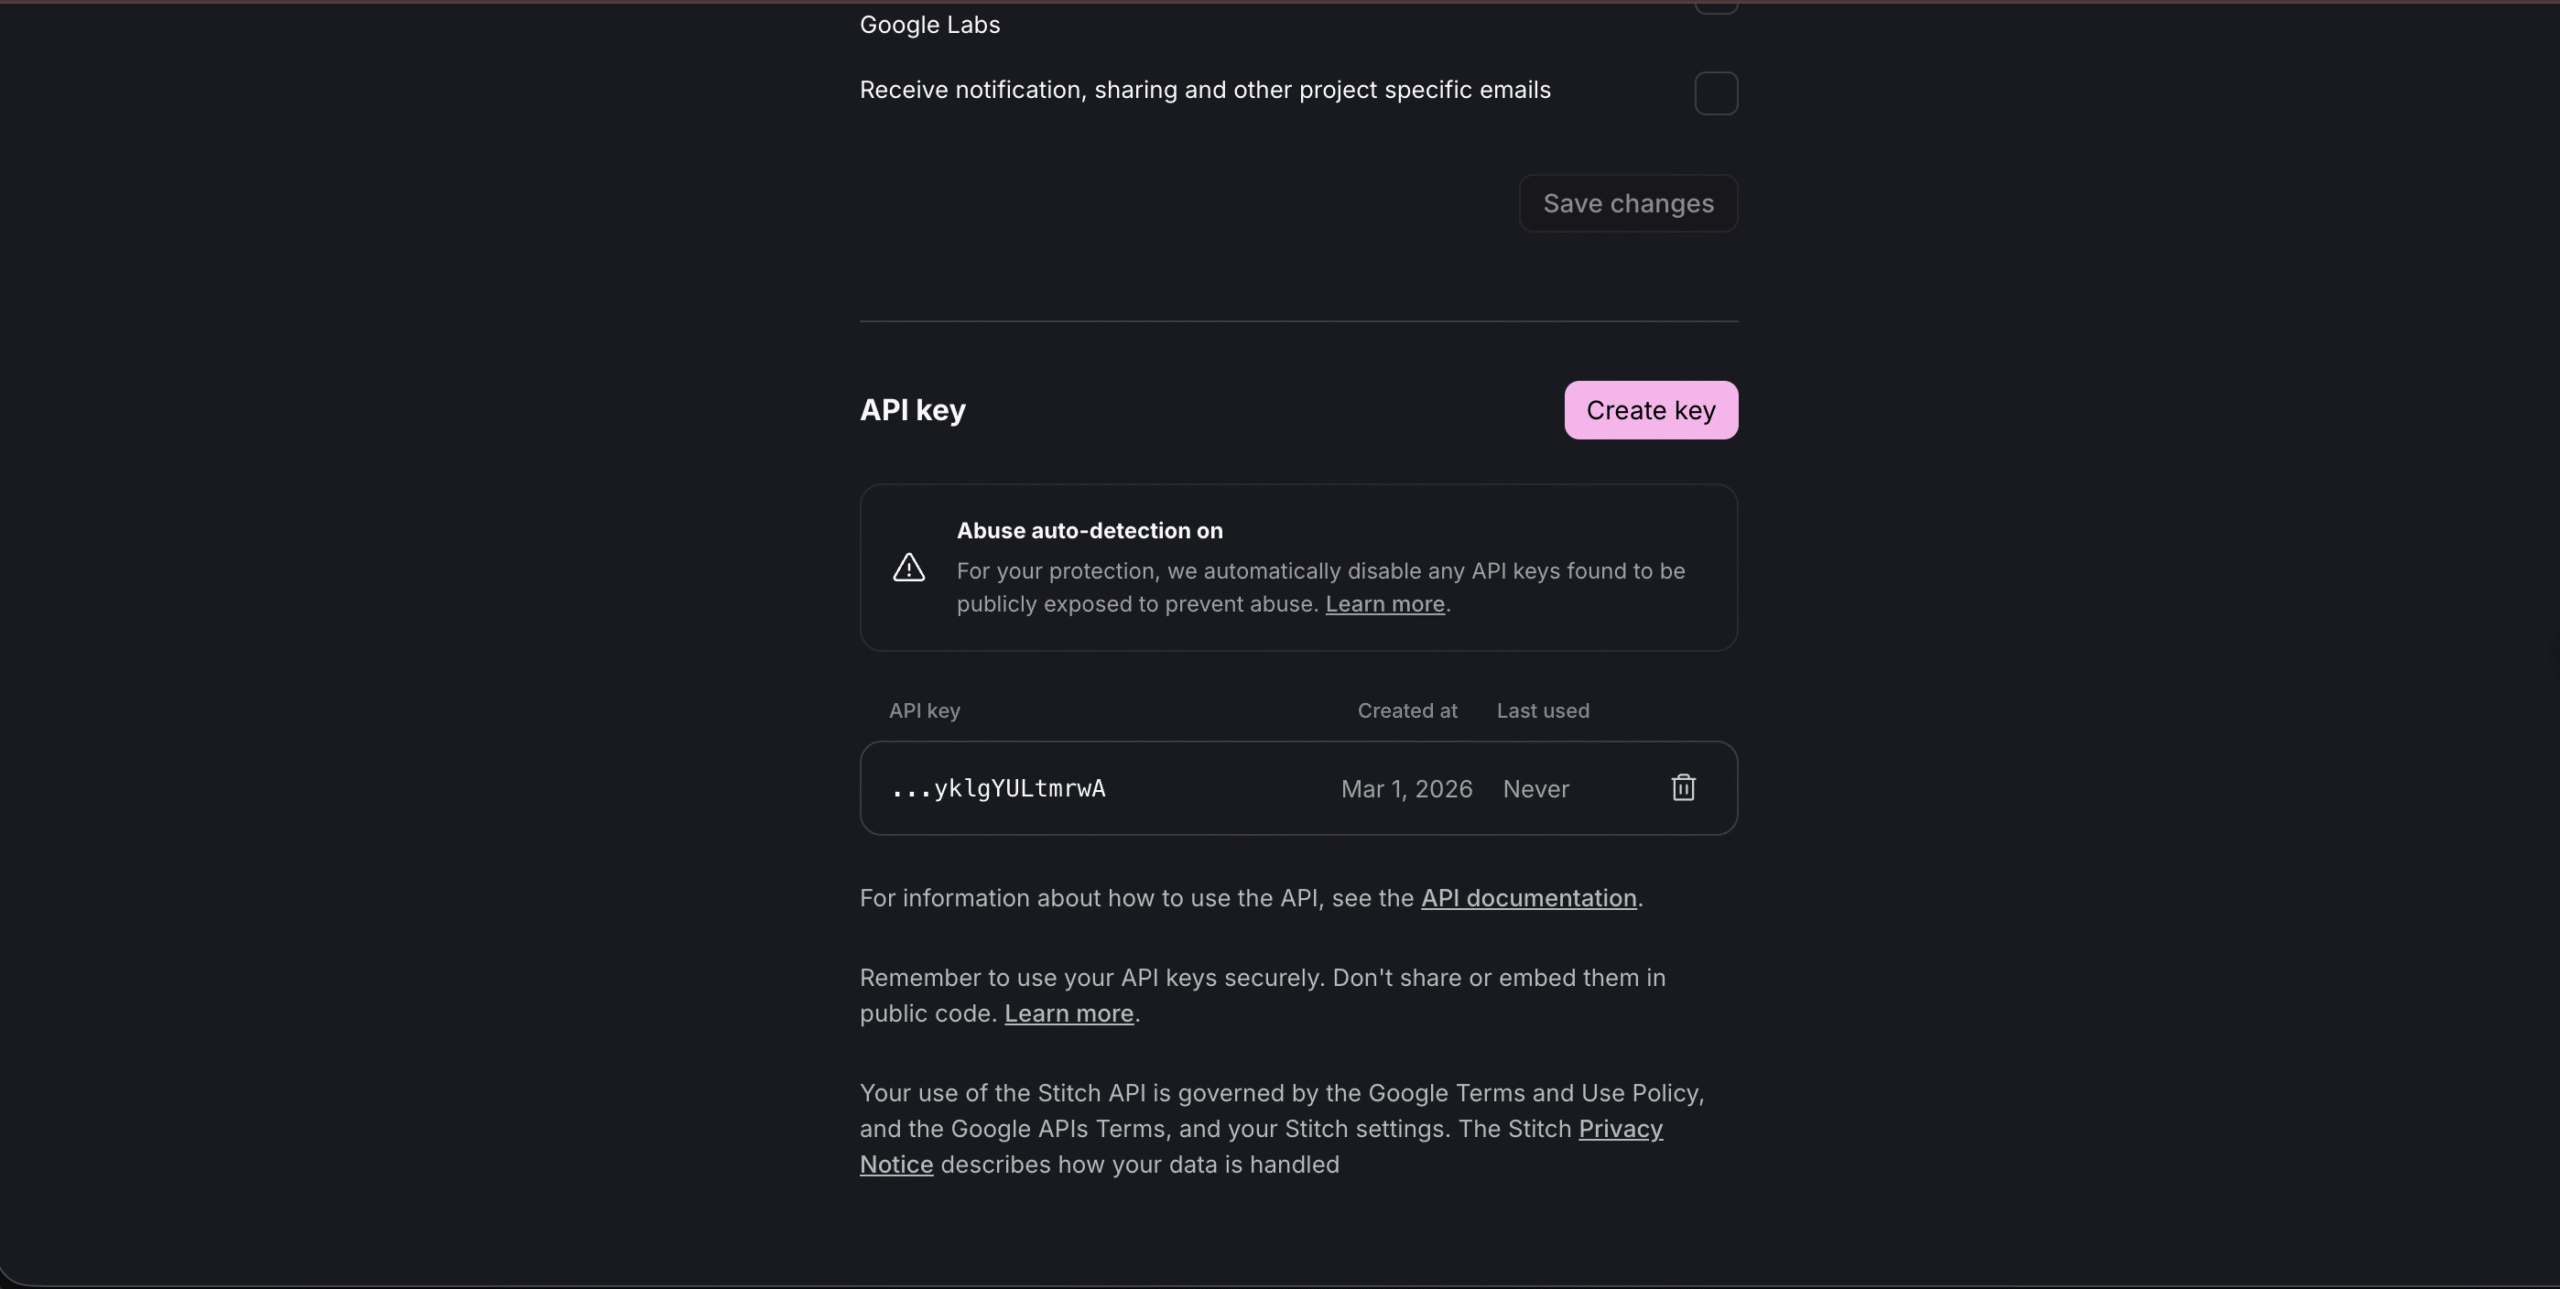
- In the landing page of Stitch, click your avatar and choose the “Stitch setting” tab.
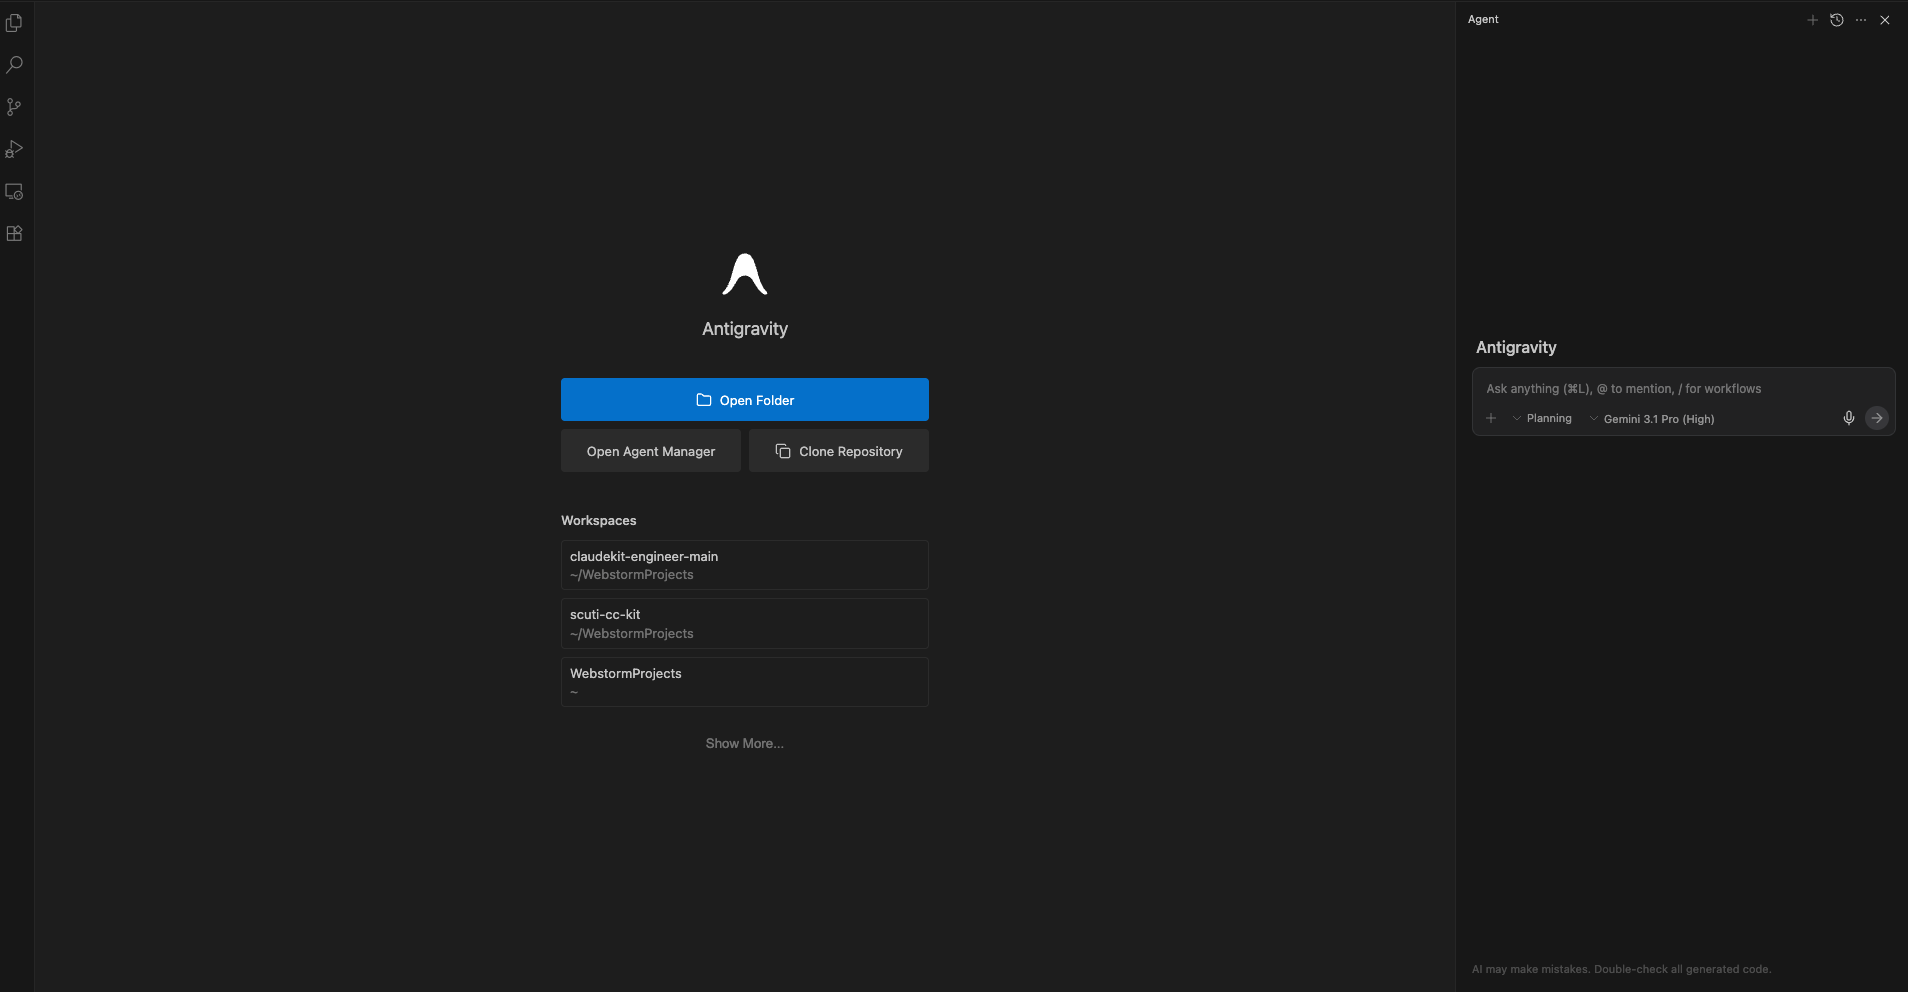
- Install Stitch MCP on Antigravity:
- In your Antigravity app, move your cursor to the upper-right corner of the Agent tab.
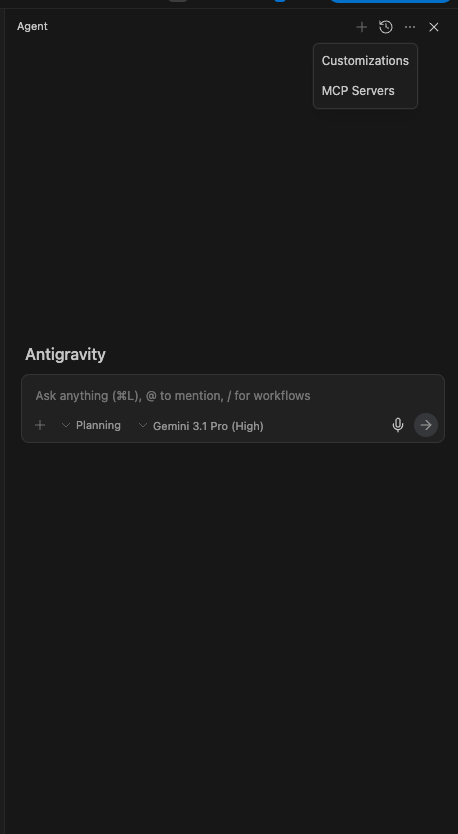
- Choose MCP server.
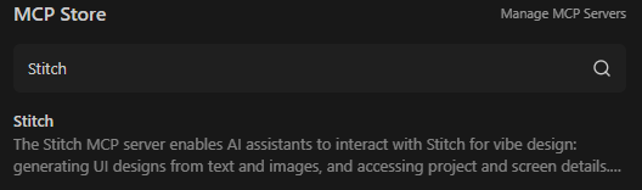
- Search for Stitch.
- Install it.
- Add the API key you just created.
- After you insert your API key, it will display as configured.
- If you ask the agent about Stitch and it uses StitchMCP, it means you succeeded.
- In your Antigravity app, move your cursor to the upper-right corner of the Agent tab.

d. Step-by-step: Make Design by Stitch MCP on Antigravity
- Press “Agent manager” on the menubar.
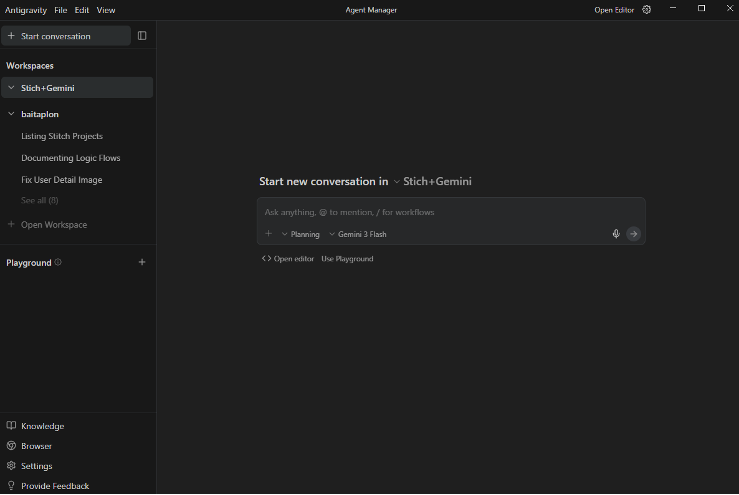
- Make sure that you have at least one project in your Stitch.
-
- I added a few projects in Stitch.
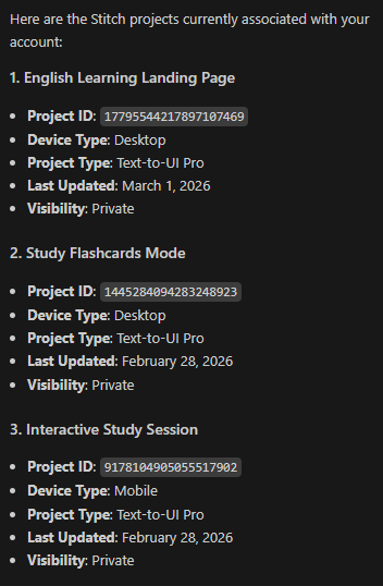
- I chose the first project: “English Learning Landing Page”.
- I added a few projects in Stitch.
- Step 1: Clone a skill from https://github.com/google-labs-code/stitch-skills, then install skill “design-md” in your terminal.
npx skills add google-labs-code/stitch-skills –skill design-md –global
- You need to choose the option that makes sure the agent can easily find it.
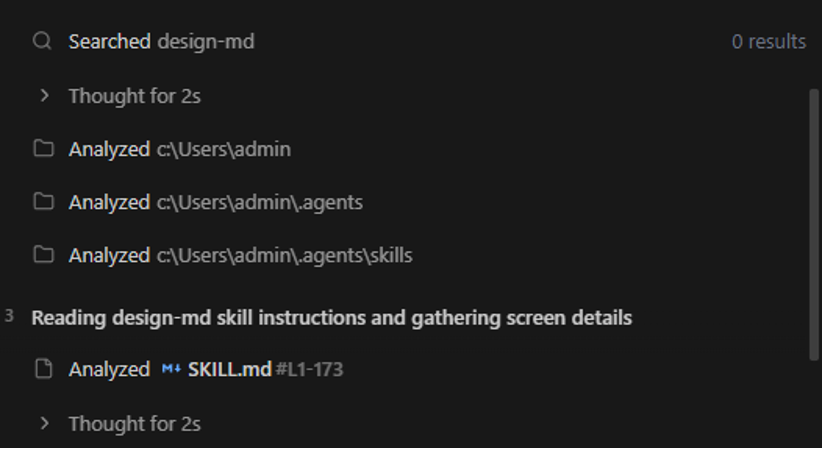
- Step 2: Ask your agent in Antigravity to read this file and analyze the chosen project from Stitch.
using the design-md skill, analyze my project “[Your project]” and generate a DESIGN.md file
- It will find the design-md skill.
- After it succeeds, it will download your HTML content.
- It will open your project URL and download it to analyze. It opens your browser and accesses your project. There can be troubles, so here is the guide:
- First, it will open a new browser tab. In this tab, you should open your project and log in to make sure it can access the project.
- Second, if it has trouble finding your project link, you should give it your link.
- Finally, it creates DESIGN.md completely.
- It will find the design-md skill.
- Step 3: Clone the loop skill from https://github.com/google-labs-code/stitch-skills.
npx skills add google-labs-code/stitch-skills –skill stitch-loop –global
- You need to choose the option that makes sure the agent can easily find it.
- Step 4: Use loop skill to create the web app.
- I gave a prompt to the agent.
i want you to use the stitch-loop skill first, read the skill.md file located in your skills folder for stitch-loop then follow the instructions in that skills exactly to build my intended website, page by page Use Stitch MCP to generate the UI, use Chrome Devtools MCP to verify the pages work
- It finds the stitch-loop skill and reads it. Then, it creates 3 new files.
- Then it starts using your Stitch project to create more UI pages.
- The agent will ask you for permission.
- After analysis, it creates essential pages based on your requirements.
- It takes a while to build the full landing page suite.
- I gave a prompt to the agent.
e. Demo Link
https://github.com/mhieupham1/Stitch-Antigravity-Demo
3. Summary
- The integration of Antigravity and Stitch represents a significant leap in development efficiency through several key pillars:
- Antigravity’s Power: An IDE built on an “Agent-first” architecture that utilizes a “Three Surfaces” model—Editor, Terminal, and an integrated Browser—allowing AI to “see” and fix UI/UX bugs in real-time.
- Stitch’s Design Versatility: A web-based platform that generates high-fidelity UI from natural language or sketches, powered by dual AI modes (Gemini 3 Flash and Pro).
- Seamless MCP Integration: A structured setup involving API key configuration and the installation of specialized skills like design-md for architectural analysis and stitch-loop for automated, page-by-page site building.
- Demonstrated Outcome: The successful creation of a professional mockup suite, including a high-conversion Landing Page, a Study Mode interface, and a comprehensive library tab for the LinguaFlash project.