In today’s modern business environment, communicating workflows is no longer confined to lengthy, static text documents. Google Vids — an AI-powered video creation app...
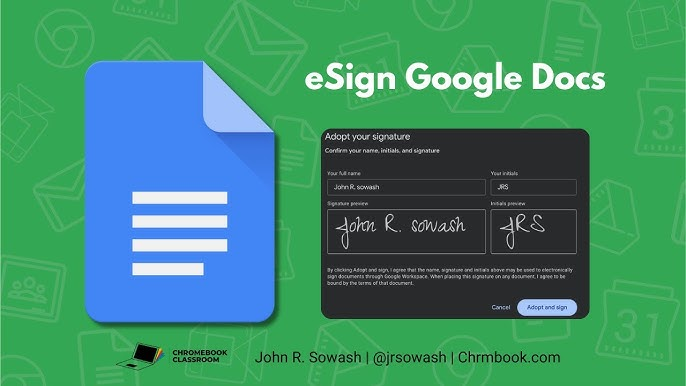
In the digital workplace era, printing, hand-signing, and scanning contracts has become obsolete. Google Workspace now integrates a built-in eSignature feature, allowing you to...
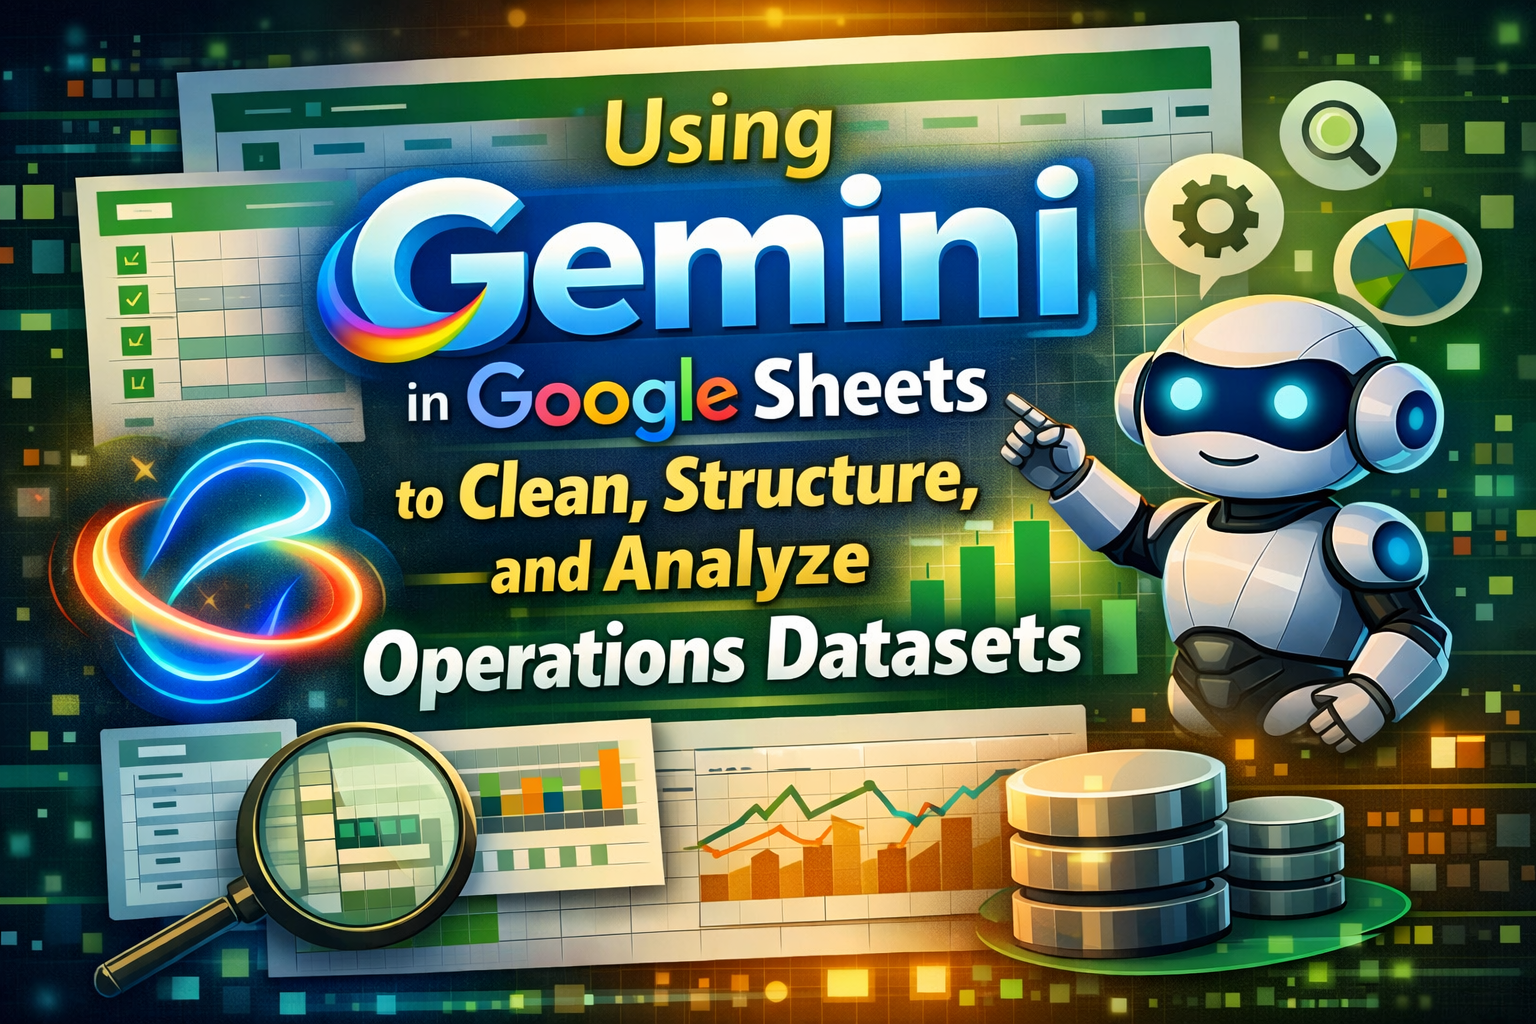
1. Introduction: Unlocking Operations Datasets with Gemini For Project Managers (PMs) or Back-office specialists, Operations Datasets—such as support ticket logs, monthly expenses, or inventory...
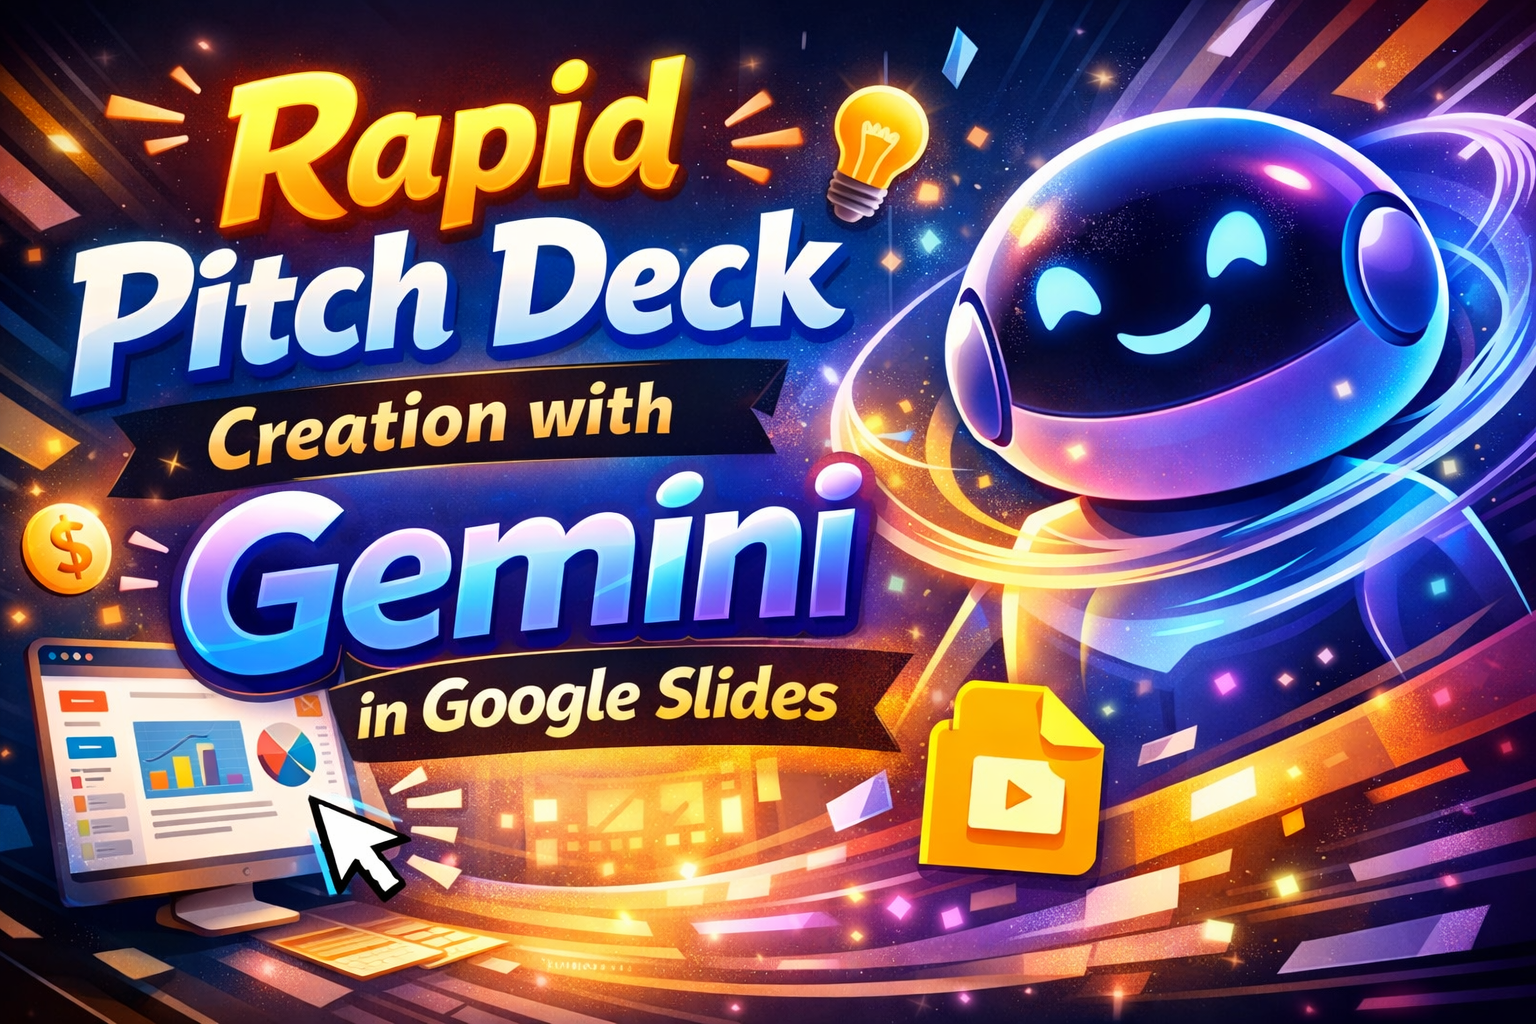
1. Introduction: Unleashing Creativity from a Blank Canvas Starting a slide presentation (Pitch Deck / KPI Report) is often a long and stressful process...
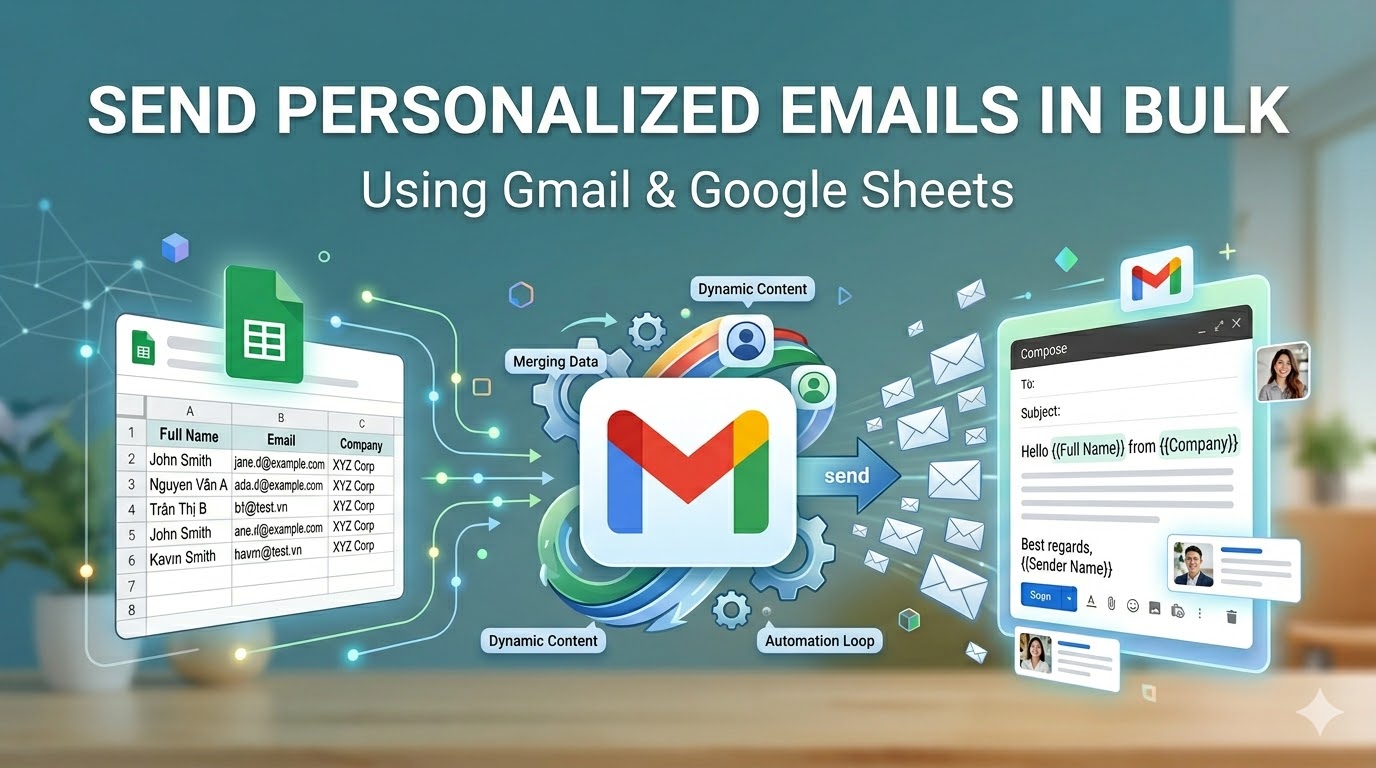
1. Intro Sending cold emails manually is slow and error-prone. But sending bulk emails without personalization feels like spam. The solution?👉 Build a simple...
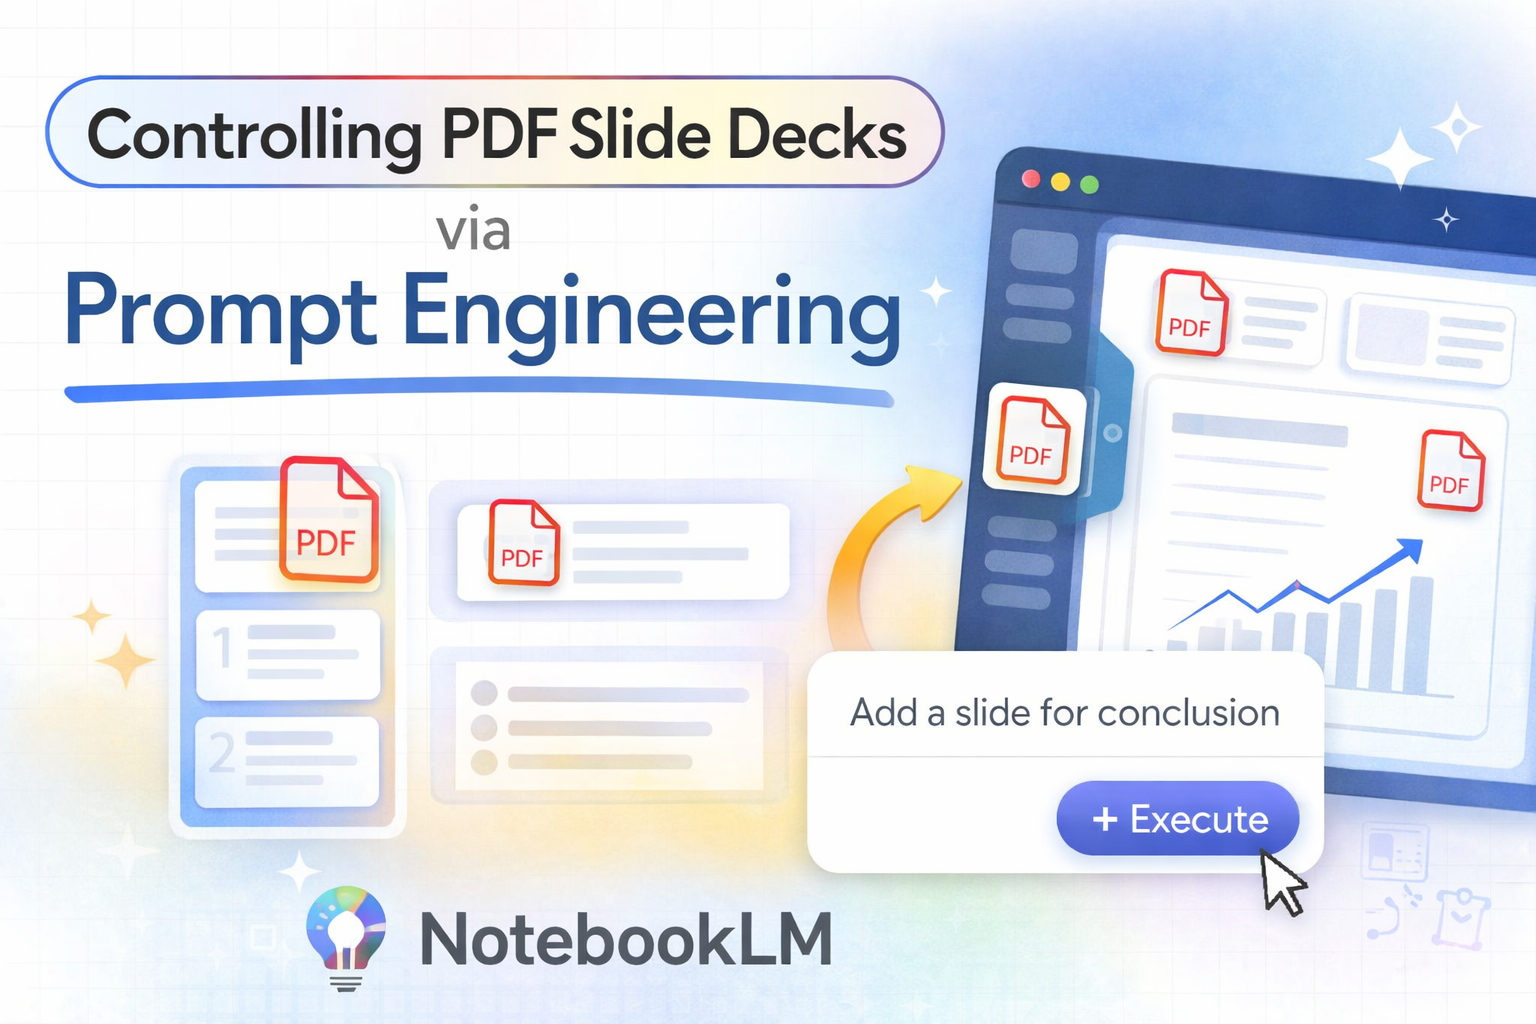
1. What is NotebookLM Slide Deck? Google NotebookLM is an AI-powered research platform that lets you upload multiple source documents (PDFs, Google Docs, web URLs,...
Jules is Google’s asynchronous AI coding agent that integrates directly with your GitHub repositories to perform tasks like fixing bugs, writing tests, building new...
I came across a very interesting idea from the author まじん (Majin) on note.com: Original version of the prompt: https://note.com/majin_108/n/n39235bcacbfc Updated and improved version:...