1. The Strategic Edge of AI Video Training In a fast-growing enterprise, communicating knowledge and Standard Operating Procedures (SOPs) often hits cost and time...
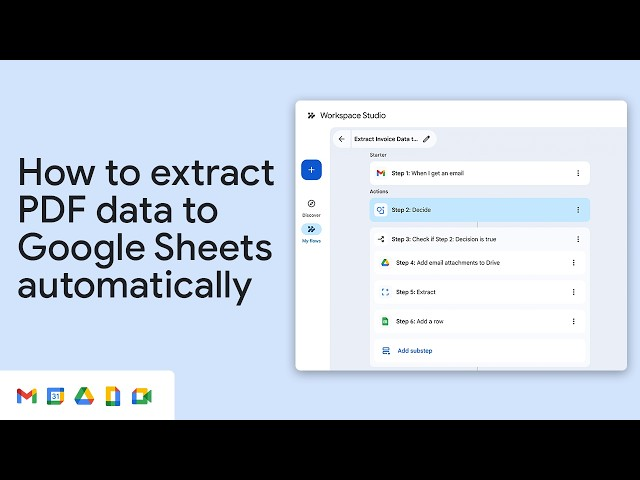
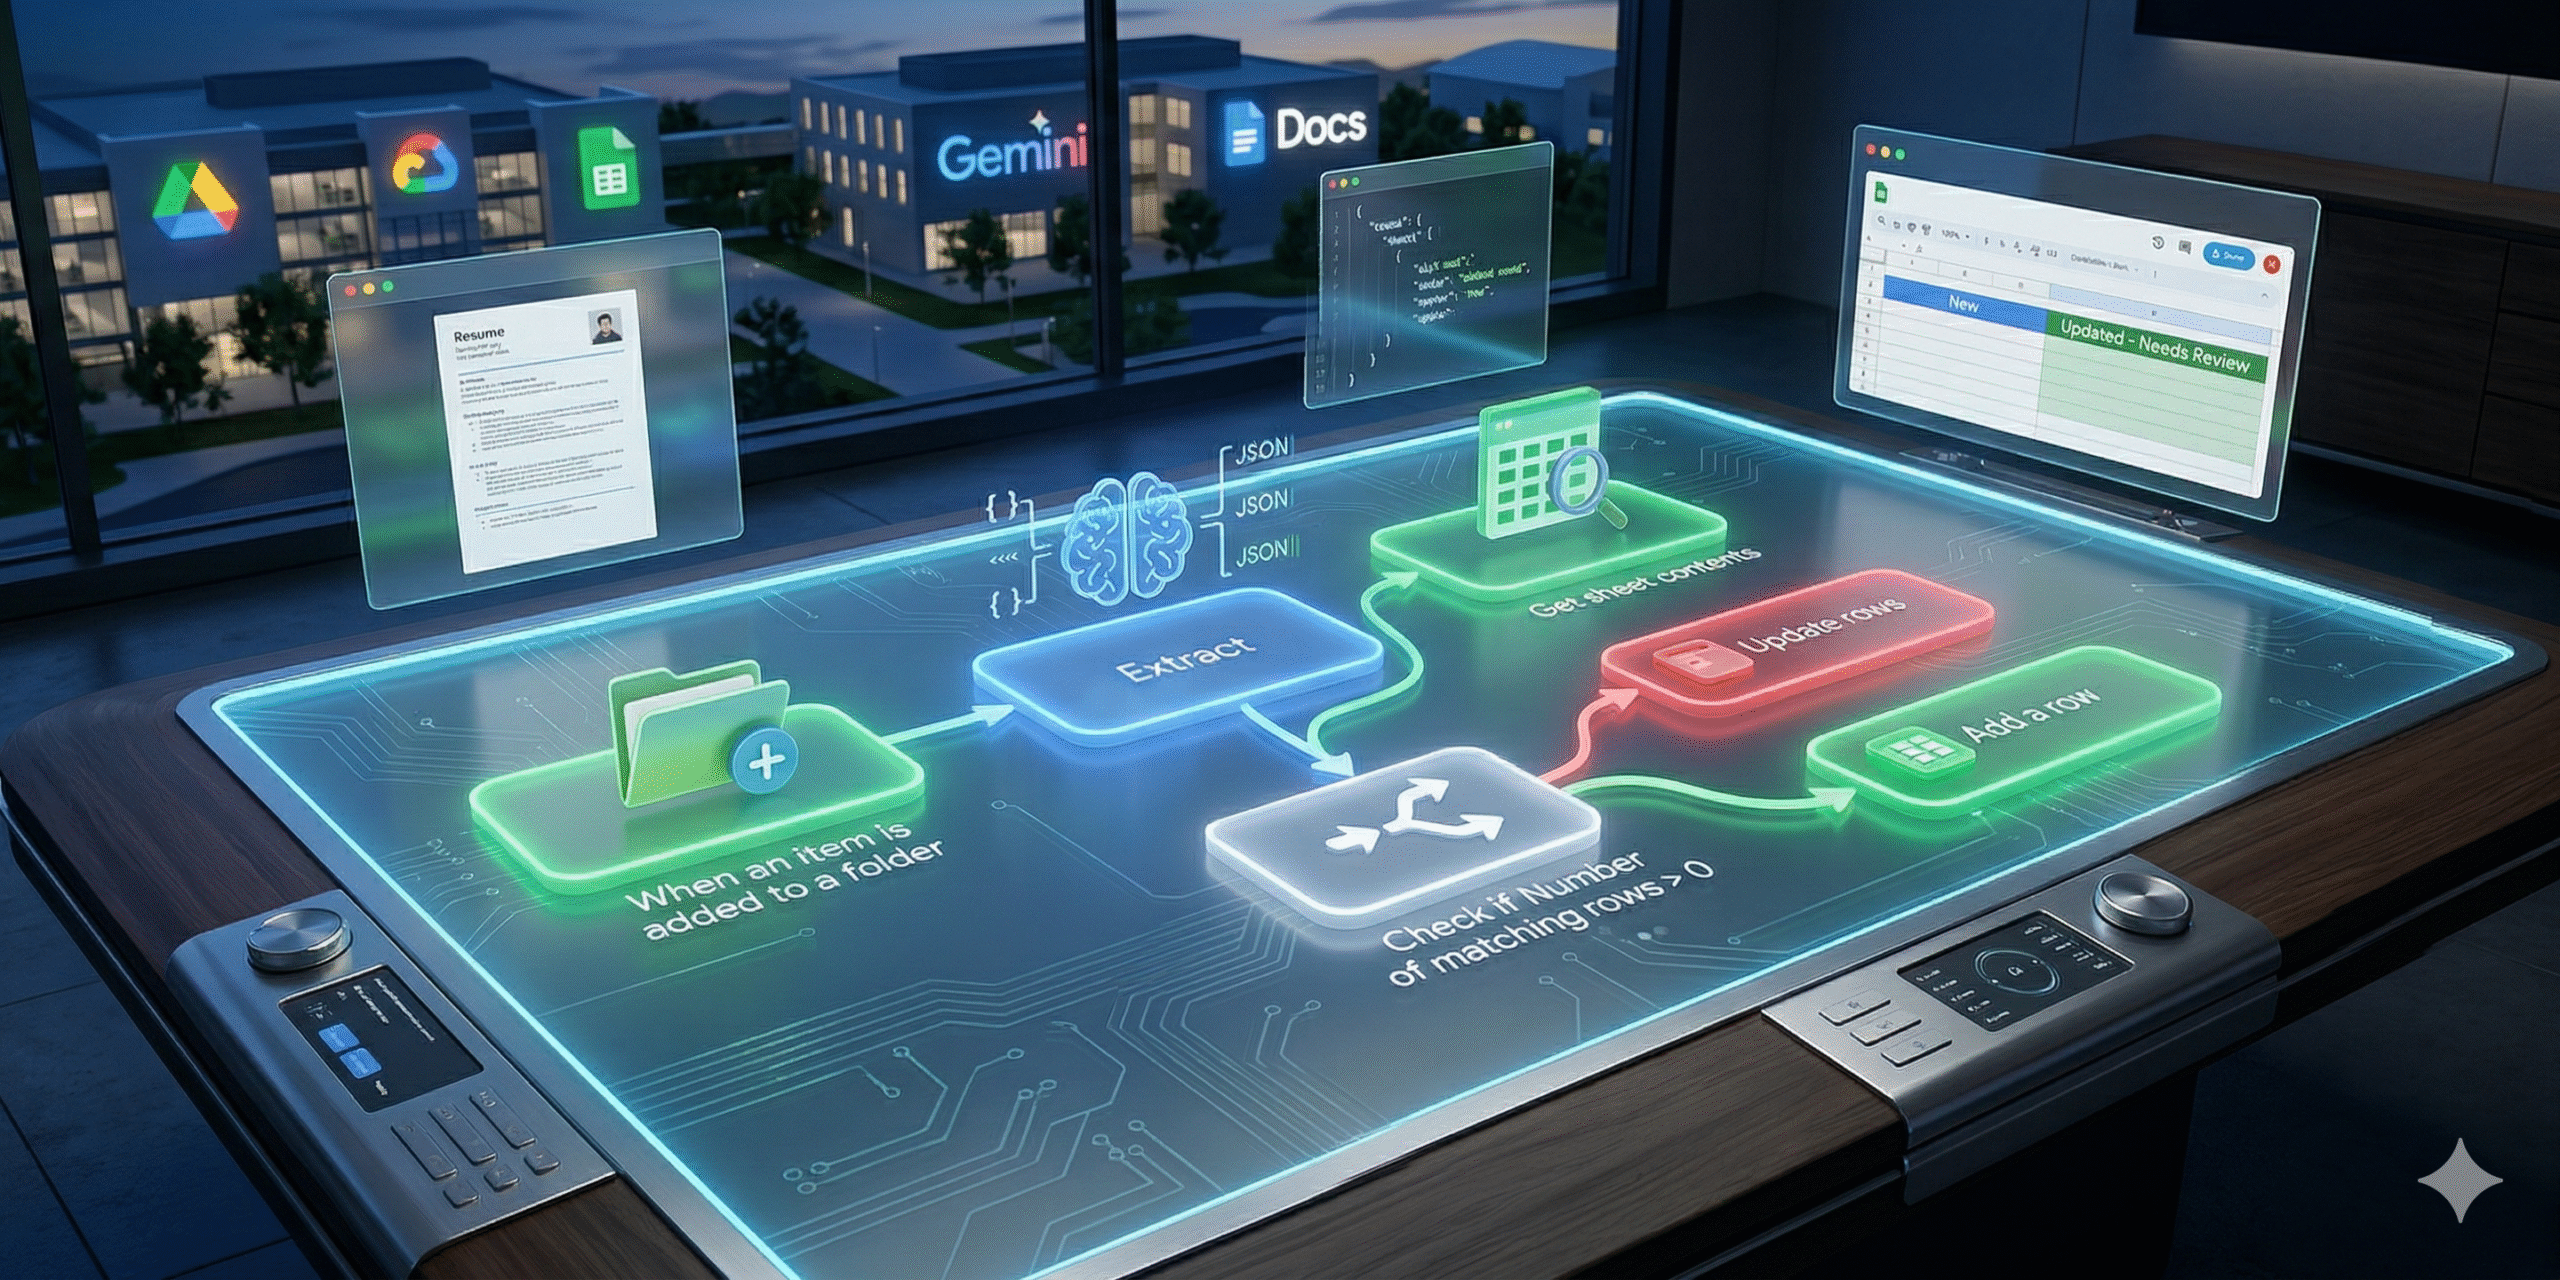
Manually processing resumes is one of the most time-consuming tasks for HR departments. When candidates submit PDFs, recruiters often waste valuable hours copying and...
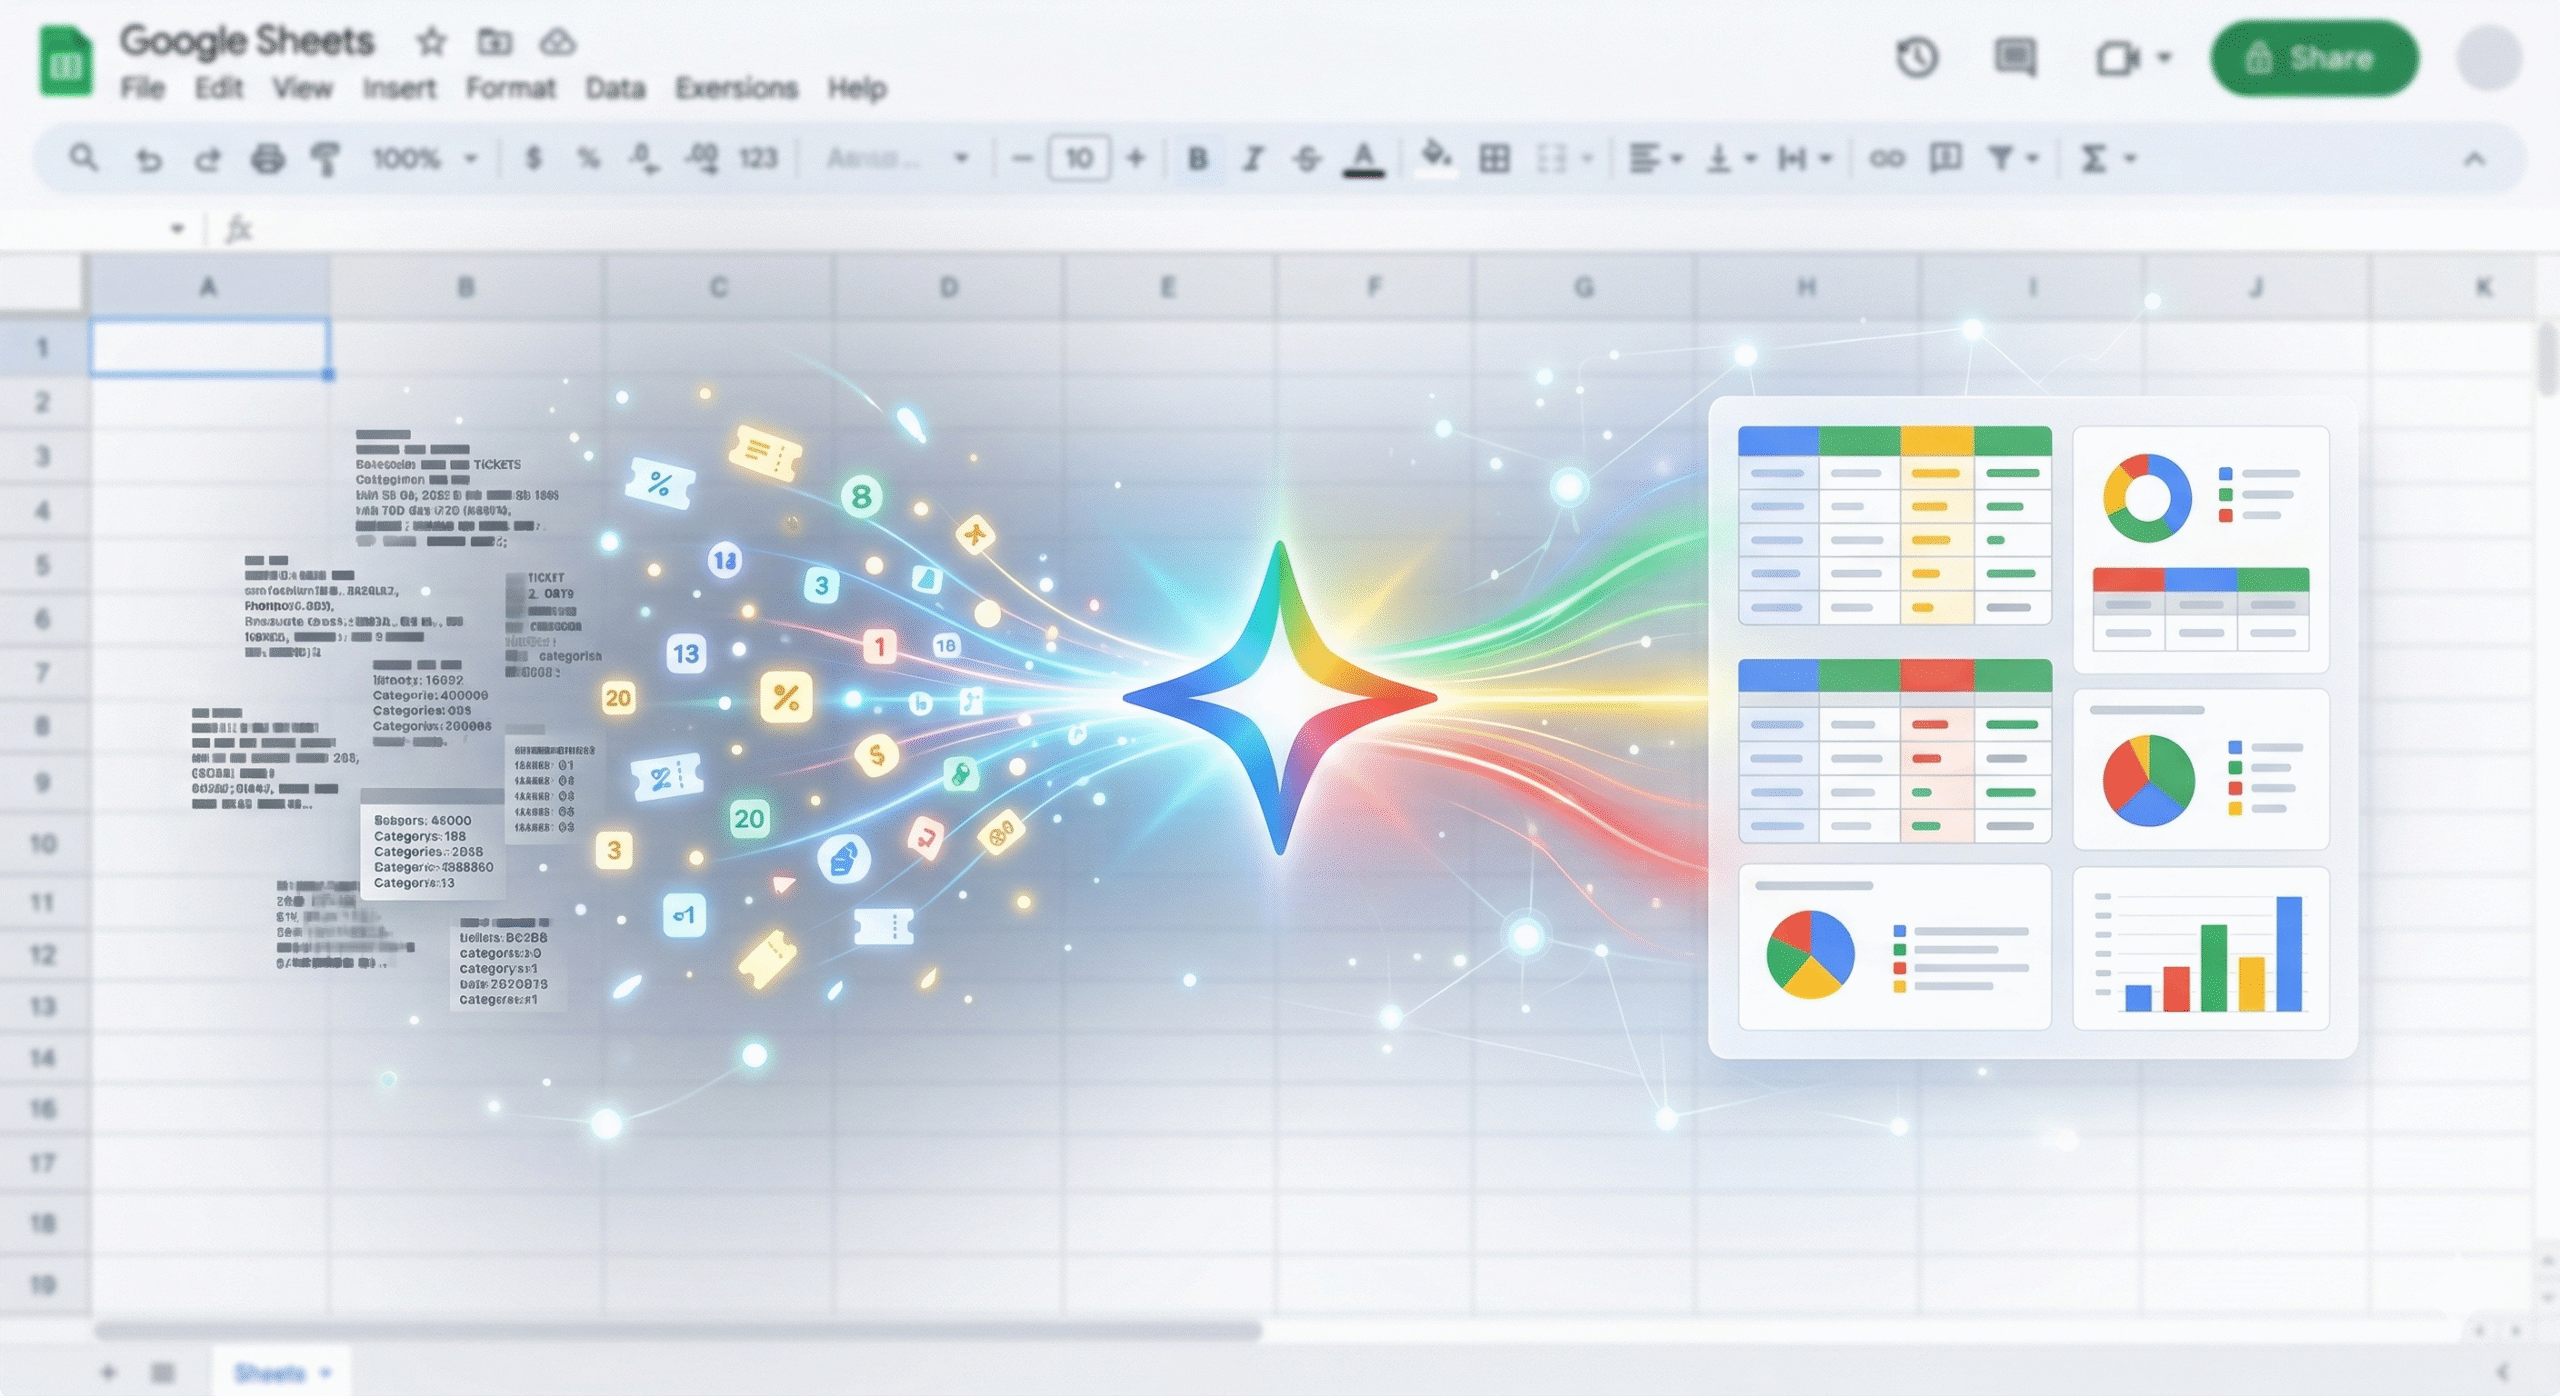
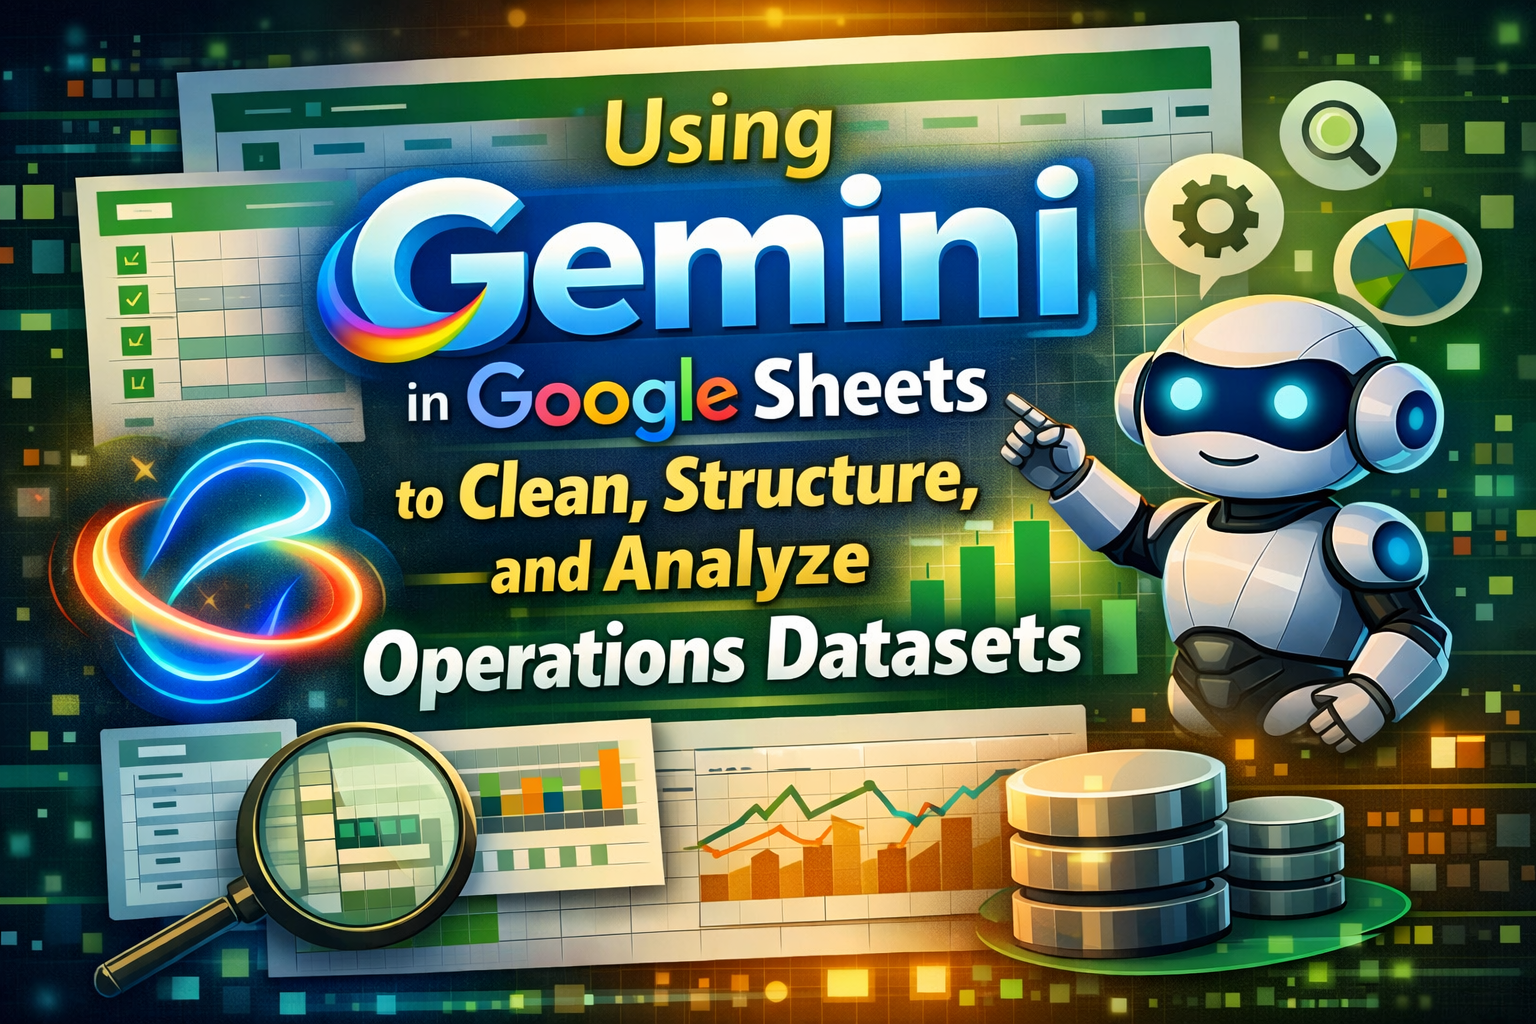
1. Introduction: Unlocking Operations Datasets with Gemini For Project Managers (PMs) or Back-office specialists, Operations Datasets—such as support ticket logs, monthly expenses, or inventory...
1. Introduction: Unleashing Creativity from a Blank Canvas Starting a slide presentation (Pitch Deck / KPI Report) is often a long and stressful process...
As developers and tech professionals, we love building solutions, but building the presentation to sell those solutions? That is often a different story. When...
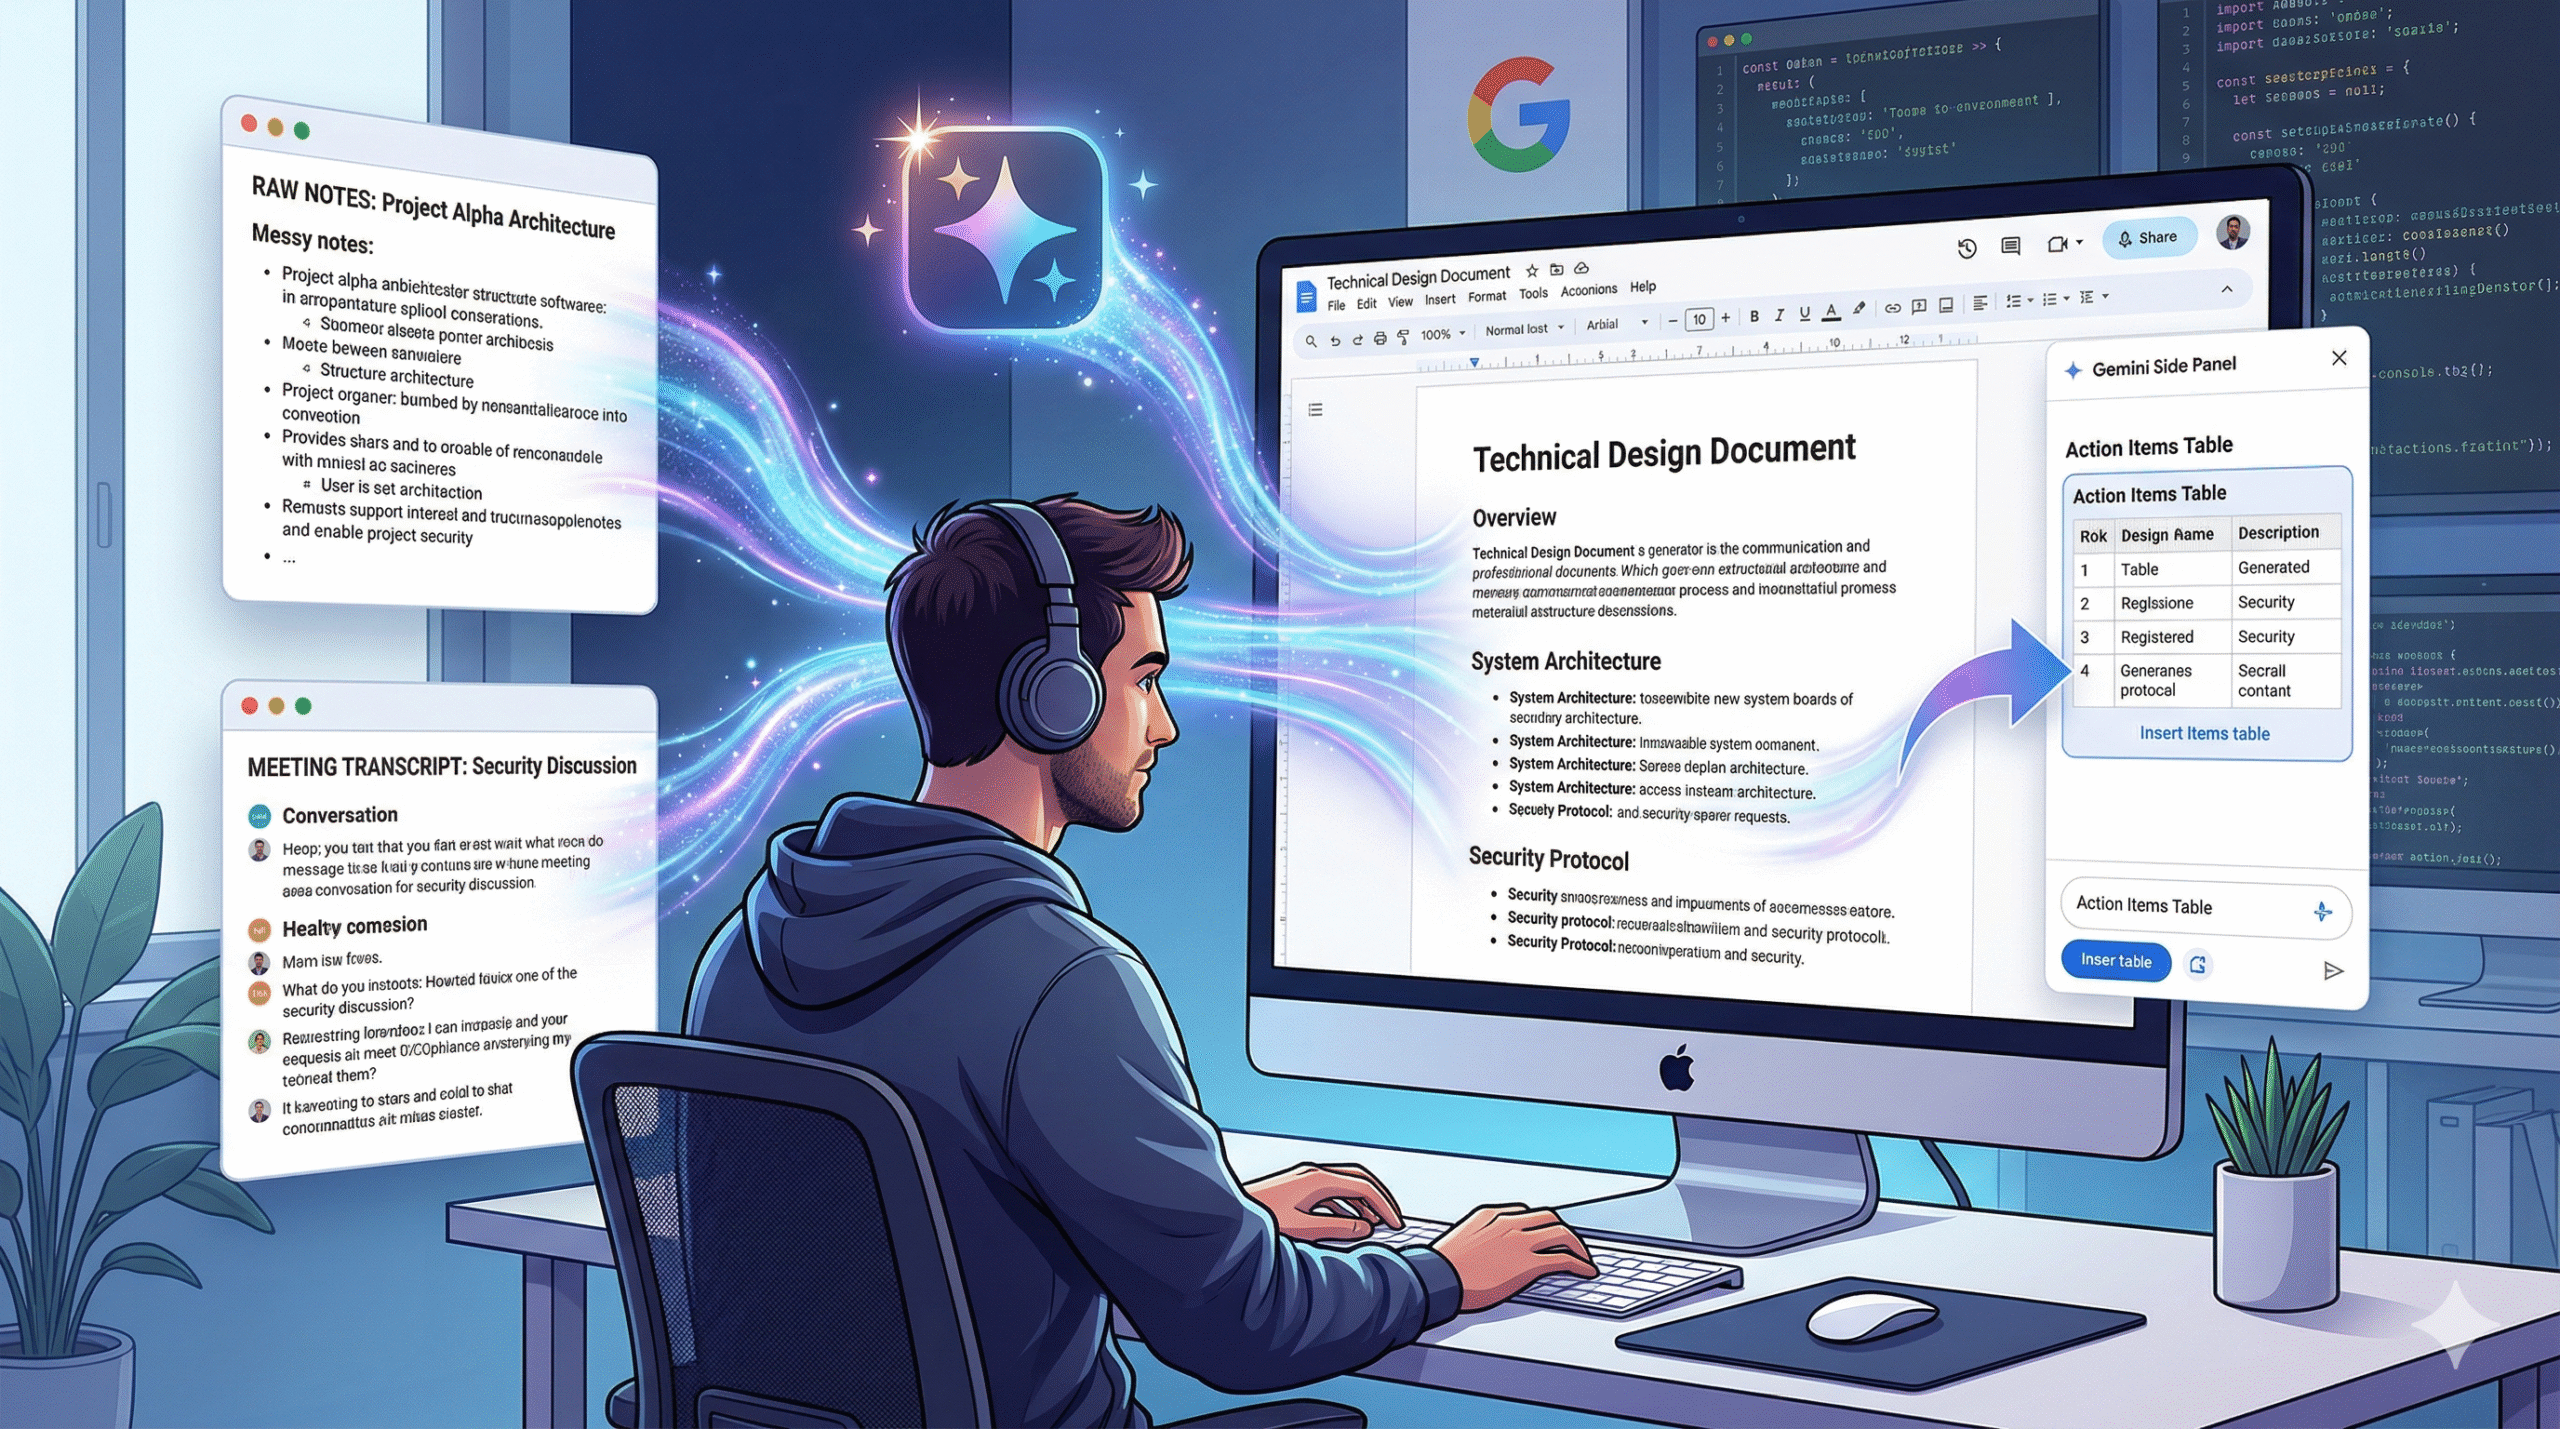
Let’s be honest: as developers, we love building systems, but writing the documentation for them is usually our least favorite task. However, a solid...