1. Overview: What Can gws Do? Google Workspace CLI (gws) is a command-line tool that lets you interact directly with virtually every Google Workspace service...
In today’s modern business environment, communicating workflows is no longer confined to lengthy, static text documents. Google Vids — an AI-powered video creation app...
1. The Strategic Edge of AI Video Training In a fast-growing enterprise, communicating knowledge and Standard Operating Procedures (SOPs) often hits cost and time...
1. Introduction: The Strategic Shift to Integrated Digital Agreements In an era where operational velocity and market response times are keys to organizational survival,...
1. The Operational Philosophy: Why Manual Alignment Fails For most high-growth organizations, the traditional “middle-man” approach to scheduling is a significant resource drain. Recruiters...
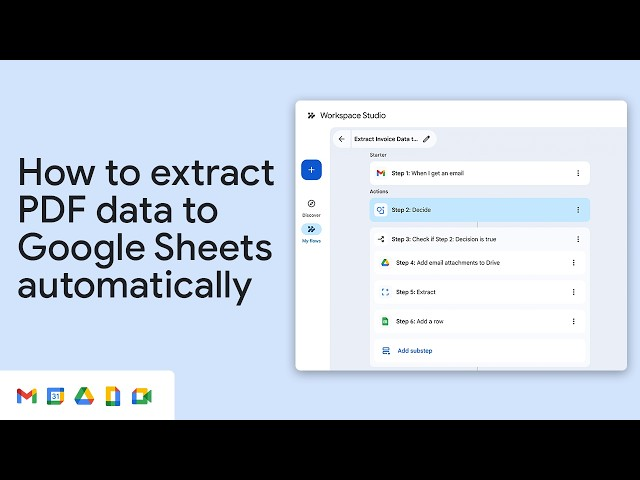
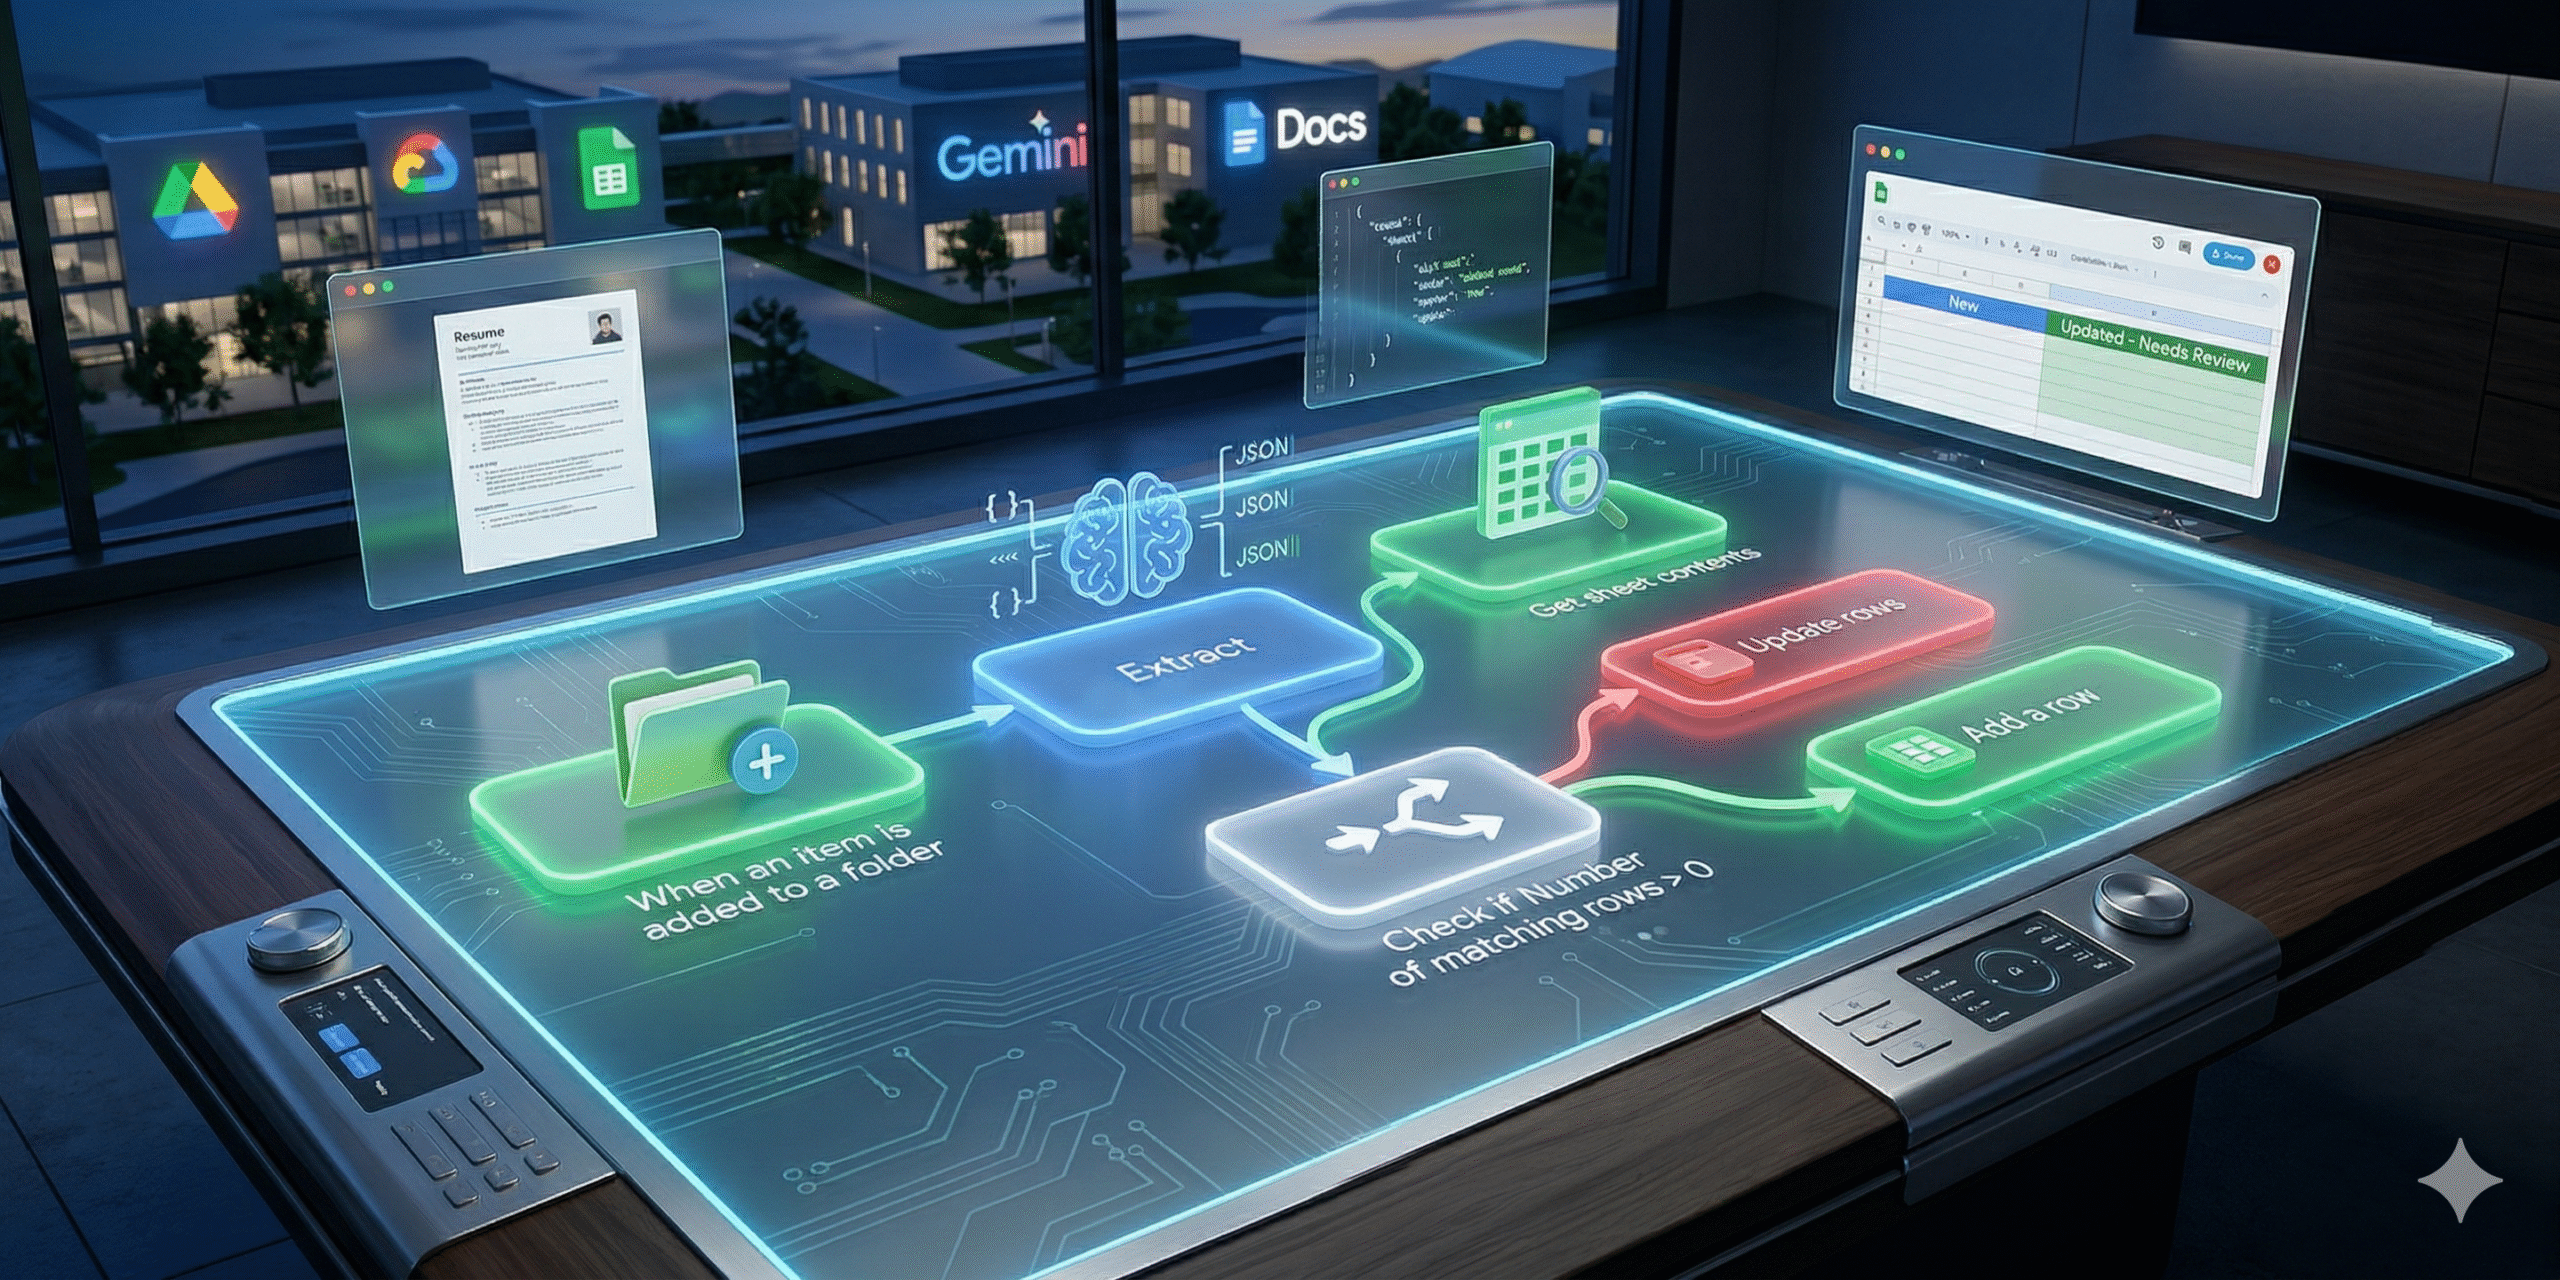
Manually processing resumes is one of the most time-consuming tasks for HR departments. When candidates submit PDFs, recruiters often waste valuable hours copying and...
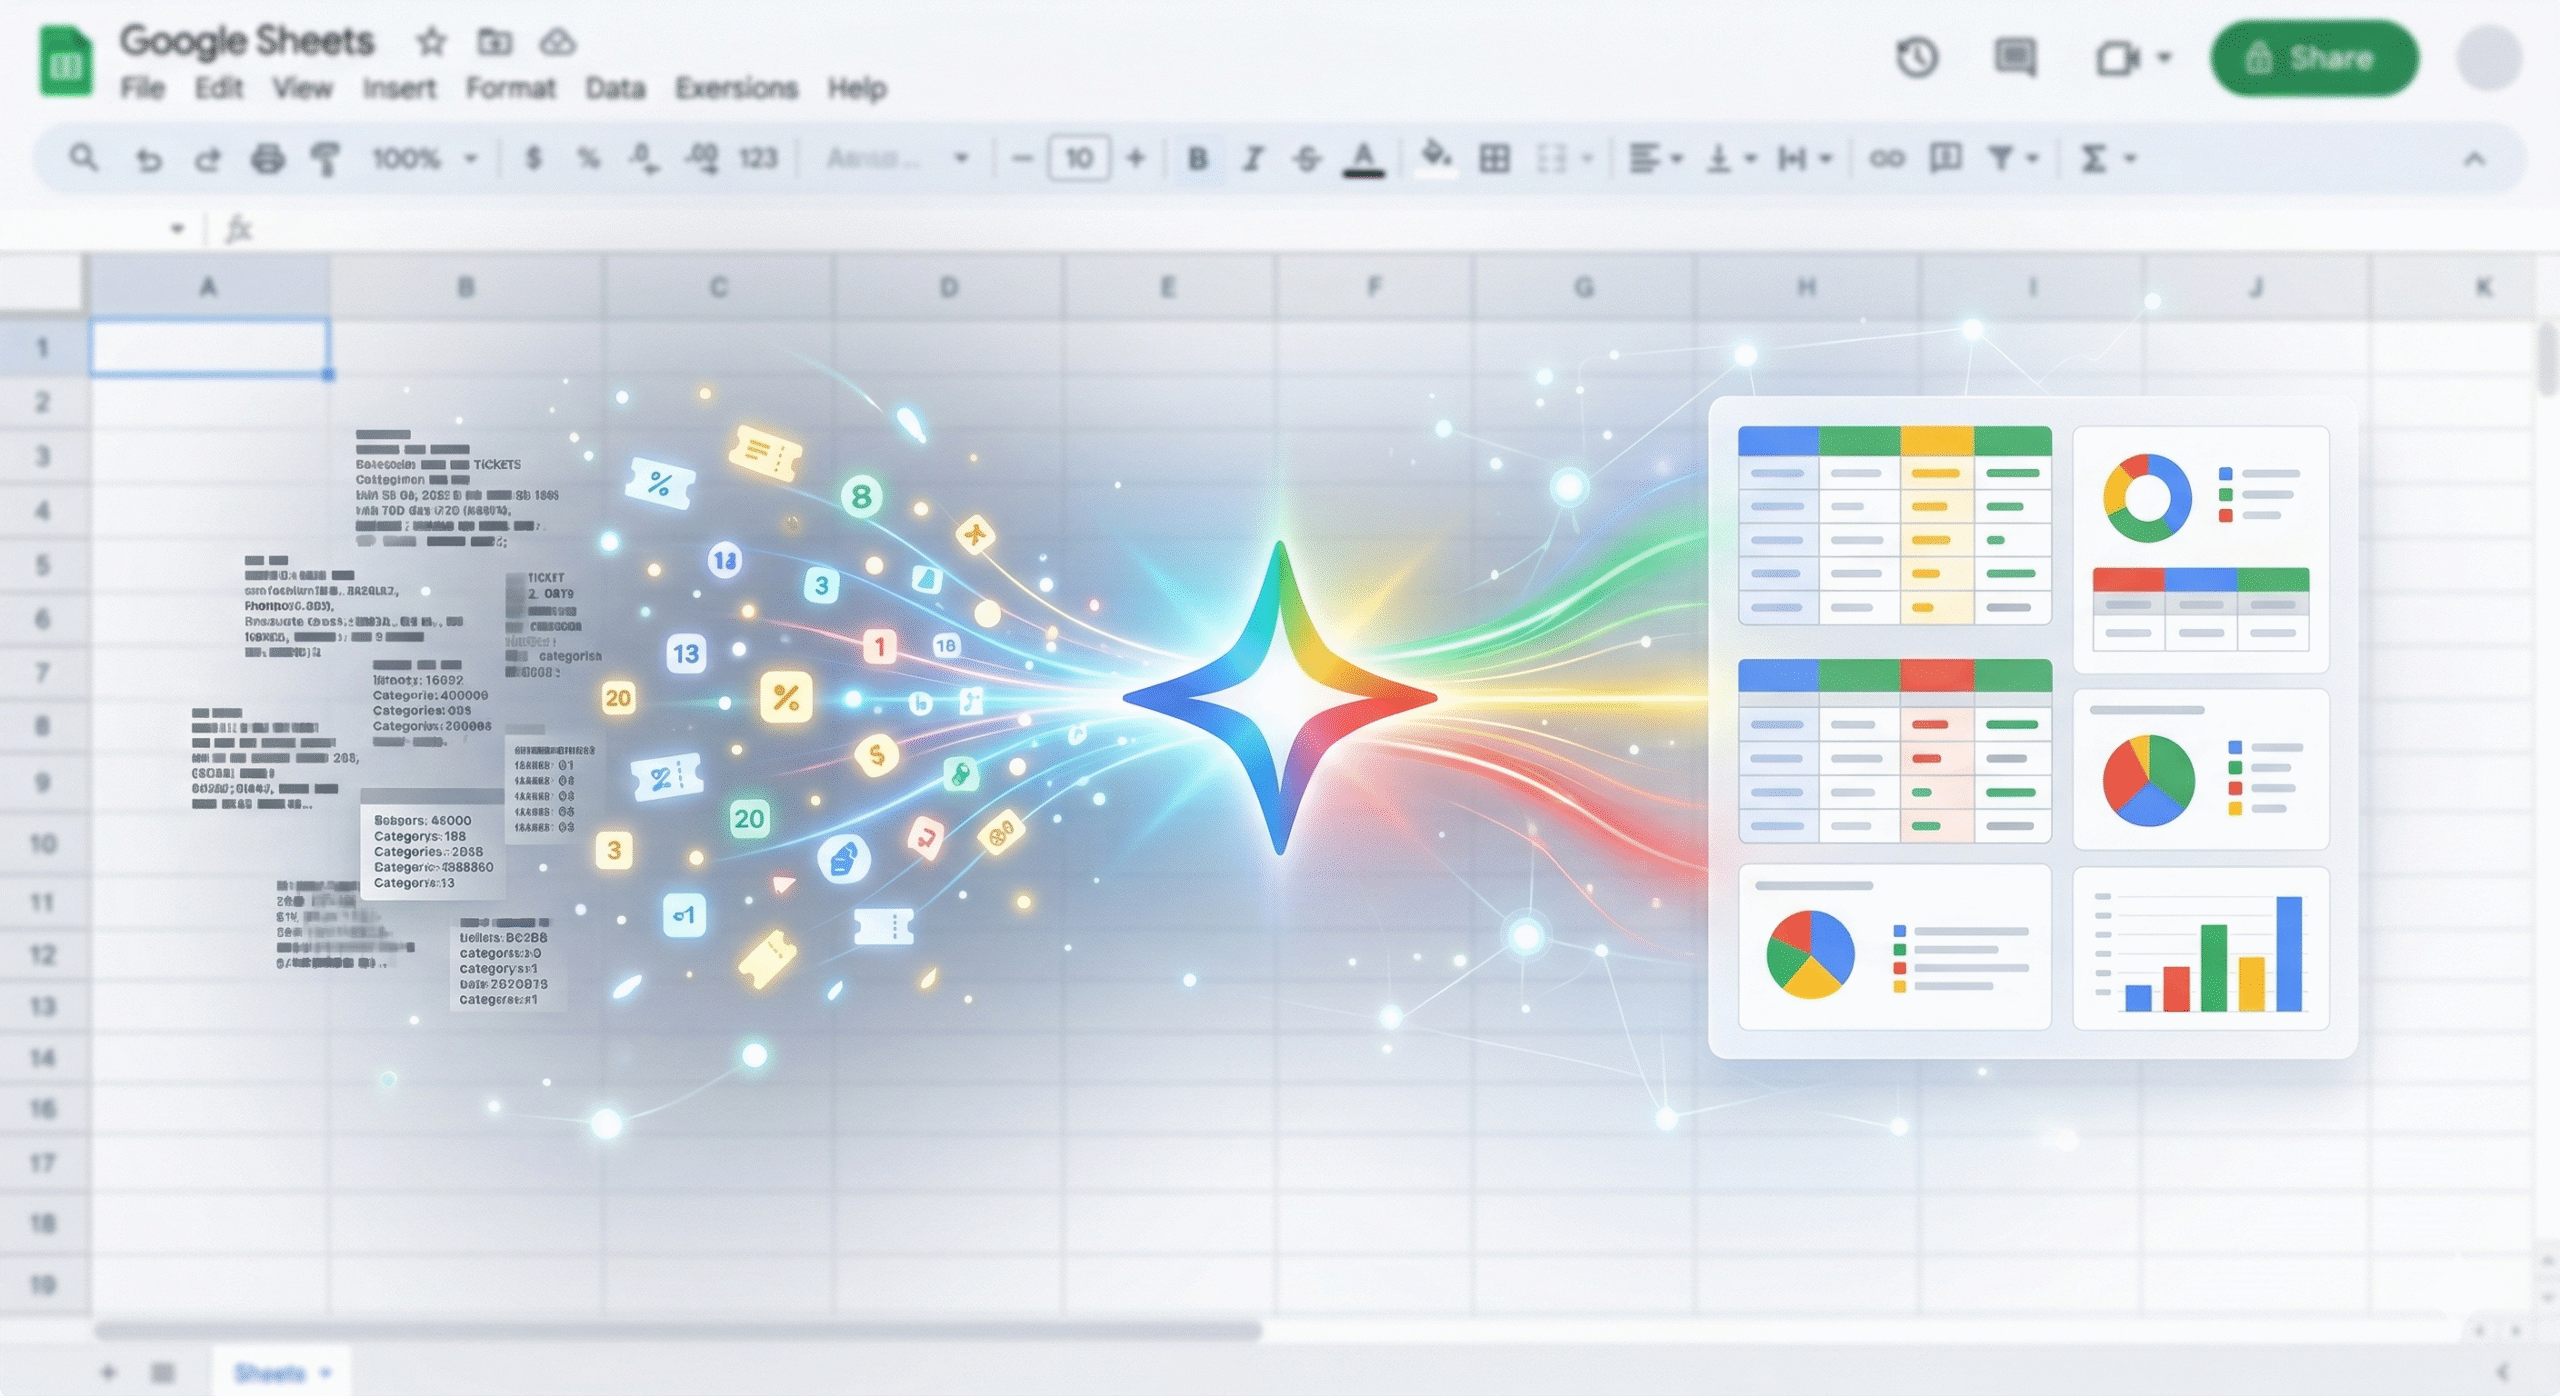
1. Introduction: Unlocking Operations Datasets with Gemini For Project Managers (PMs) or Back-office specialists, Operations Datasets—such as support ticket logs, monthly expenses, or inventory...