Introduction
In recent years, diffusion models such as the Latent Diffusion Model (LDM) have become the gold standard for text-to-image generation thanks to their high image quality, fast inference speed, and flexible fine-tuning capabilities. However, the biggest barrier for beginners is often the expensive GPU hardware requirement. This article will guide you on how to run LDM on a regular computer by taking advantage of Google Colab—a cloud environment that provides free/affordable GPU access, allowing you to focus on your ideas instead of hardware setup.
Main Content
What is Colab?
Colab is a hosted Jupyter Notebook service that requires no setup to use and provides free access to computing resources, including GPUs and TPUs. Colab is especially well suited to machine learning, data science, and education.
What You Need to Prepare
-
A Colab account – Getting one is very easy; just search for it and sign up. Colab can be used for free but with limits on memory, GPU, etc. You can also subscribe to a paid plan depending on your needs.
-
An Ngrok account – Just like the first step, sign up for an account, then get your authtoken, which will be used later.
-
An example LDM setup for this tutorial – In this article, we’ll use the Stable Diffusion Pipeline in Python. Hugging Face provides a list of text-to-image models ranging from weaker to stronger ones at: https://huggingface.co/models?pipeline_tag=text-to-image&sort=trending.
Example repo for this article: https://github.com/thangnch/MiAI_StableDiffusion_Flask_Text2Image
Running on a Personal Computer
First, clone the above GitHub repo to your local machine. Then install the required libraries and packages such as pip, PyTorch, and diffusion.
Next, run the svr_model.py file.
![]()


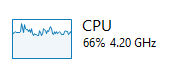
Depending on whether your personal computer has GPU support (CUDA or MPS), the model can run on GPU; otherwise, it defaults to CPU—which is much slower.
Since my GPU doesn’t support NVIDIA CUDA, I had to run it on CPU.
![]()
After starting the server, the demo web page URL appears in the terminal.

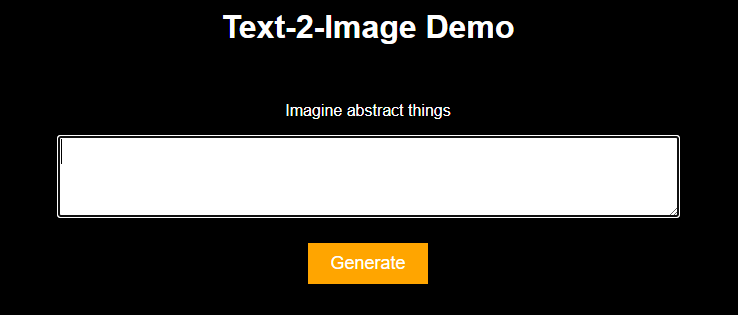
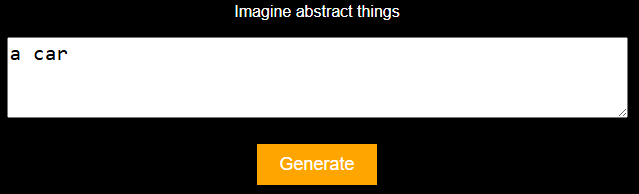
Now we can generate an image from a prompt.
![]()
![]()
-
Speed: quite slow at 4.14s/it
-
Consumes a lot of CPU power
-
But still managed to generate an image successfully with the weakest model
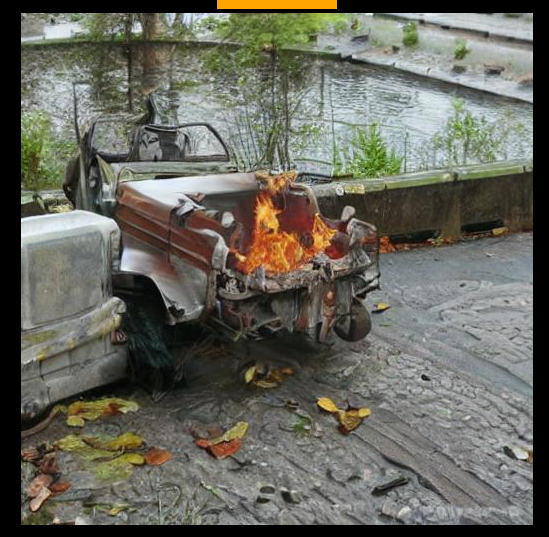
This shows that although it is possible to run locally on your own machine, it is very slow and CPU-intensive, even with the smallest model.
Using Colab with Ngrok
-
Visit Google Colab: https://colab.research.google.com/
-
Visit Ngrok: https://dashboard.ngrok.com/get-started/setup/windows
In Colab:
-
Create a new notebook (in my case, I named it “Colab vs ngrok”), please refer to the Google Colab link: https://colab.research.google.com/drive/1M6hLaB-7g-n2VlVRqOCTQAOD5BcTBEhK?usp=sharing
-
Run a code cell to clone the GitHub repo
Then:
-
Run another cell to install all required libraries (already listed in the repo)
-
Copy the code from
text2image_model.pyto start running the model -
Next, copy the code from
svr_model.py
Before running svr_model.py, install Ngrok in the Colab environment by running another code cell.
After installation:
-
Go to your Ngrok dashboard, copy your personal authtoken
-
Back in Colab, paste it into the Secrets section on the left sidebar, name it, and save
Now run svr_model.py.
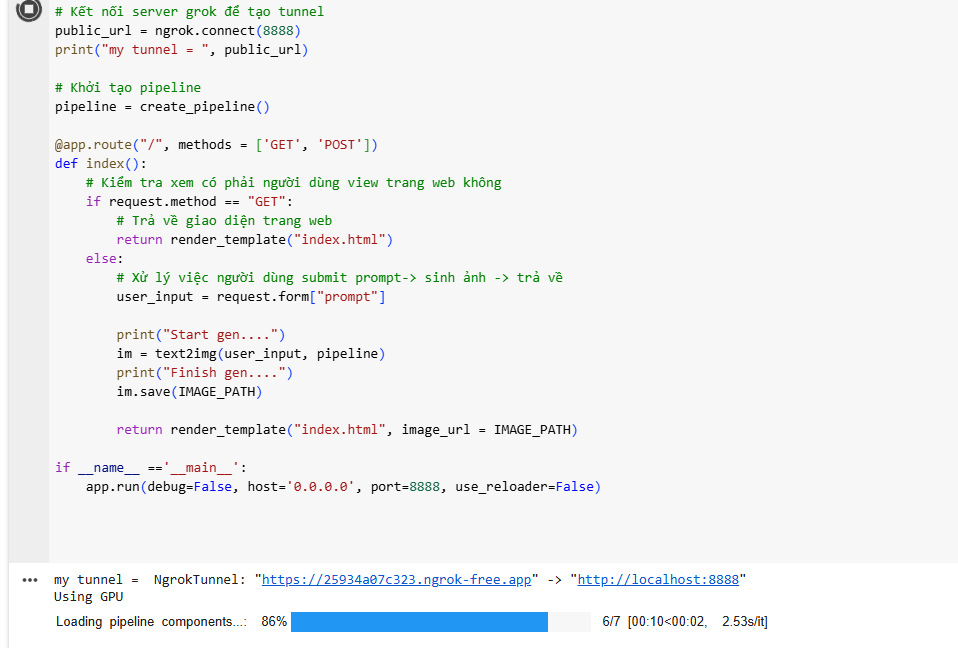
Ngrok will provide a temporary public URL (my tunnel) that connects to your server running on GPU.
Visit the link, and you’ll get the text-to-image web interface.
Time to generate images!
Example:
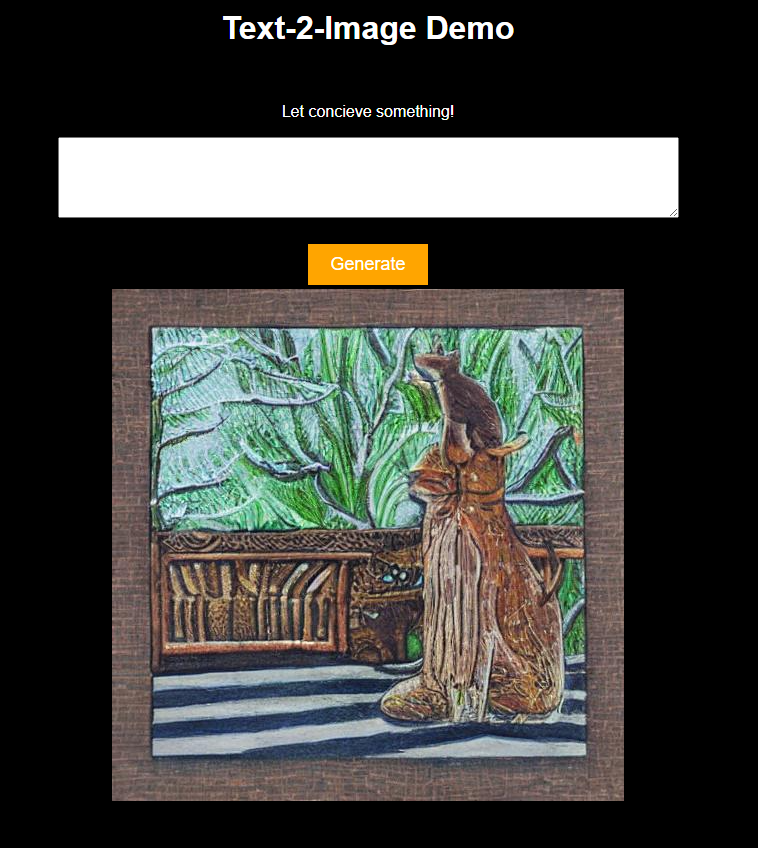
-
Prompt: “Cat and dog” – With the lowest model
-
Very fast at 9.9s
-
GPU used effectively
-

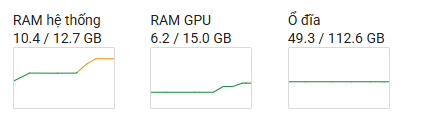
Even with higher-level models, the process still runs smoothly.
-
Prompt: “City landscape” – Model level 6
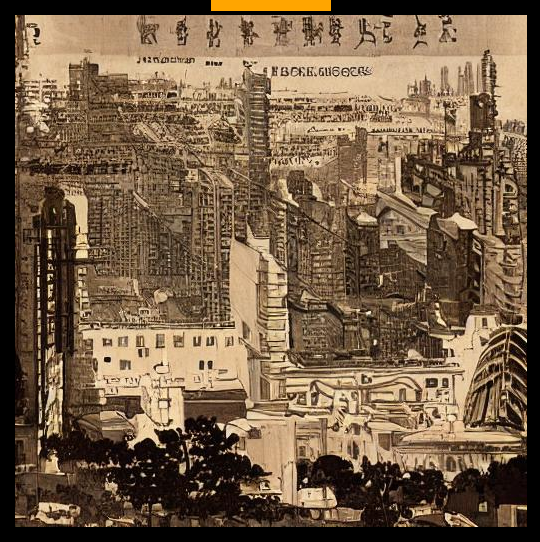
Still stable and responsive
Conclusion
Through these experiments, we have learned how to use Latent Diffusion Models easily on a personal computer and optimize performance with Colab and Ngrok combined. This provides a smooth and fast user experience. Hopefully, this article will be helpful to readers.
Thank you for reading!