
1. What is “frontend-design”?
frontend-design is an official plugin/skill by Anthropic for Claude Code, designed to help Claude create high-quality frontend interfaces that avoid the “generic” UIs commonly seen in AI products.
Main Goals
This skill is automatically used by Claude when you request to build web components, pages, or applications. It generates production-ready code with:
- Bold aesthetic choices: Chooses a clear and strong aesthetic direction (not “safe”)
- Distinctive typography & color palettes: Unique fonts and color schemes, avoiding common fonts like Arial, Inter, Roboto
- High-impact animations: Subtle motion effects focused on key moments
- Context-aware implementation: Code optimized for specific contexts and target users
Available Aesthetic Directions
The skill encourages choosing a clear aesthetic direction, for example:
- Brutally minimal: Extreme minimalism, focusing on whitespace and typography
- Maximalist chaos: Rich details, colors, and motion
- Retro-futuristic: Futuristic style with retro feel
- Organic/Natural: Soft, natural design
- Luxury/Refined: Elegant, sophisticated
- Playful/Toy-like: Fun, toy-like
- Editorial/Magazine: Magazine-style, editorial
- Brutalist/Raw: Raw, unpolished
- Art Deco/Geometric: Geometric, art deco
- Soft/Pastel: Soft, pastel
- Industrial/Utilitarian: Industrial, utilitarian
Important: The skill doesn’t just choose an aesthetic direction—it implements it as working code with every detail carefully refined. Maximalist designs need complex code with extensive animations, while minimalist designs need restraint and precision.
Specific Guidelines
The skill follows these design principles:
- Typography: Choose beautiful, unique, interesting fonts. Avoid generic fonts (Arial, Inter, Roboto). Pair a distinctive display font with a refined body font.
- Color & Theme: Commit to a cohesive aesthetic. Use CSS variables. Dominant colors with sharp accents outperform timid, evenly-distributed palettes.
- Motion: Use animations for effects and micro-interactions. Prioritize CSS-only for HTML. Focus on high-impact moments: one well-orchestrated page load with staggered reveals creates more delight than scattered micro-interactions.
- Spatial Composition: Unexpected layouts. Asymmetry. Overlap. Diagonal flow. Grid-breaking elements. Generous negative space OR controlled density.
- Backgrounds & Visual Details: Create atmosphere and depth rather than defaulting to solid colors. Add contextual effects and textures matching the overall aesthetic: gradient meshes, noise textures, geometric patterns, layered transparencies, dramatic shadows, decorative borders, custom cursors, grain overlays.
What the skill avoids
The skill NEVER uses:
- Overused font families: Inter, Roboto, Arial, system fonts
- Clichéd color schemes: especially “purple gradient on white background”
- Predictable layouts and component patterns
- Cookie-cutter design lacking context-specific character
- Convergence on common choices (e.g., Space Grotesk) across generations
Example Use Cases
"Create a dashboard for a music streaming app"
"Build a landing page for an AI security startup"
"Design a settings panel with dark mode"
For each request, Claude will automatically choose an appropriate aesthetic direction and implement it as production code with high attention to detail.
2. Install plugin in Claude Code (marketplace)
The claude-plugins-official repo is a marketplace directory; the standard way to install is through Claude Code’s plugin system.
Step 1: Open Plugin UI
/plugin
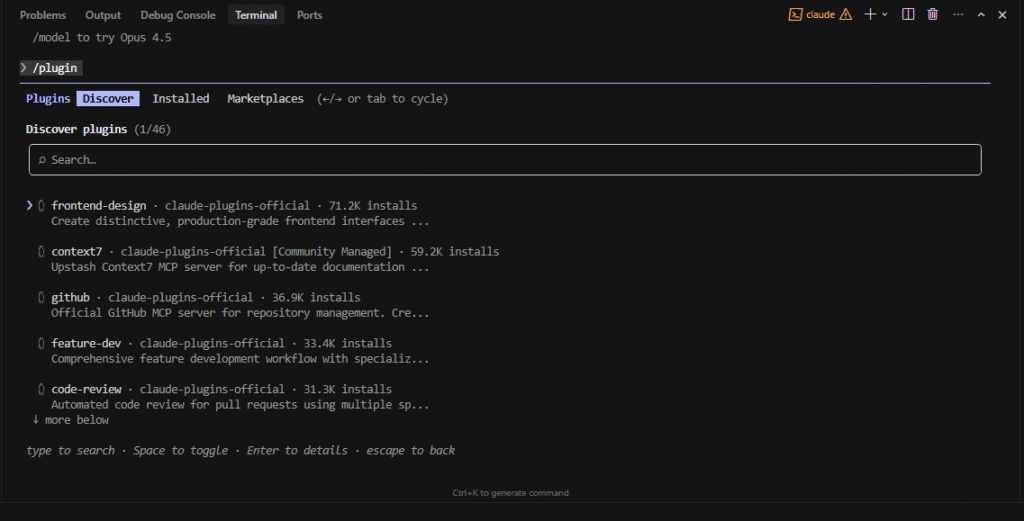
Claude Code plugin UI screen.
Step 2: Find plugin
Go to Discover and search for frontend-design.

Search box + plugin results for frontend-design.
Step 3: View plugin details and Install
When you click on the frontend-design plugin in Discover, Claude Code will display:
- Plugin details: name, description, author (Anthropic), source (claude-plugins-official)
- Warning message: reminder about trusting plugins before installation
- Install options: 3 different scopes:
- Install for you (user scope) — install for all your workspaces (recommended)
- Install for all collaborators on this repository (project scope) — install for the whole team
- Install for you, in this repo only (local scope) — install only for current repo
How to install: use arrow keys to select scope (default is “user scope”), then press Enter.
Or use command:
/plugin install frontend-design@claude-plugin-directory
After installation, switch to the Installed tab to confirm that frontend-design is in the list and Enabled.
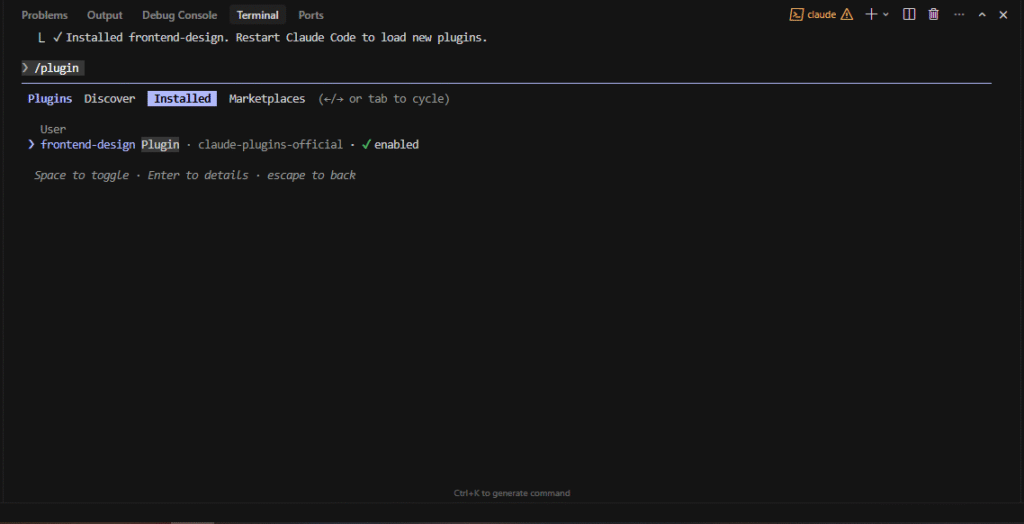
Plugin details screen for frontend-design with install options, and confirmation of successful installation in the Installed tab.
Image will show: Discover tab active, plugin details, warning message, install options list, and Installed tab with plugin listed.
Optional: Dev mode (point directly to plugin folder)
The repo suggests something like: cc –plugin-dir /path/to/plugin (command may vary depending on Claude Code/CLI version).
3. Verify plugin functionality — A/B Test Demo
To verify the plugin actually works, we’ll do an A/B test: create the same UI twice—once without the skill, once with the skill.
Step 4A: Temporarily disable plugin (baseline)
Go to /plugin → Installed tab → find frontend-design → Disable or Uninstall (temporarily).
Or use “local scope” to easily toggle per repo.
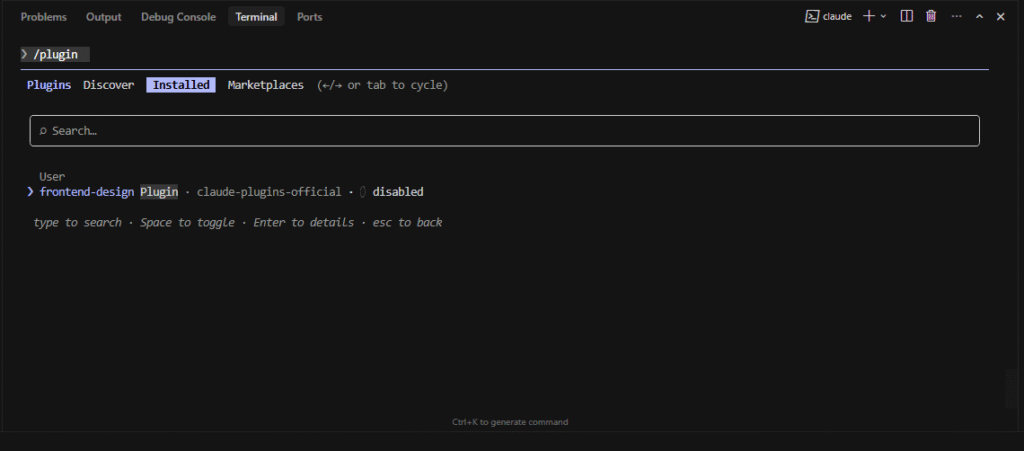
Installed tab with plugin Disabled.
Step 4B: Run prompt test (baseline – without skill)
Exit plugin screen: close the plugin screen (press Esc or click outside) to return to Claude Code’s main chat screen.
Sample prompt:
Create a single-file HTML dashboard for an operations team with:
- a top nav
- a hero summary with 3 stats
- a compact control panel (time range + refresh)
Make it responsive and accessible.
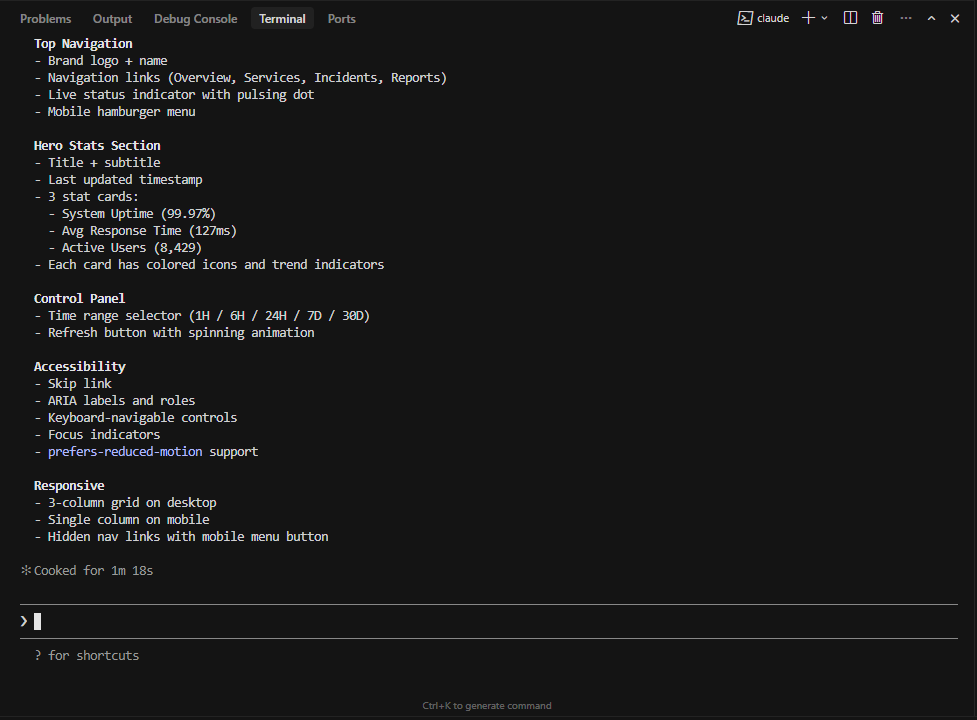
Prompt + HTML output (baseline).
Step 4C: Re-enable plugin
Go to /plugin → Installed tab → find frontend-design → Enable or Install again.
Step 4D: Run prompt test (with-skill)
Exit plugin screen: close the plugin screen (press Esc or click outside) to return to Claude Code’s main chat screen.
Prompt identical to Step 4B:
Create a single-file HTML dashboard for an operations team with:
- a top nav
- a hero summary with 3 stats
- a compact control panel (time range + refresh)
Make it responsive and accessible.
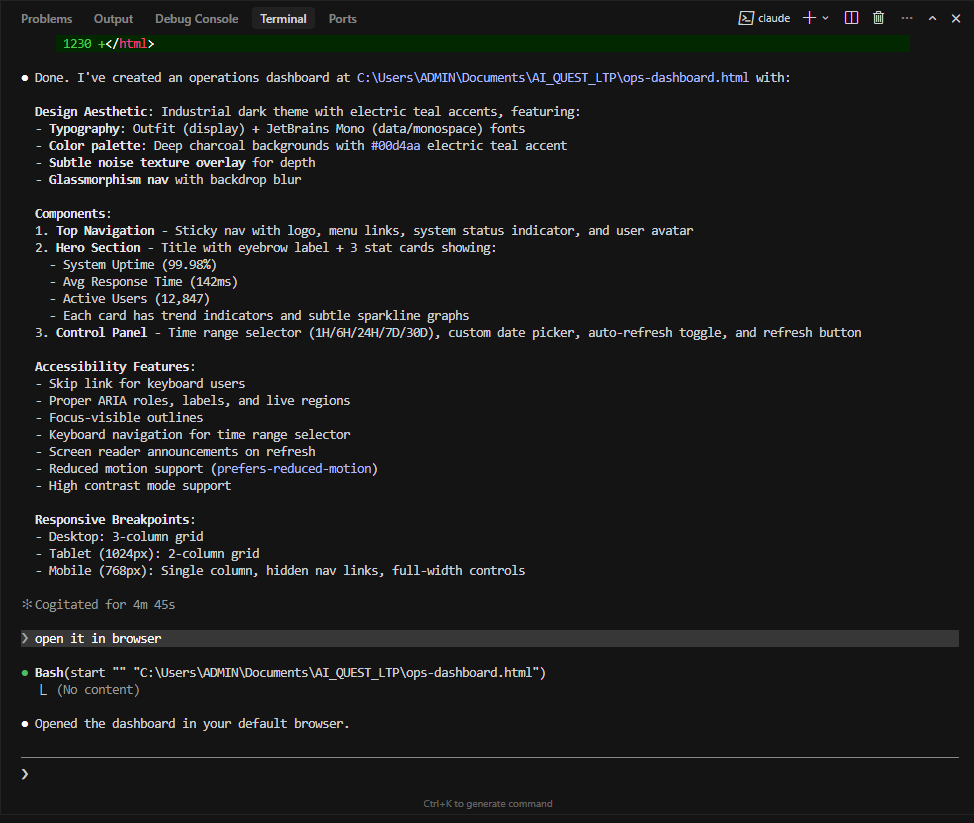
Prompt + HTML output (with skill).
4. Compare UI — Open demo in browser
After you have 2 HTML files (baseline and with-skill), open them in a browser to visually compare.
Step 5A: Open “without skill” version (baseline)
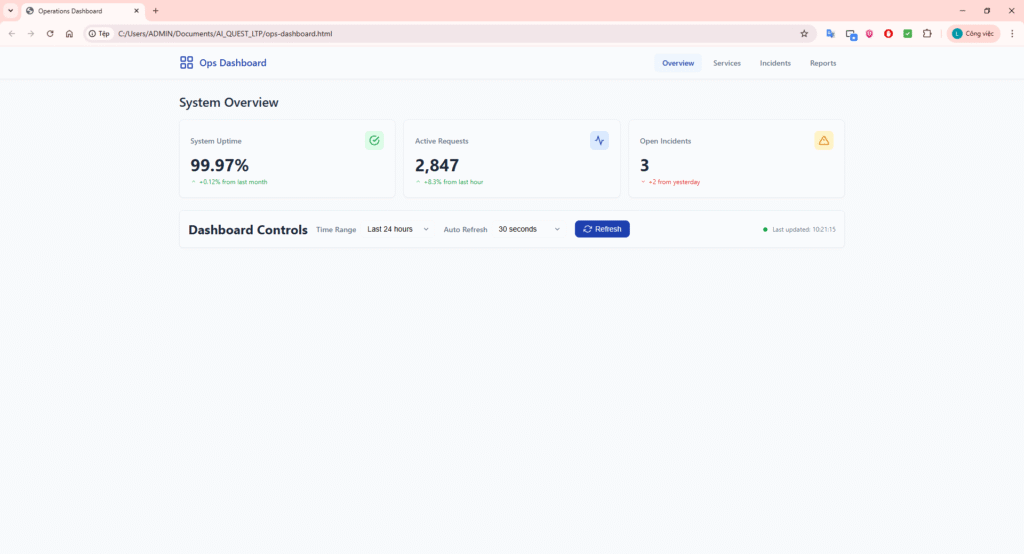
Browser screen with baseline file.
Step 5B: Open “with-skill” version
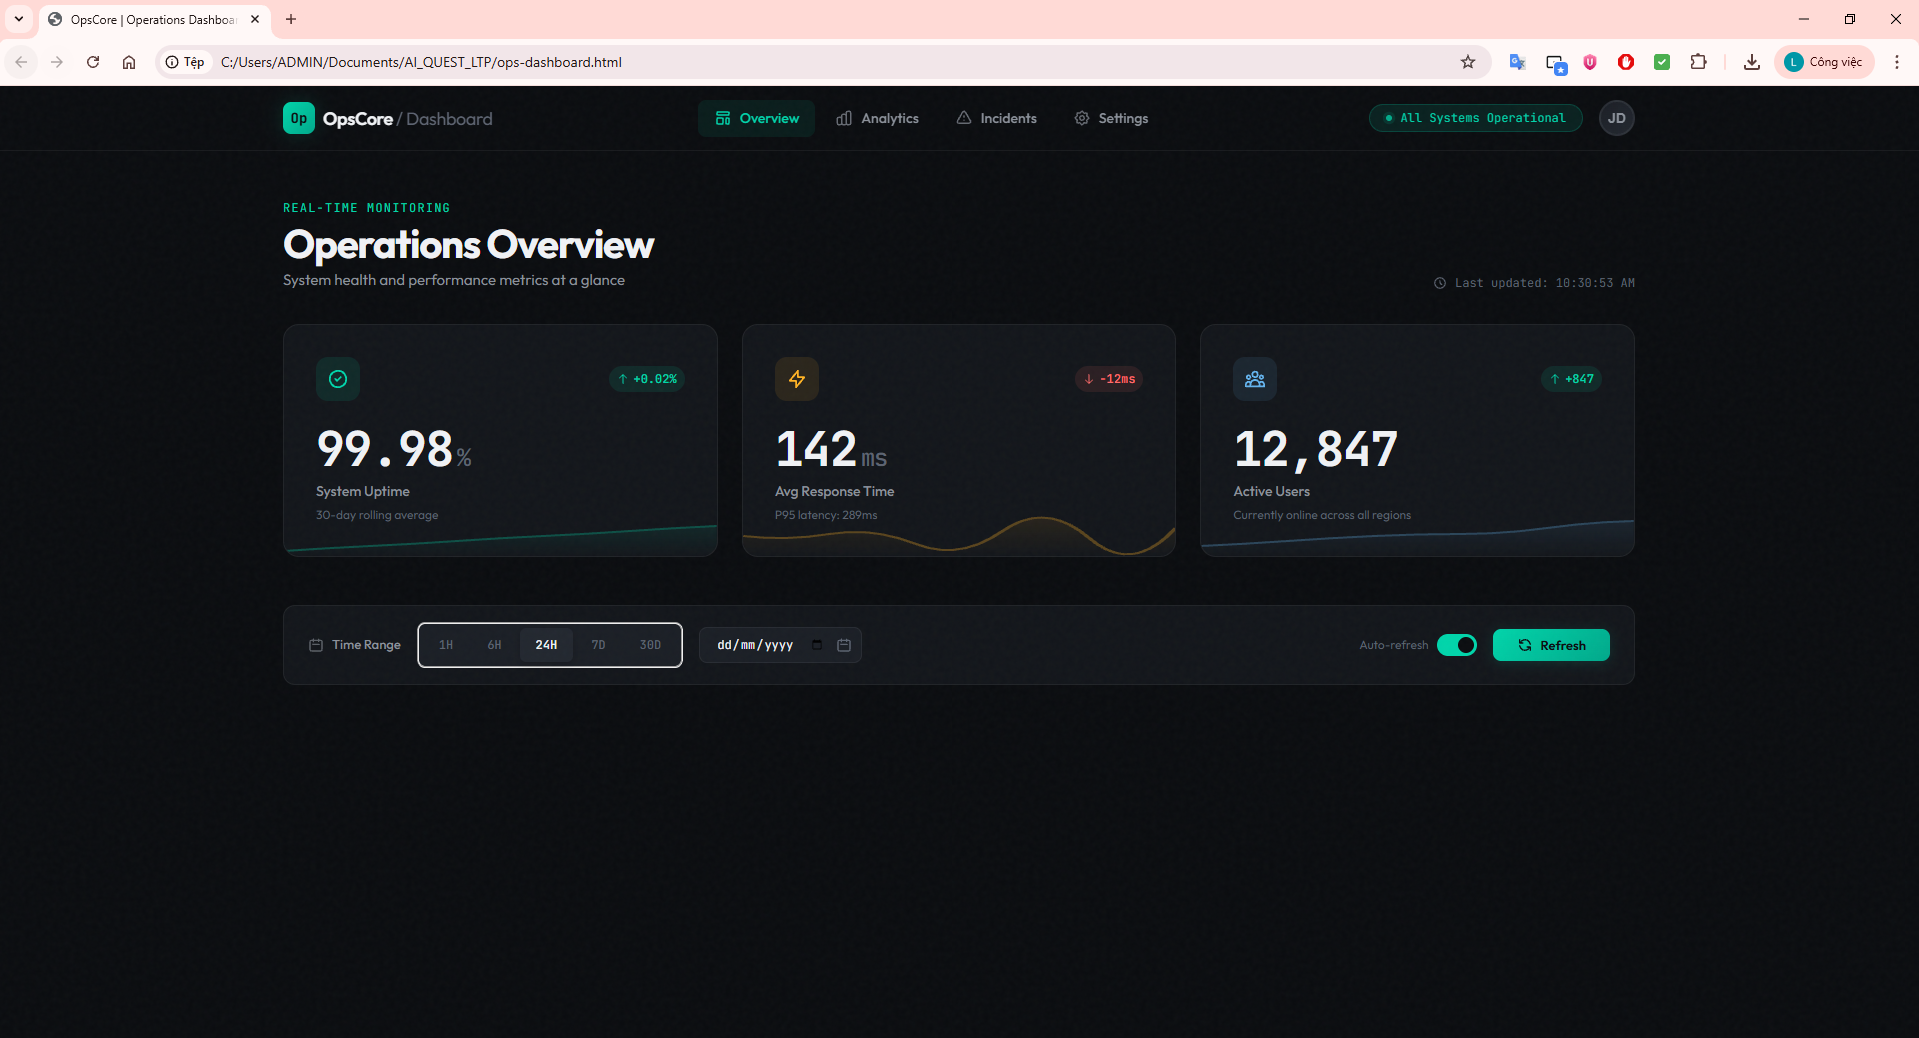
Browser screen with with-skill file.
Step 6: Compare and note differences
Comparison checklist:
- Typography: Does the display font (heading) use a special font? Does the body font differ from Arial/Inter/Roboto? Does the font scale have clear hierarchy?
- Color: Does the palette have clear “dominant + accent” colors, avoiding “purple gradient on white” (AI cliché)? Does the background have texture/noise/gradient depth?
- Motion: Does page load have reveal animation? Do hover states have micro-interactions? Is motion focused on 1–2 key moments, not scattered?
- Layout: Does the composition have asymmetry/overlap/diagonal flow? Is negative space intentional? Are there elements that break the grid?
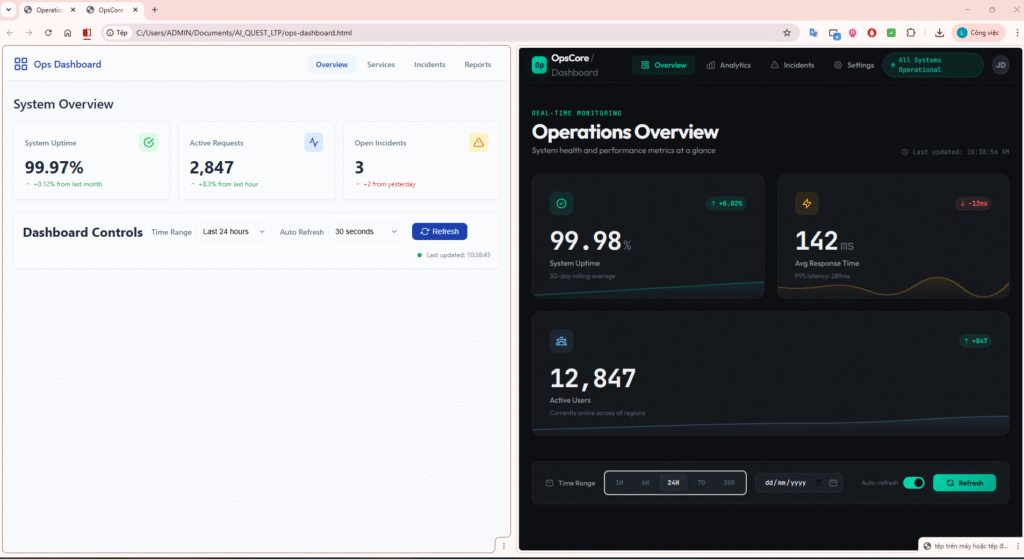
Side-by-side comparison of the two screens for visual comparison.
5. Conclusion
Claude Code’s frontend-design skill helps create high-quality frontend interfaces, avoiding the “generic” UIs commonly seen in AI products. Through the A/B test demo, we can clearly see the differences:
- Typography: unique fonts with clear hierarchy, avoiding common fonts like Arial, Inter, Roboto
- Color Palette: clear dominant and accent colors, avoiding cliché gradients
- Motion & Animation: subtle motion effects focused on key moments
- Layout & Composition: creative layouts with asymmetry, overlap, and intentional negative space
Using this skill helps Claude Code generate production-ready frontend code with a clear aesthetic direction, suitable for specific contexts and target users.
Note: For the skill to work effectively, ensure the plugin is Enabled and your prompt is clear about frontend requirements (page/component/app). An A/B test comparison with the same prompt will help you see the differences clearly.
6. References
- Marketplace repo:
https://github.com/anthropics/claude-plugins-official - Frontend-design plugin (in repo):
plugins/frontend-design - Source Code Demo: https://github.com/phatltscuti/claude-skills-of-frontend-design