PART 1: FEATURE OVERVIEW Fill with Gemini is a smart feature in Google Sheets designed to transform spreadsheets from rigid grids into context-aware assistants....
If you have ever used AI to generate presentation slides before—whether through extensions or third-party tools—you have probably faced the frustration of receiving your...
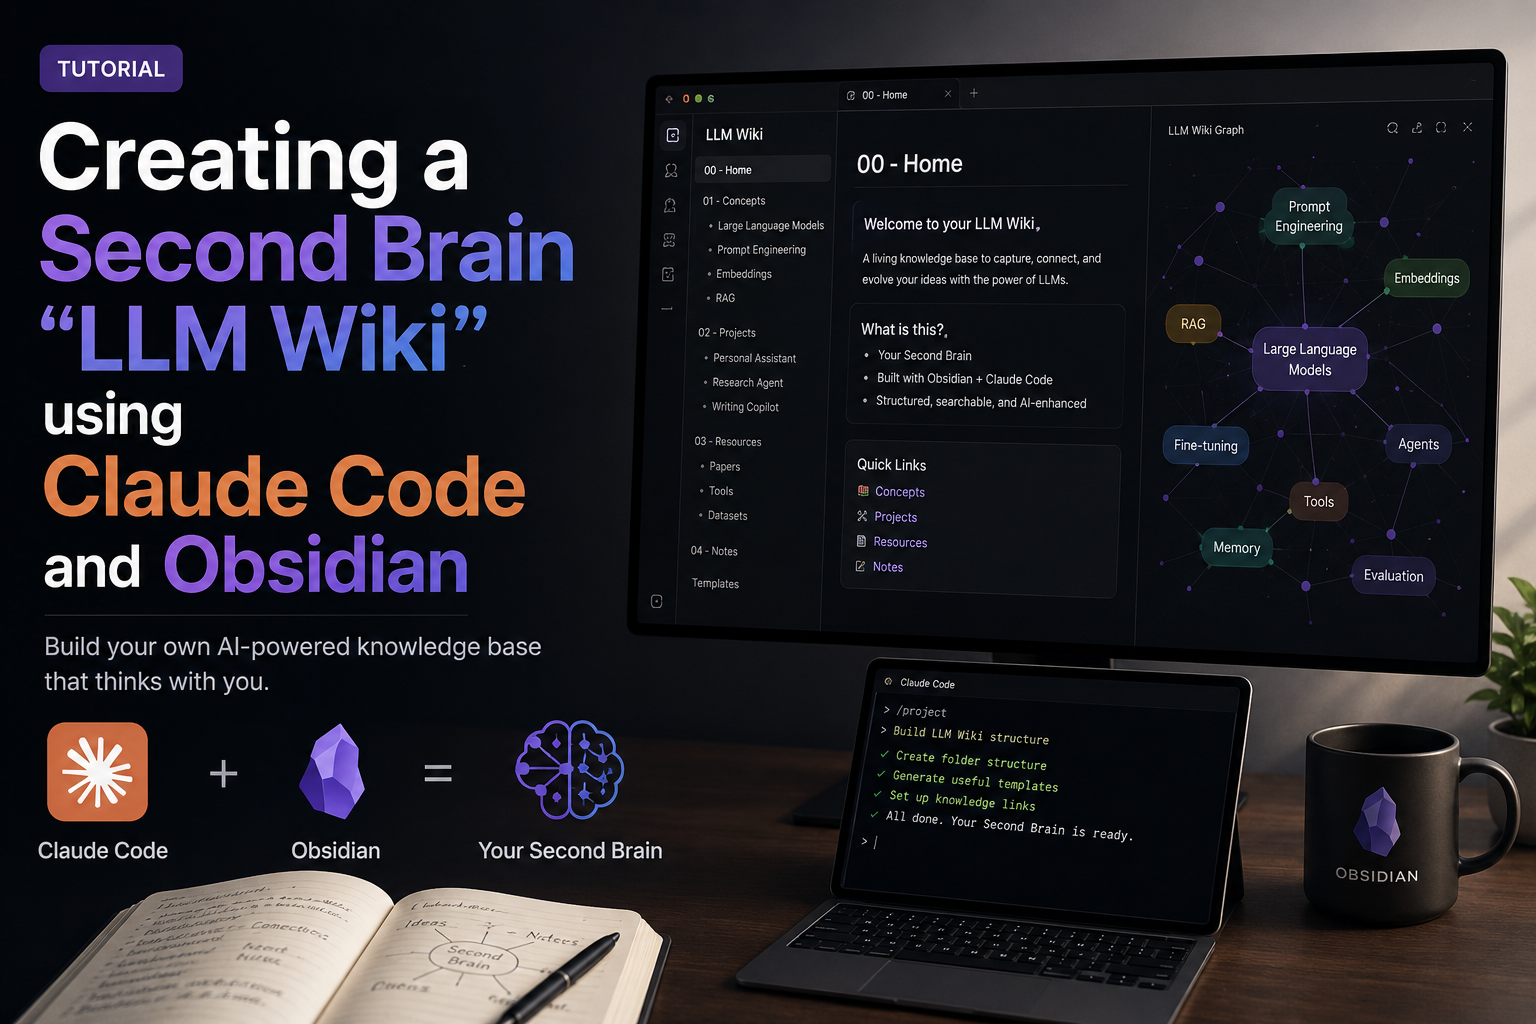
1. Introduction 2. What is LLM Wiki? 3. Download Obsidian 4. Downloaded the Obsidian extension “Obsidian Web Clipper”. Link download: https://obsidian.md/clipper 5. Create a...
Manually processing resumes is one of the most time-consuming tasks for HR departments. When candidates submit PDFs, recruiters often waste valuable hours copying and...
As developers and tech professionals, we love building solutions, but building the presentation to sell those solutions? That is often a different story. When...