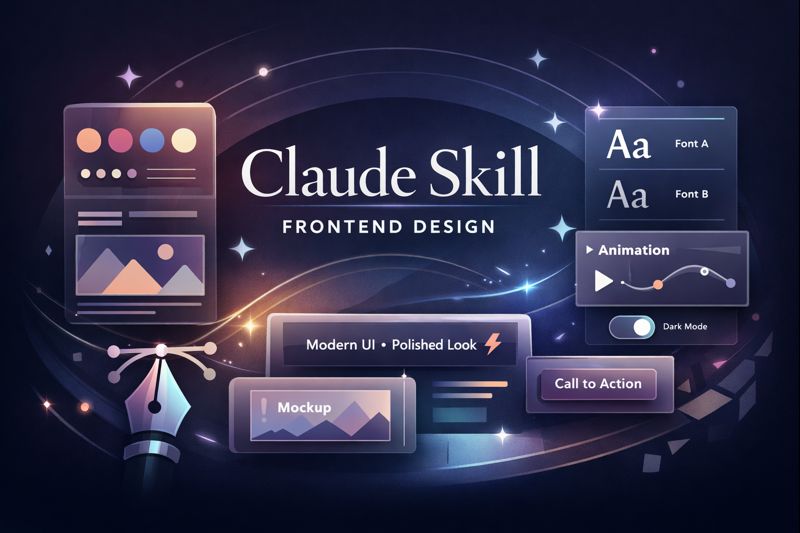
1. What is the frontend-design Skill? The frontend-design Skill is designed to enhance Claude’s ability to generate well-structured, visually appealing frontend code. When enabled,...
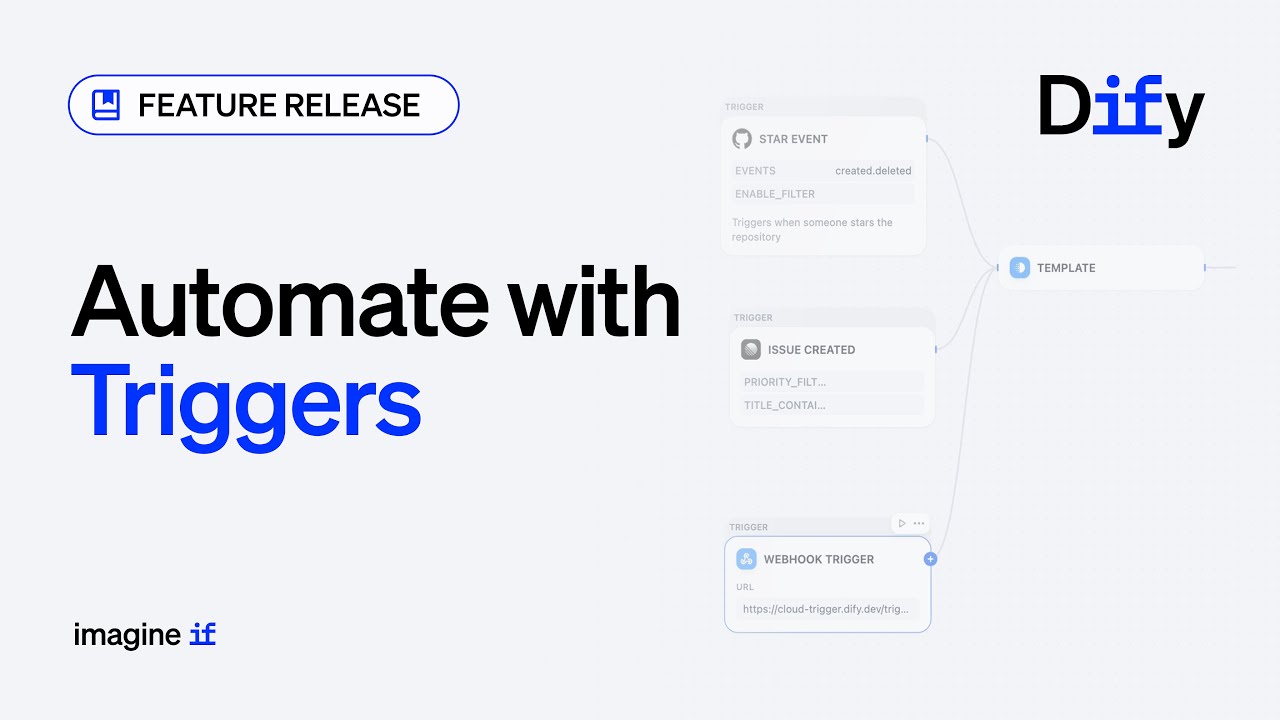
Dify Workflows are great at orchestrating LLMs, tools, and business logic. But there’s a question that becomes unavoidable once you move beyond a few...
As Artificial Intelligence (AI) continues to evolve, agents—intelligent entities that can reason, act, and collaborate—are becoming the backbone of the next wave of AI...
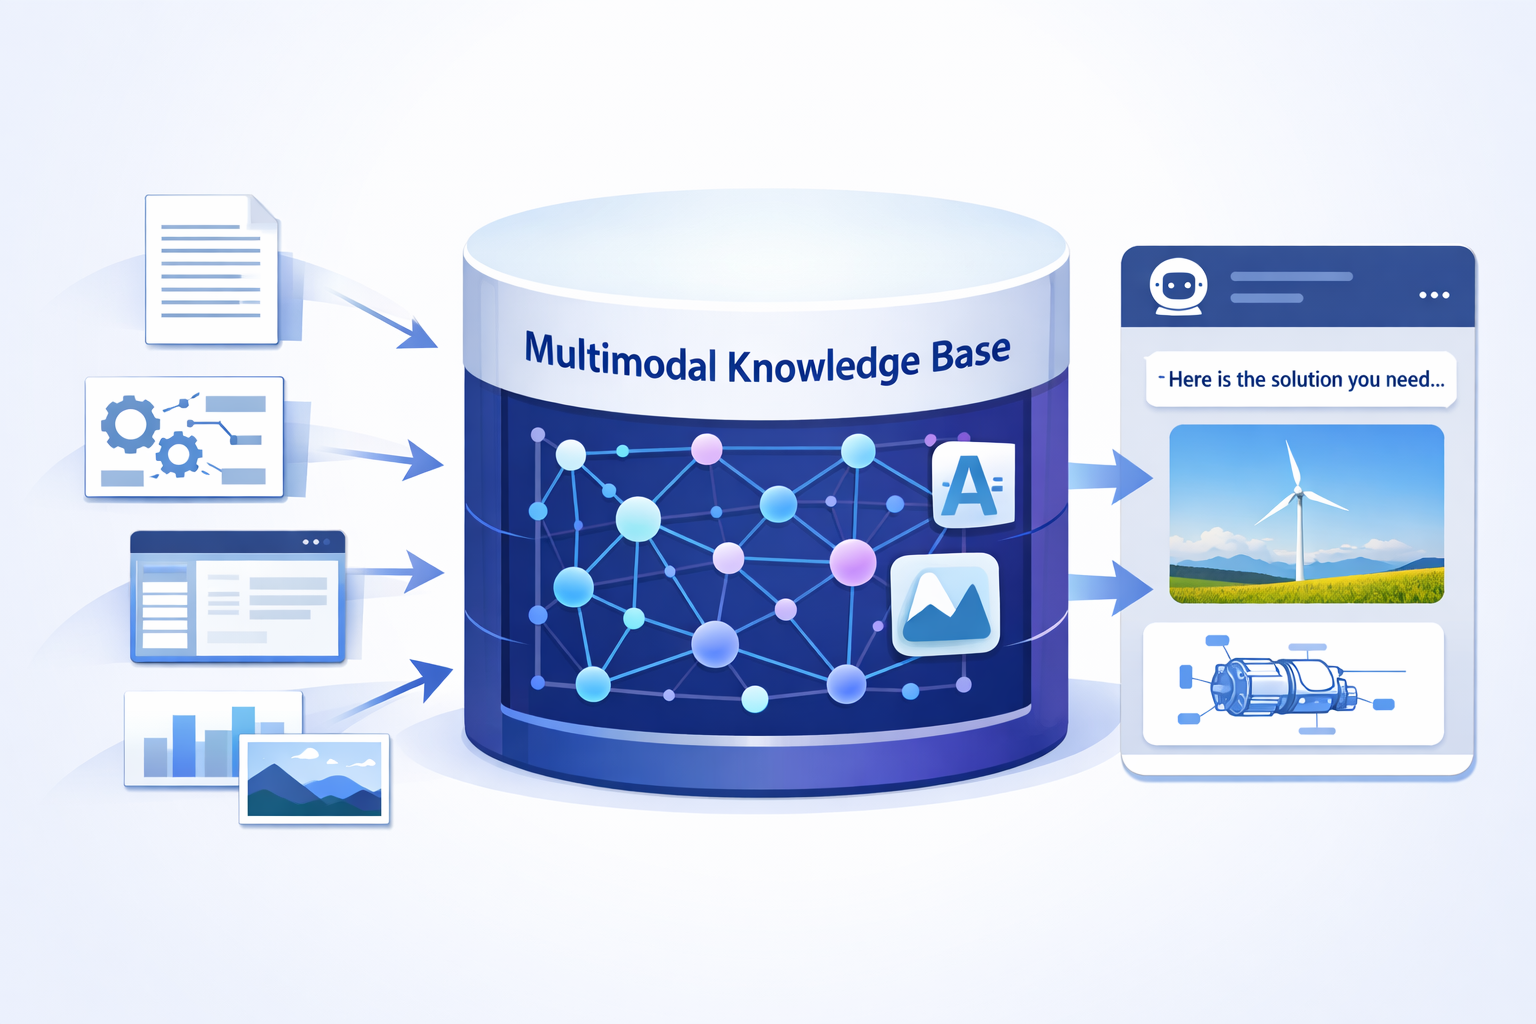
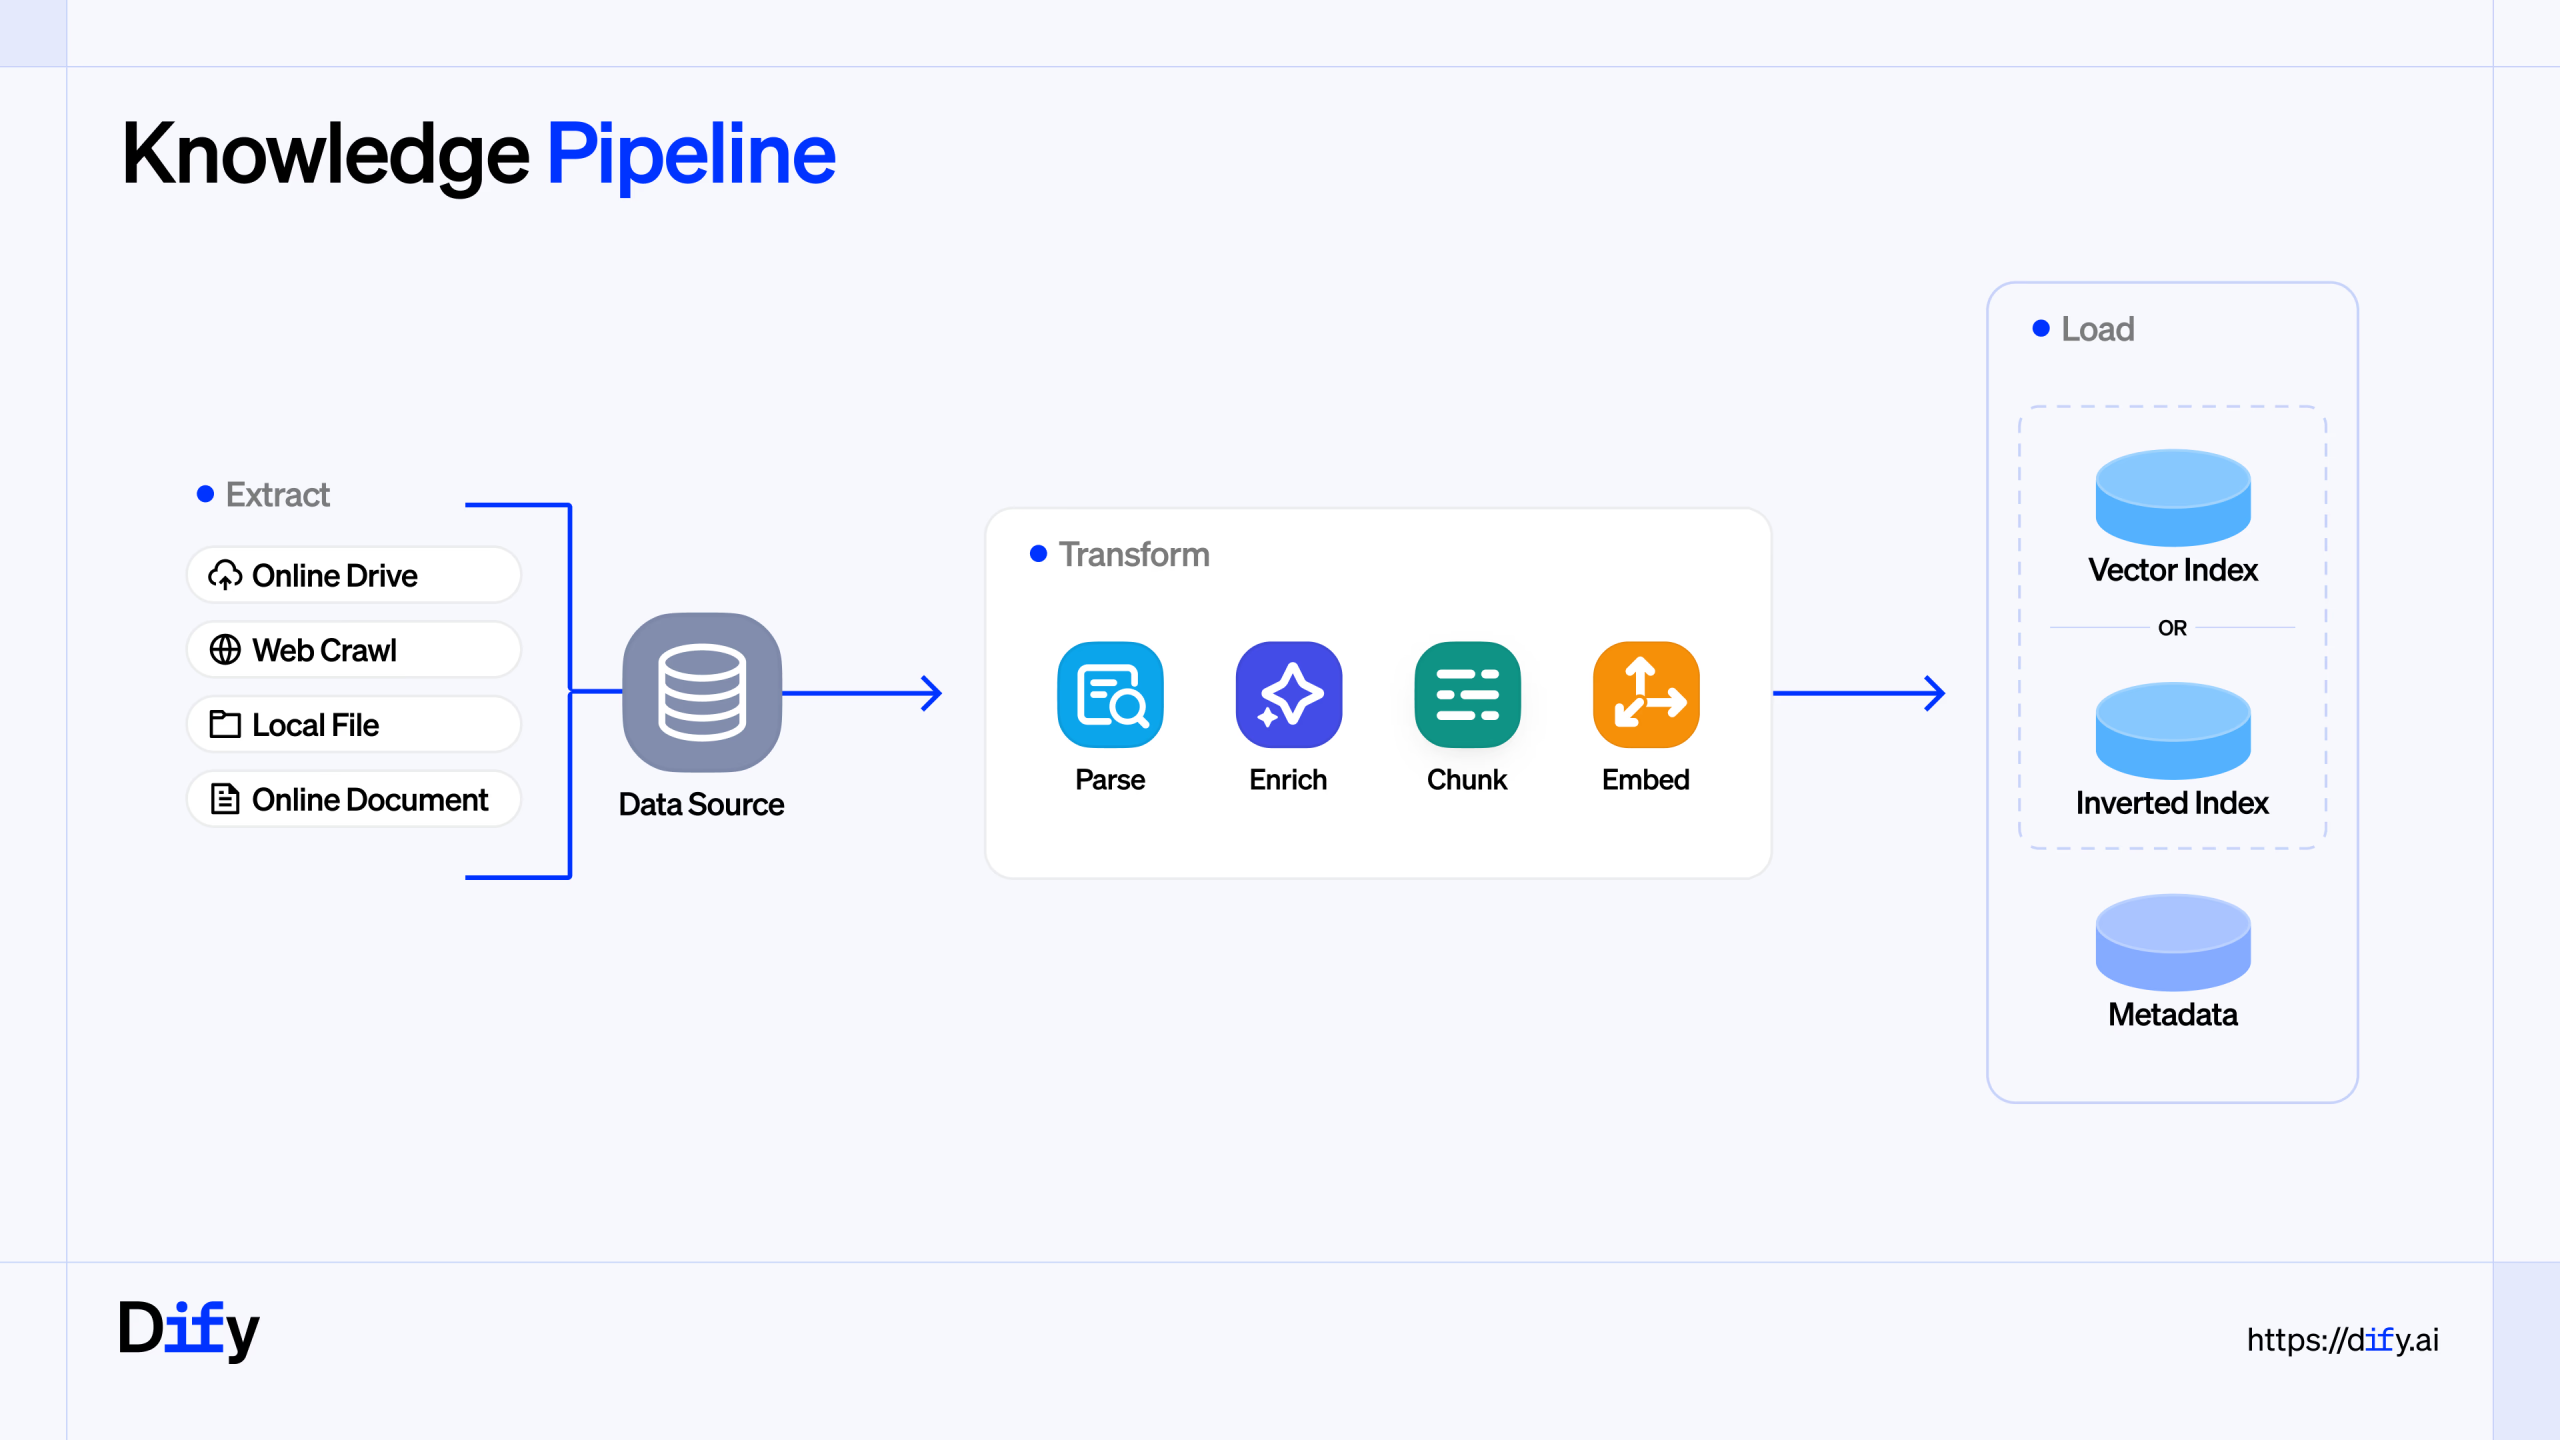
In today’s data-driven world, the ability to transform messy, unstructured enterprise data into valuable, actionable insights is a game-changer. But let’s face it, the...
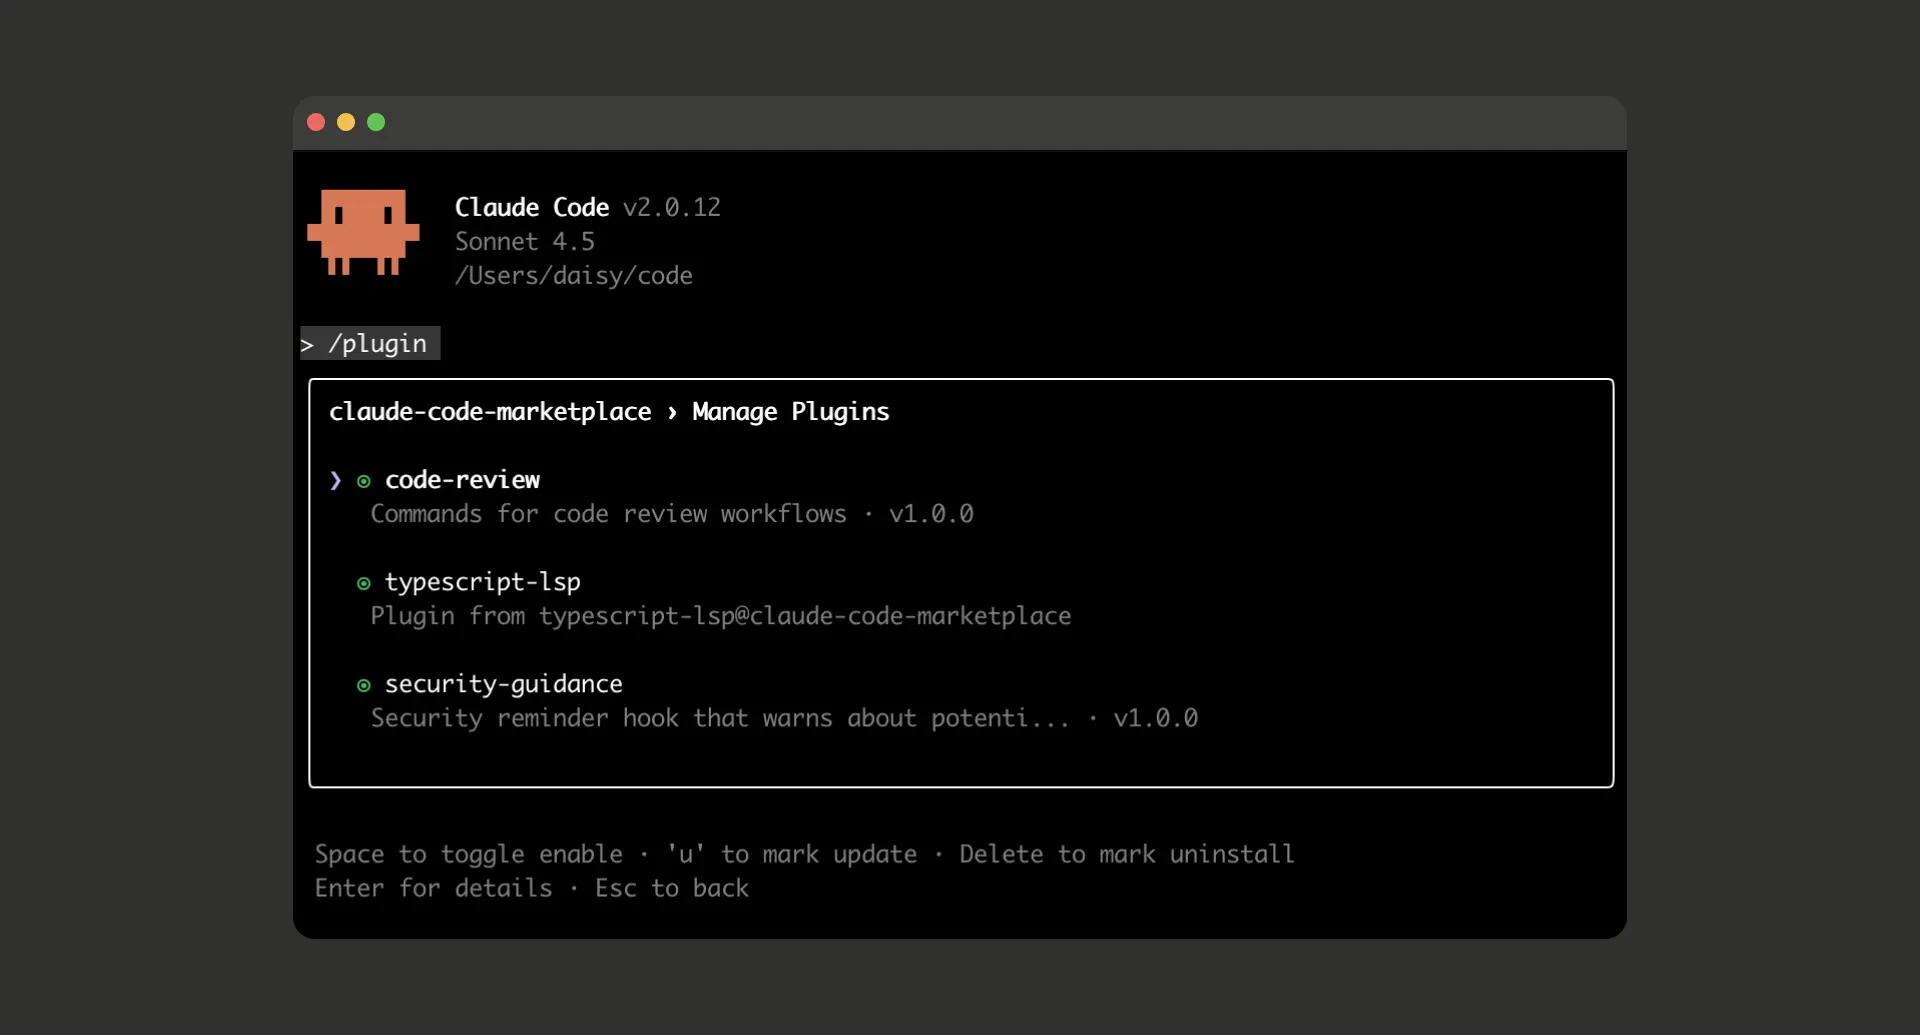
Introduction Claude Code now supports plugins — modular extensions that let you customize and extend Claude Code’s capabilities by bundling slash commands, agents (subagents),...
Jules is Google’s asynchronous AI coding agent that integrates directly with your GitHub repositories to perform tasks like fixing bugs, writing tests, building new...
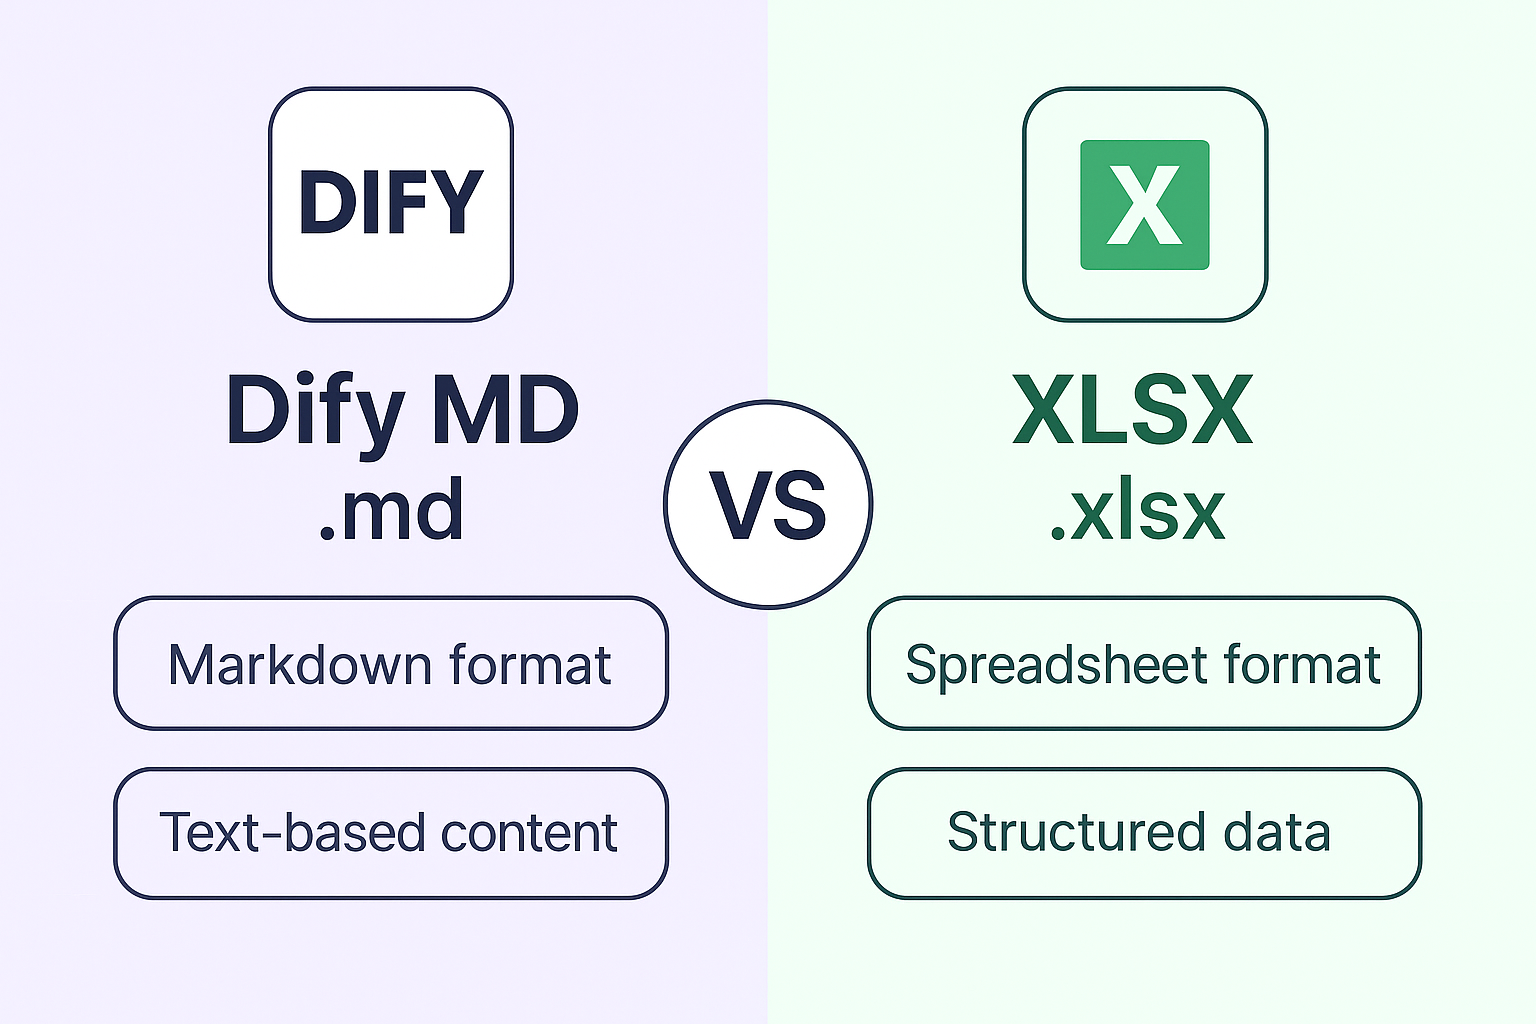
Why Use Markdown? 1. Better AI Processing Semantic understanding: AI models process continuous text more effectively than fragmented cell data Context preservation: Paragraph-based content...
Introduction Genspark AI Docs is the world’s first fully-agentic AI-powered document creation tool, designed to automatically generate comprehensive documents. It leverages advanced AI agents...
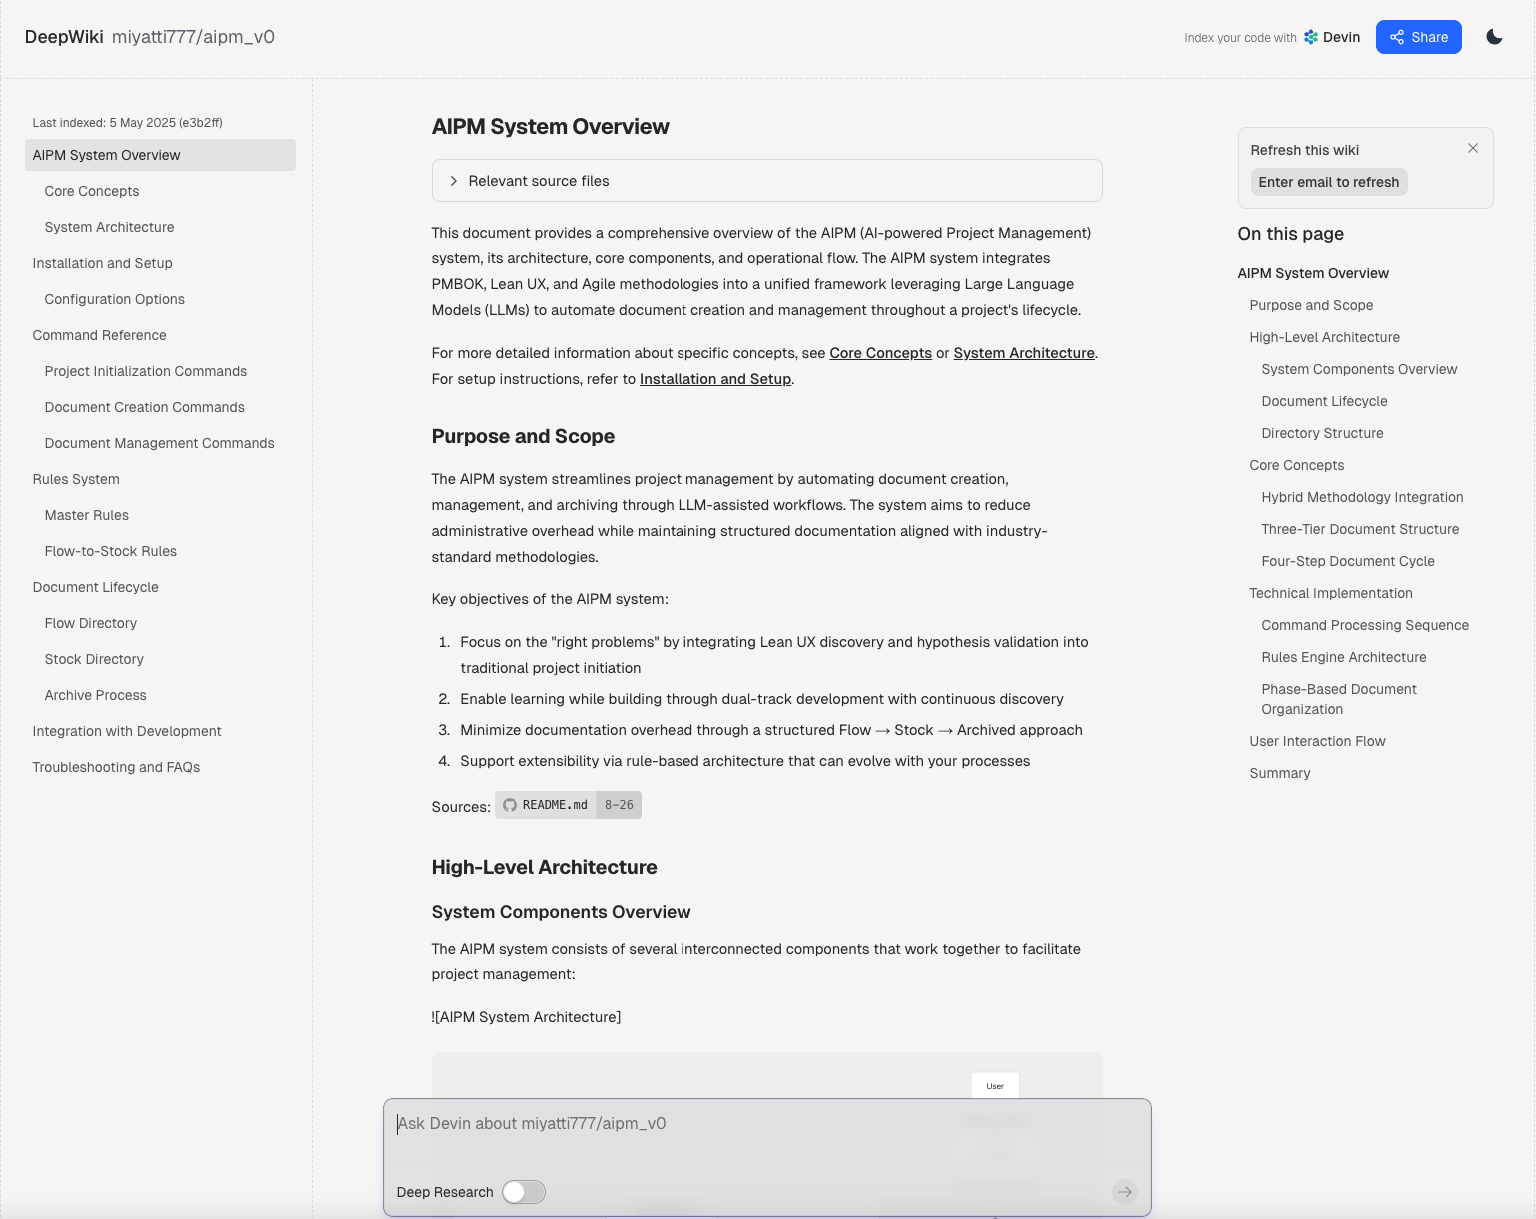
Introduction AIPM (AI‑powered Project Management) v0 is an innovative framework designed by Miyatti that uses PMBOK, Lean UX, and Agile methodologies—streamlines the project lifecycle...