Introduction Google Stitch is Google’s new AI-powered interface design tool that helps users quickly create mockups and prototypes for web/mobile applications. With AI assistance, even those...
2 Rename and paste code Rename to templates.gs → Paste code: templates.gs // Add menu to Google Sheets function onOpen() { SpreadsheetApp.getUi() .createMenu('Slide Generator')...
Google Stitch: Creating UI Mockups with AI A practical walkthrough and evaluation of Google Stitch for UI mockup creation 1. Main Features Summary 2....
🎭 Revolutionizing Test Automation with Playwright Agents How AI-Powered Agents are Transforming E2E Testing 📅 October 2025 ⏱️ 5 min read 🏷️ Testing,...
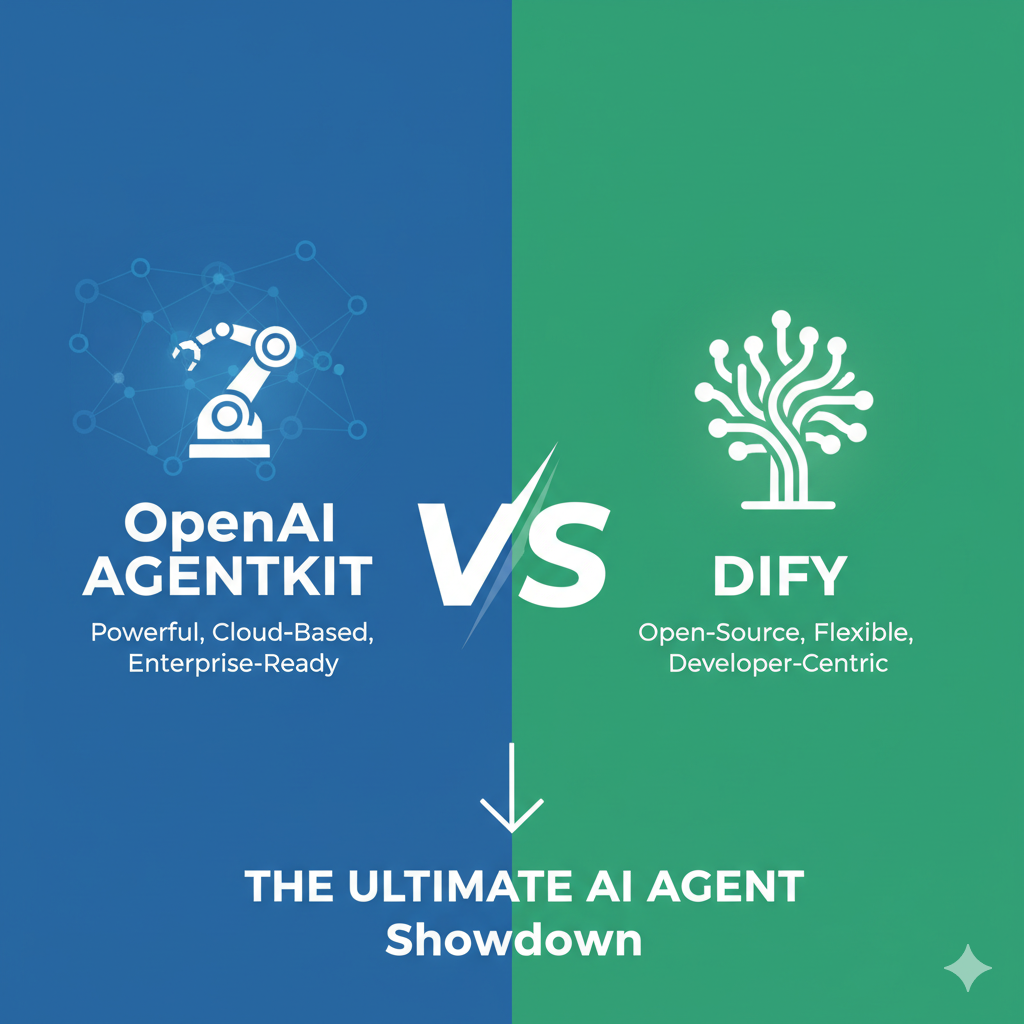
🤖 OpenAI AgentKit vs Dify A Comprehensive Technical Comparison of Two Leading AI Agent Development Platforms Last Updated: October 2025 | DevDay 2025 Analysis...