1. What is Remotion?
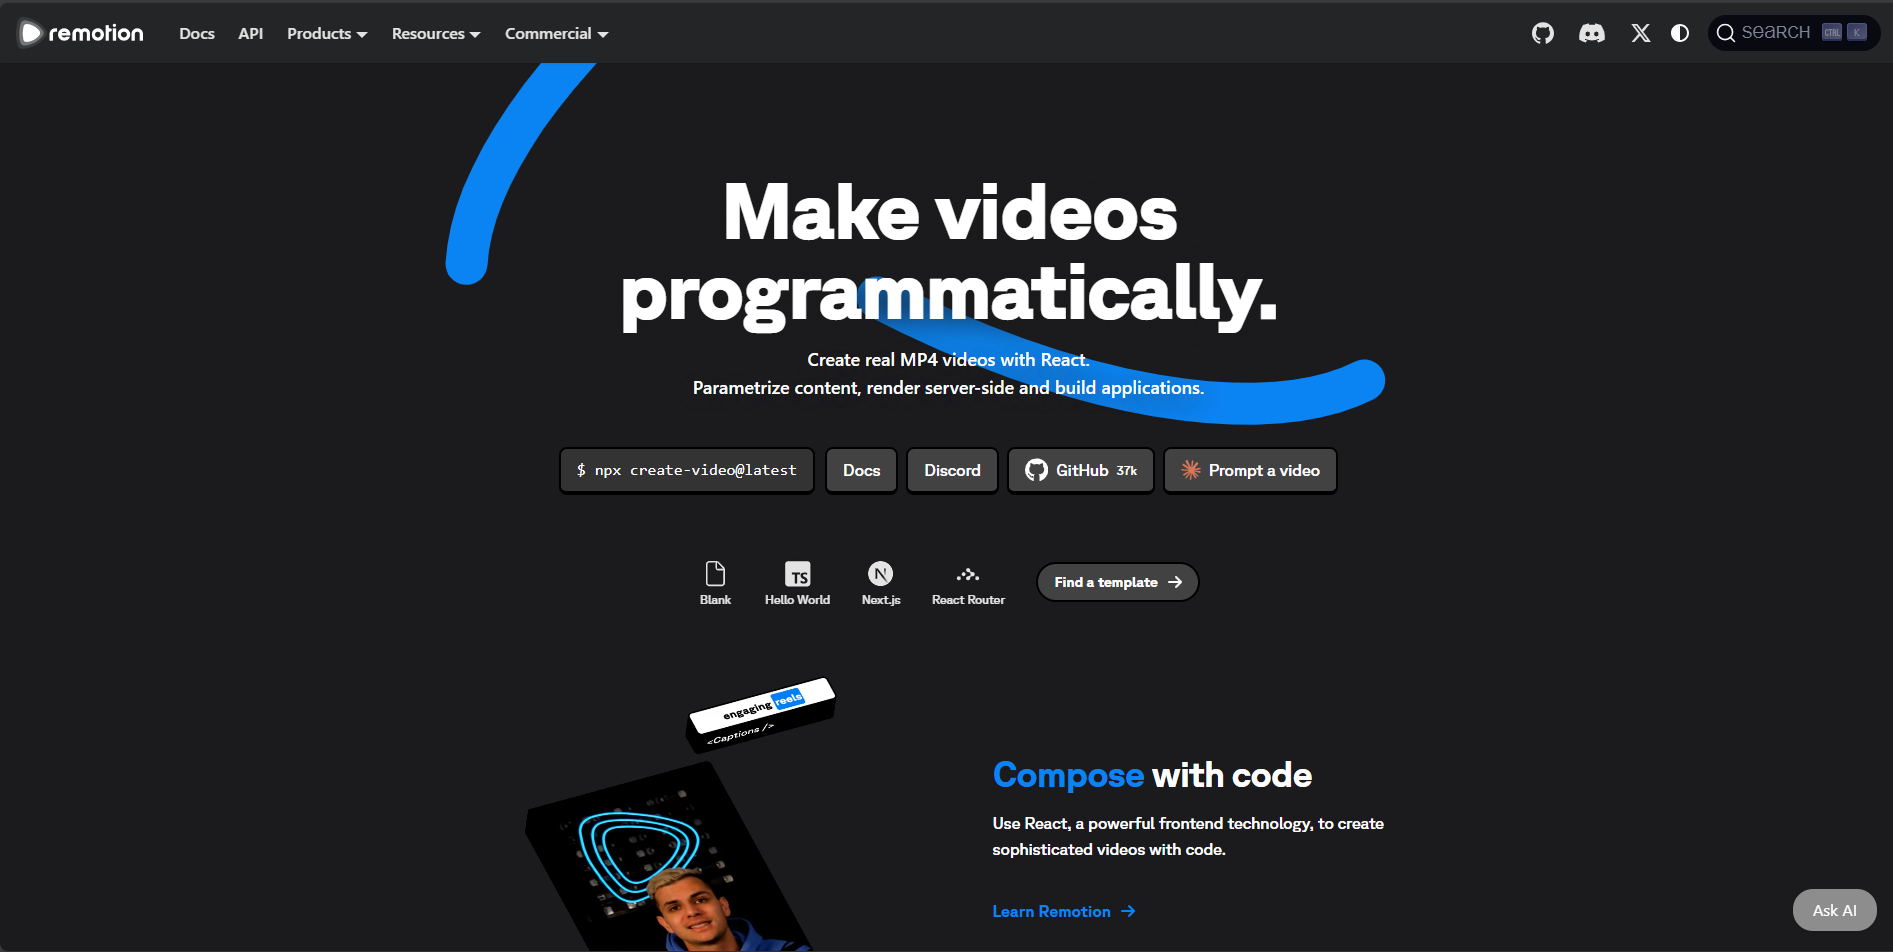
Remotion is an open-source framework that allows developers to create real videos using React and JavaScript instead of traditional video editing software. Instead of dragging layers on a timeline like in Premiere or After Effects, you write React components. Each frame of the video is rendered from your code.
This means:
-
🎬 Videos are generated from logic
-
📊 Videos can be data-driven
-
🔁 You can render thousands of personalized videos
-
☁️ You can scale rendering in the cloud
It is especially powerful for:
-
Automated marketing videos
-
Social media content generation
-
Dashboard/video reports
-
Dynamic intro animations
-
AI-generated videos
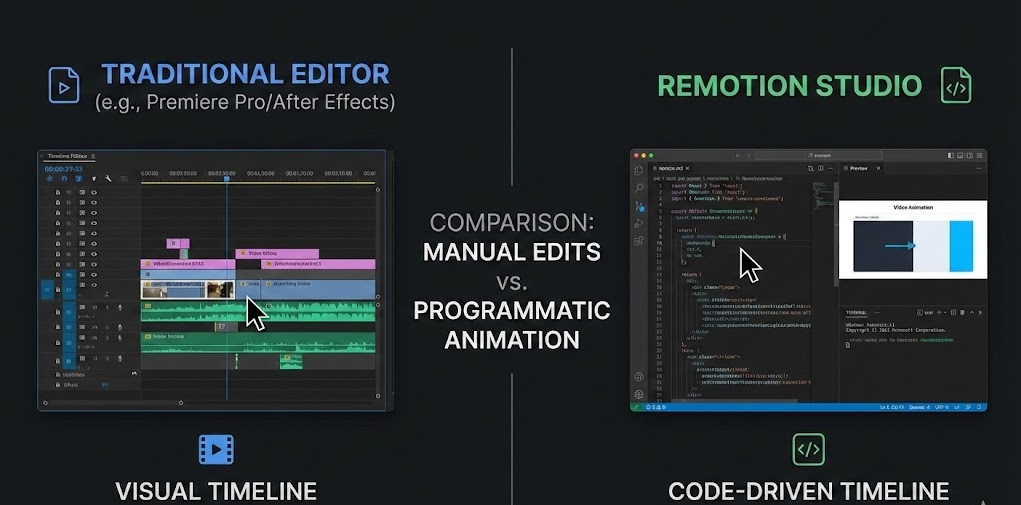
2. Why Use Remotion Instead of Traditional Video Editors?
Traditional editors:
-
Manual timeline editing
-
Hard to automate
-
Hard to version control
-
Not scalable
Remotion:
-
Everything is code
-
Git-friendly
-
Reusable components
-
Fully programmable animation
Think of it like: “After Effects for developers”
If you know React, you already know 70% of Remotion.
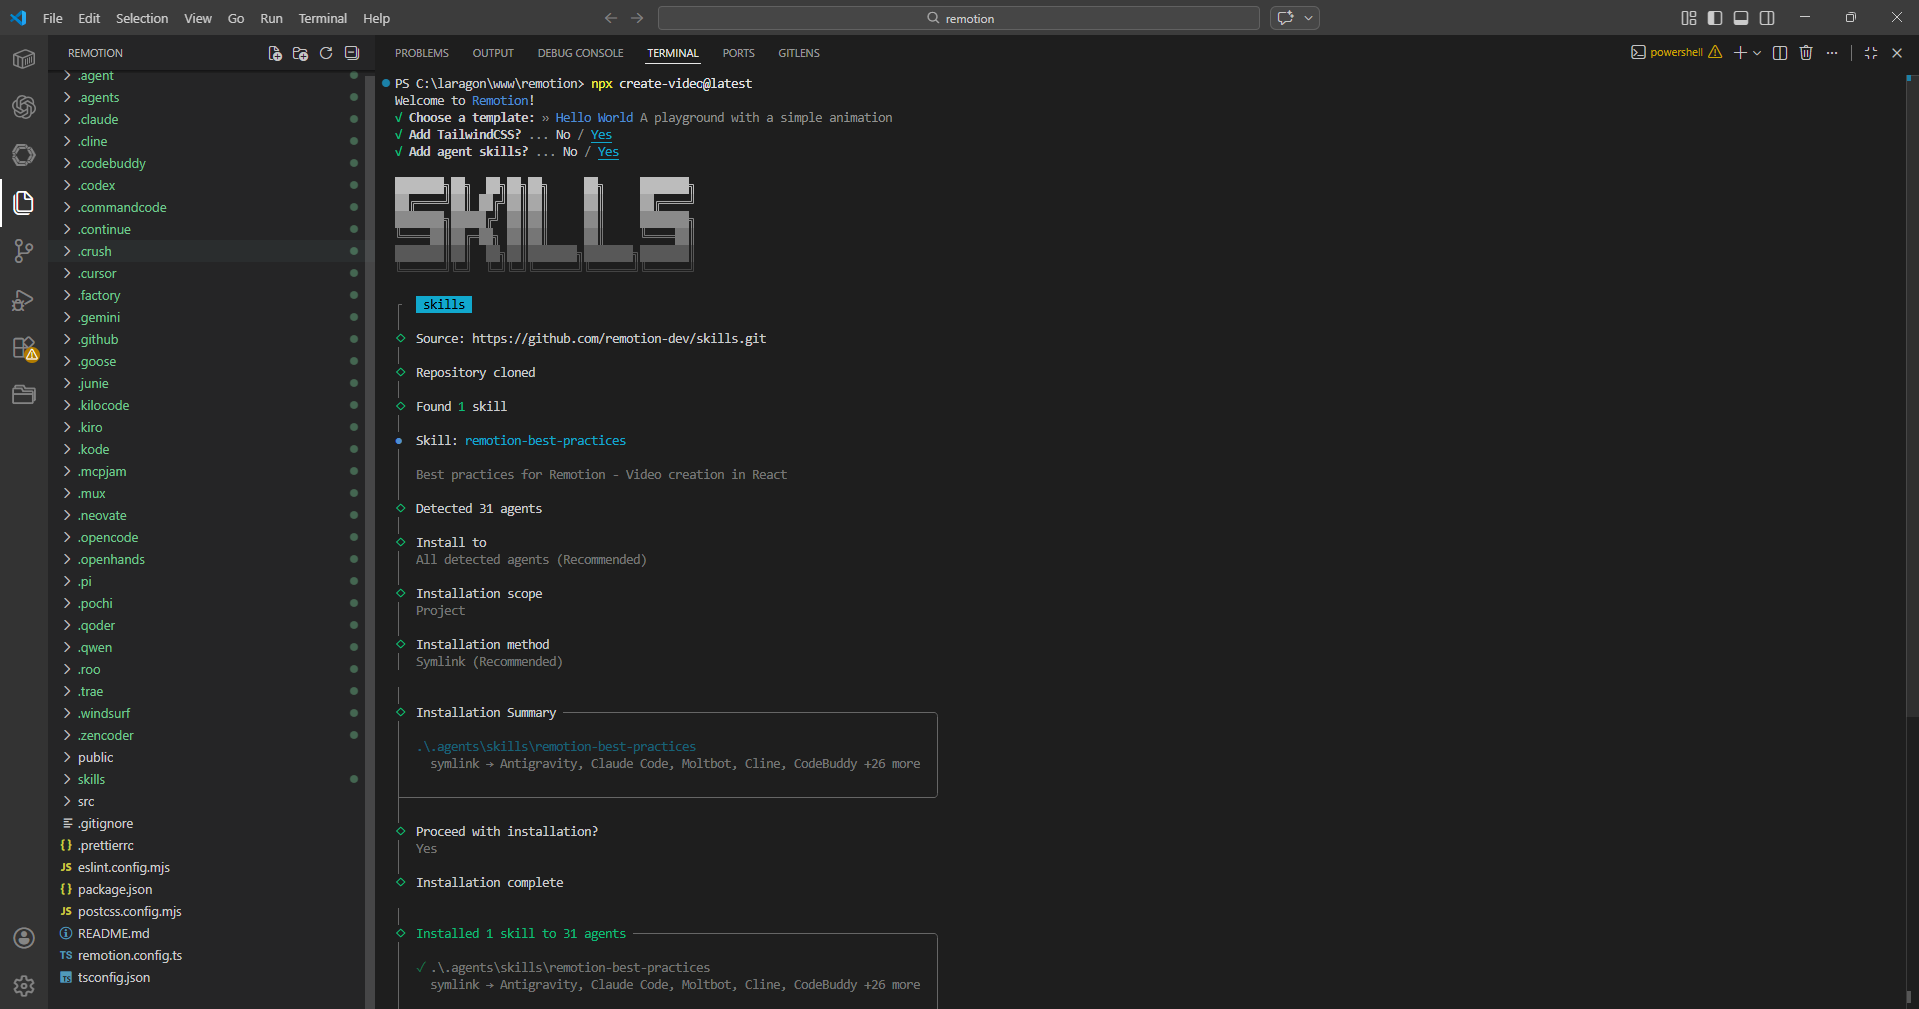
3. Installing Remotion (Step-by-Step)
Prerequisites
-
Node.js (v16+ recommended)
-
npm / yarn / pnpm
Step 1: Create a New Project
Run:
Then choose:
-
Project name
-
Template (Select “Hello World”)
This command scaffolds:
-
React setup
-
Remotion configuration
-
Example composition
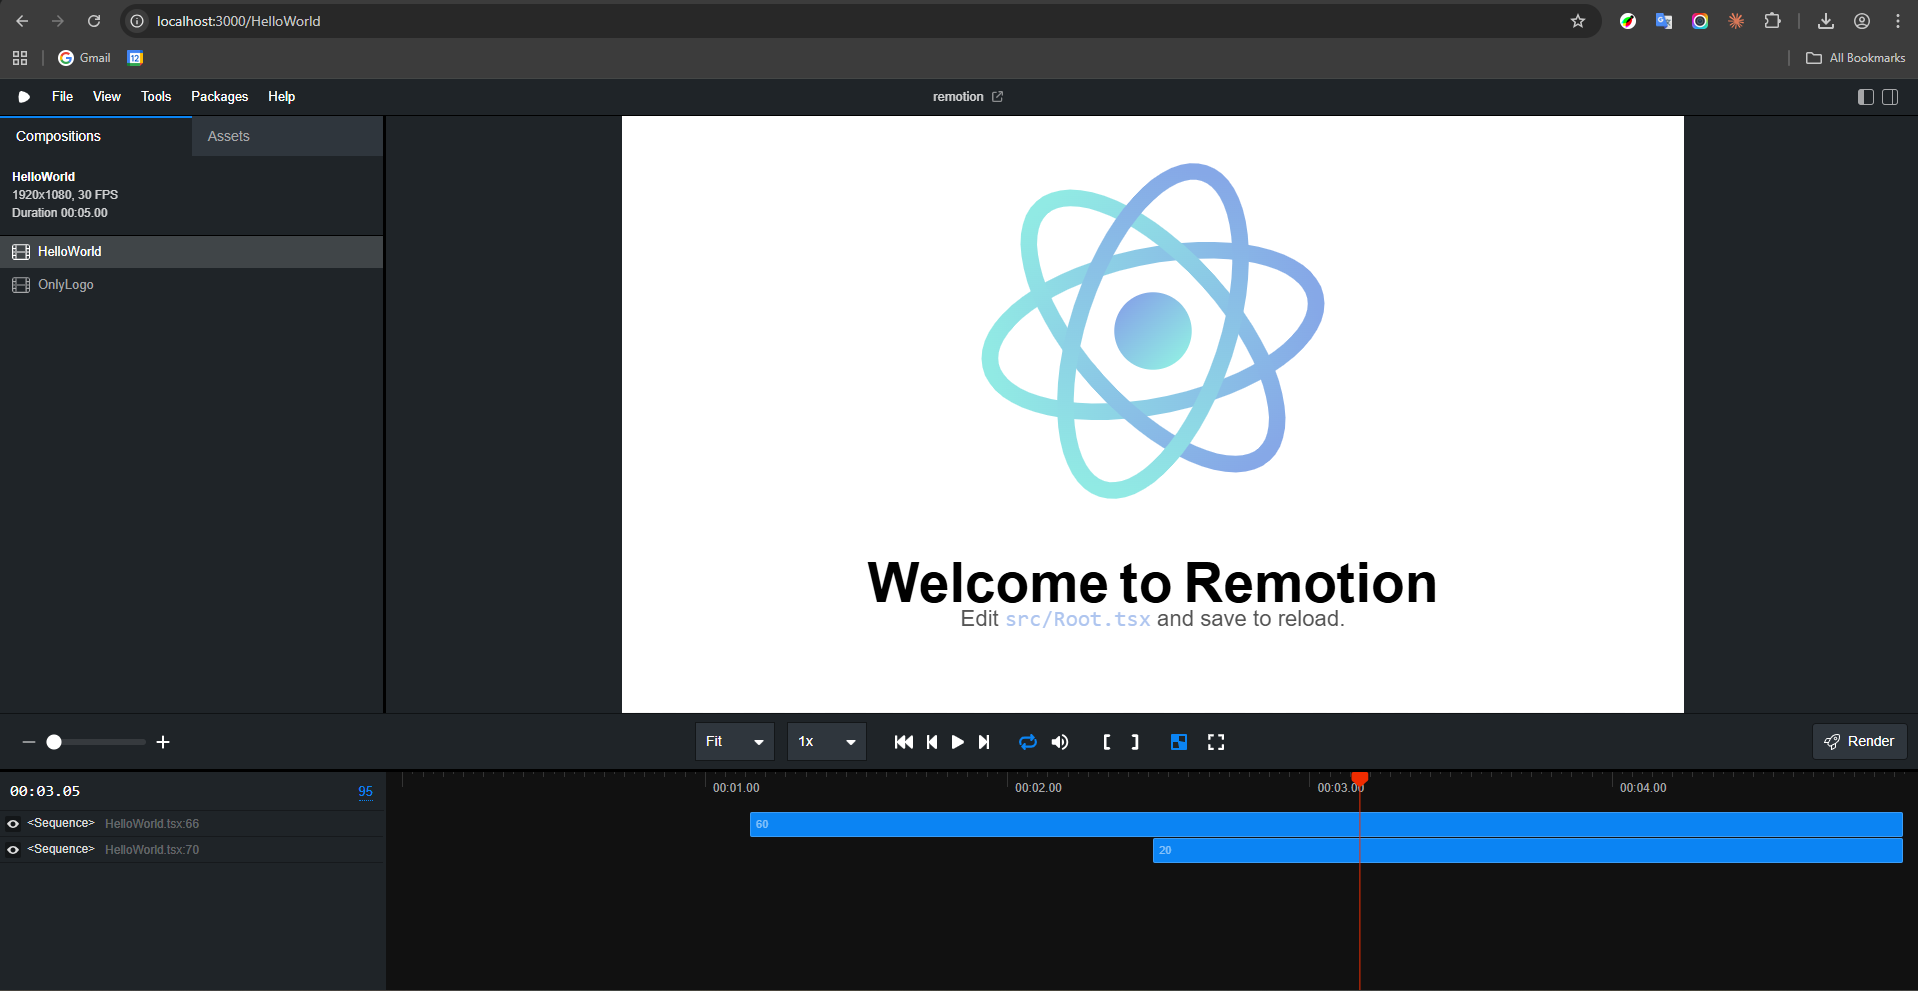
4. Running Remotion Studio
After installation:
Then open:
You will see:
-
Video preview
-
Timeline
-
Frame scrubber
-
Composition list
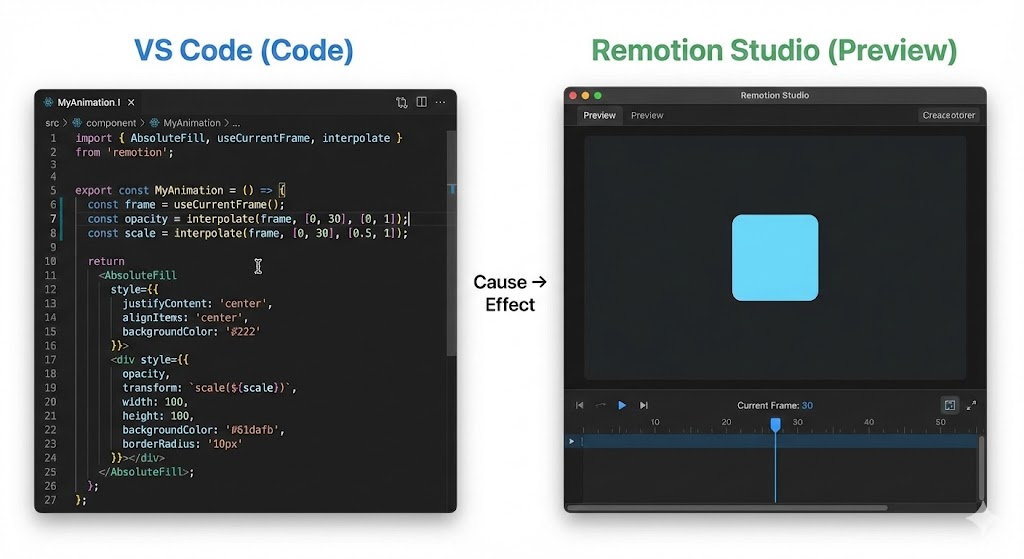
5. Understanding How Remotion Works
Remotion renders videos frame by frame.
Every frame:
-
React component executes
-
Frame number changes
-
UI updates
-
Frame exported as image
-
All images encoded into mp4
Core concepts:
1️⃣ useCurrentFrame()
Returns current frame number.
2️⃣ interpolate()
Maps frame range into animation values.
3️⃣ AbsoluteFill
Full-screen container component.
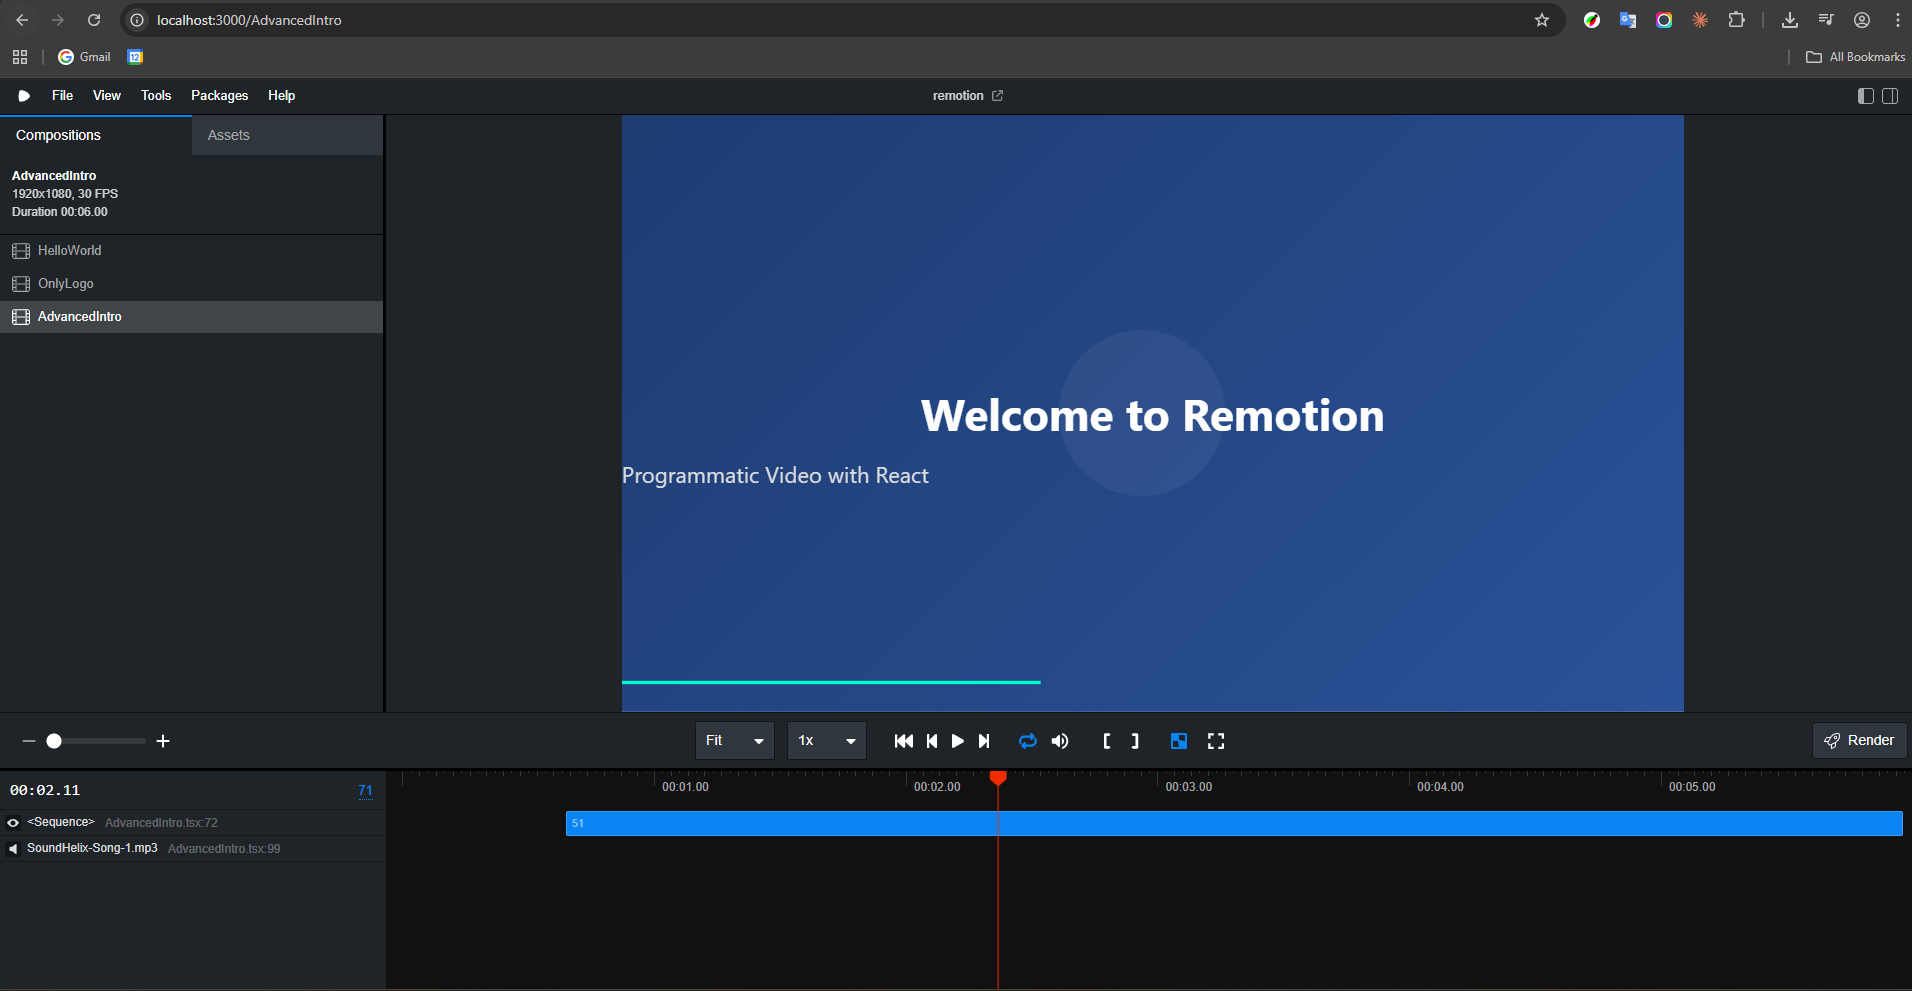
6. Creating a Simple Sample Video
This example will include:
-
Animated gradient background
-
Spring title animation
-
Subtitle slide-in
-
Floating circles
-
Progress bar
-
Background audio
📁 Which File To Replace?
If you used the Hello World template, replace:
If you used Blank template:
Create:
Then register it inside Root.tsx.
🧠 Full Advanced Example Code
Replace your component with:
AbsoluteFill,
useCurrentFrame,
useVideoConfig,
interpolate,
spring,
Sequence,
Audio
} from “remotion”;
export const AdvancedIntro: React.FC = () => {
const frame = useCurrentFrame();
const { fps, durationInFrames } = useVideoConfig();
// Spring animation for title
const scale = spring({
frame,
fps,
config: {
damping: 100,
stiffness: 200,
},
});
// Subtitle slide animation
const translateY = interpolate(frame, [20, 60], [100, 0], {
extrapolateLeft: “clamp”,
});
// Progress bar animation
const progress = interpolate(
frame,
[0, durationInFrames],
[0, 100]
);
return (
<AbsoluteFill
style={{
background: `linear-gradient(135deg, #1e3c72, #2a5298)`,
justifyContent: “center”,
alignItems: “center”,
overflow: “hidden”
}}
>
{/* Background floating circles */}
<div
style={{
position: “absolute”,
width: 300,
height: 300,
borderRadius: “50%”,
backgroundColor: “rgba(255,255,255,0.05)”,
transform: `translateX(${Math.sin(frame / 20) * 50}px)`
}}
/>
{/* Title */}
<div
style={{
fontSize: 80,
fontWeight: “bold”,
color: “white”,
transform: `scale(${scale})`,
textAlign: “center”
}}
>
Welcome to Remotion
</div>
{/* Subtitle */}
<Sequence from={20}>
<div
style={{
position: “absolute”,
top: “60%”,
fontSize: 40,
color: “#ddd”,
transform: `translateY(${translateY}px)`
}}
>
Programmatic Video with React
</div>
</Sequence>
{/* Progress Bar */}
<div
style={{
position: “absolute”,
bottom: 50,
left: 0,
height: 6,
width: `${progress}%`,
backgroundColor: “#00ffcc”
}}
/>
{/* Background Music */}
<Audio src=“https://www.soundhelix.com/examples/mp3/SoundHelix-Song-1.mp3” />
</AbsoluteFill>
);
};
🧩 Register It in Root.tsx
Inside src/Root.tsx:
import { AdvancedIntro } from “./AdvancedIntro”;
<Composition
id=“AdvancedIntro”
component={AdvancedIntro}
durationInFrames={180}
fps={30}
width={1920}
height={1080}
/>
🎥 What This Video Now Includes
| Feature | What It Demonstrates |
|---|---|
| spring() | Natural motion animation |
| interpolate() | Frame-to-value mapping |
| Sequence | Timeline control |
| Audio | Sound integration |
| Dynamic background | Math-based animation |
| Progress bar | Duration awareness |
7. Rendering the Final Video
Run:
After rendering:
-
Video exported as mp4
-
Ready for YouTube / TikTok / Instagram
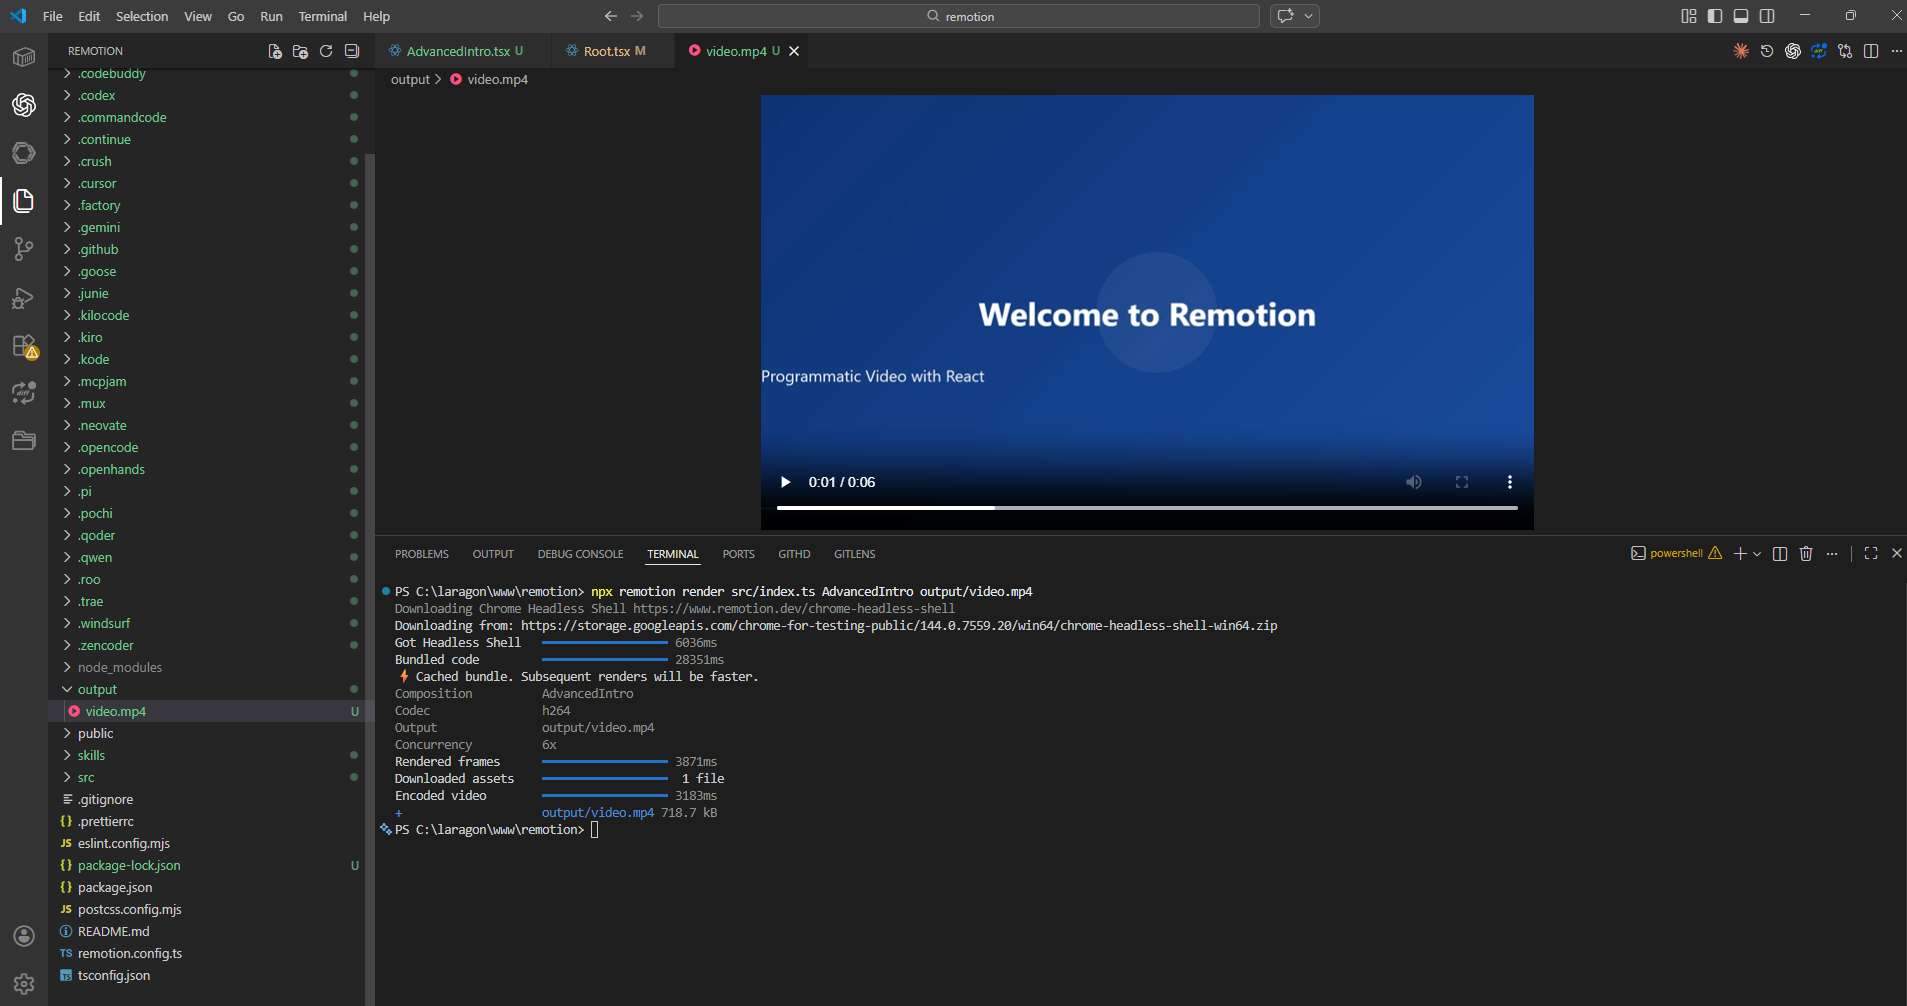
8. Video Demo Section
9. When Should You Use Remotion?
Remotion is ideal when:
-
You need automated video generation
-
You want data-driven content
-
You build SaaS tools that generate videos
-
You want scalable video rendering
Not ideal when:
-
You prefer manual artistic editing
-
Complex cinematic timeline editing required
10. Final Thoughts
Remotion bridges the gap between:
-
Software engineering
-
Video production
If you are a developer, this tool unlocks an entirely new creative workflow.
Instead of editing videos,
you now engineer them.