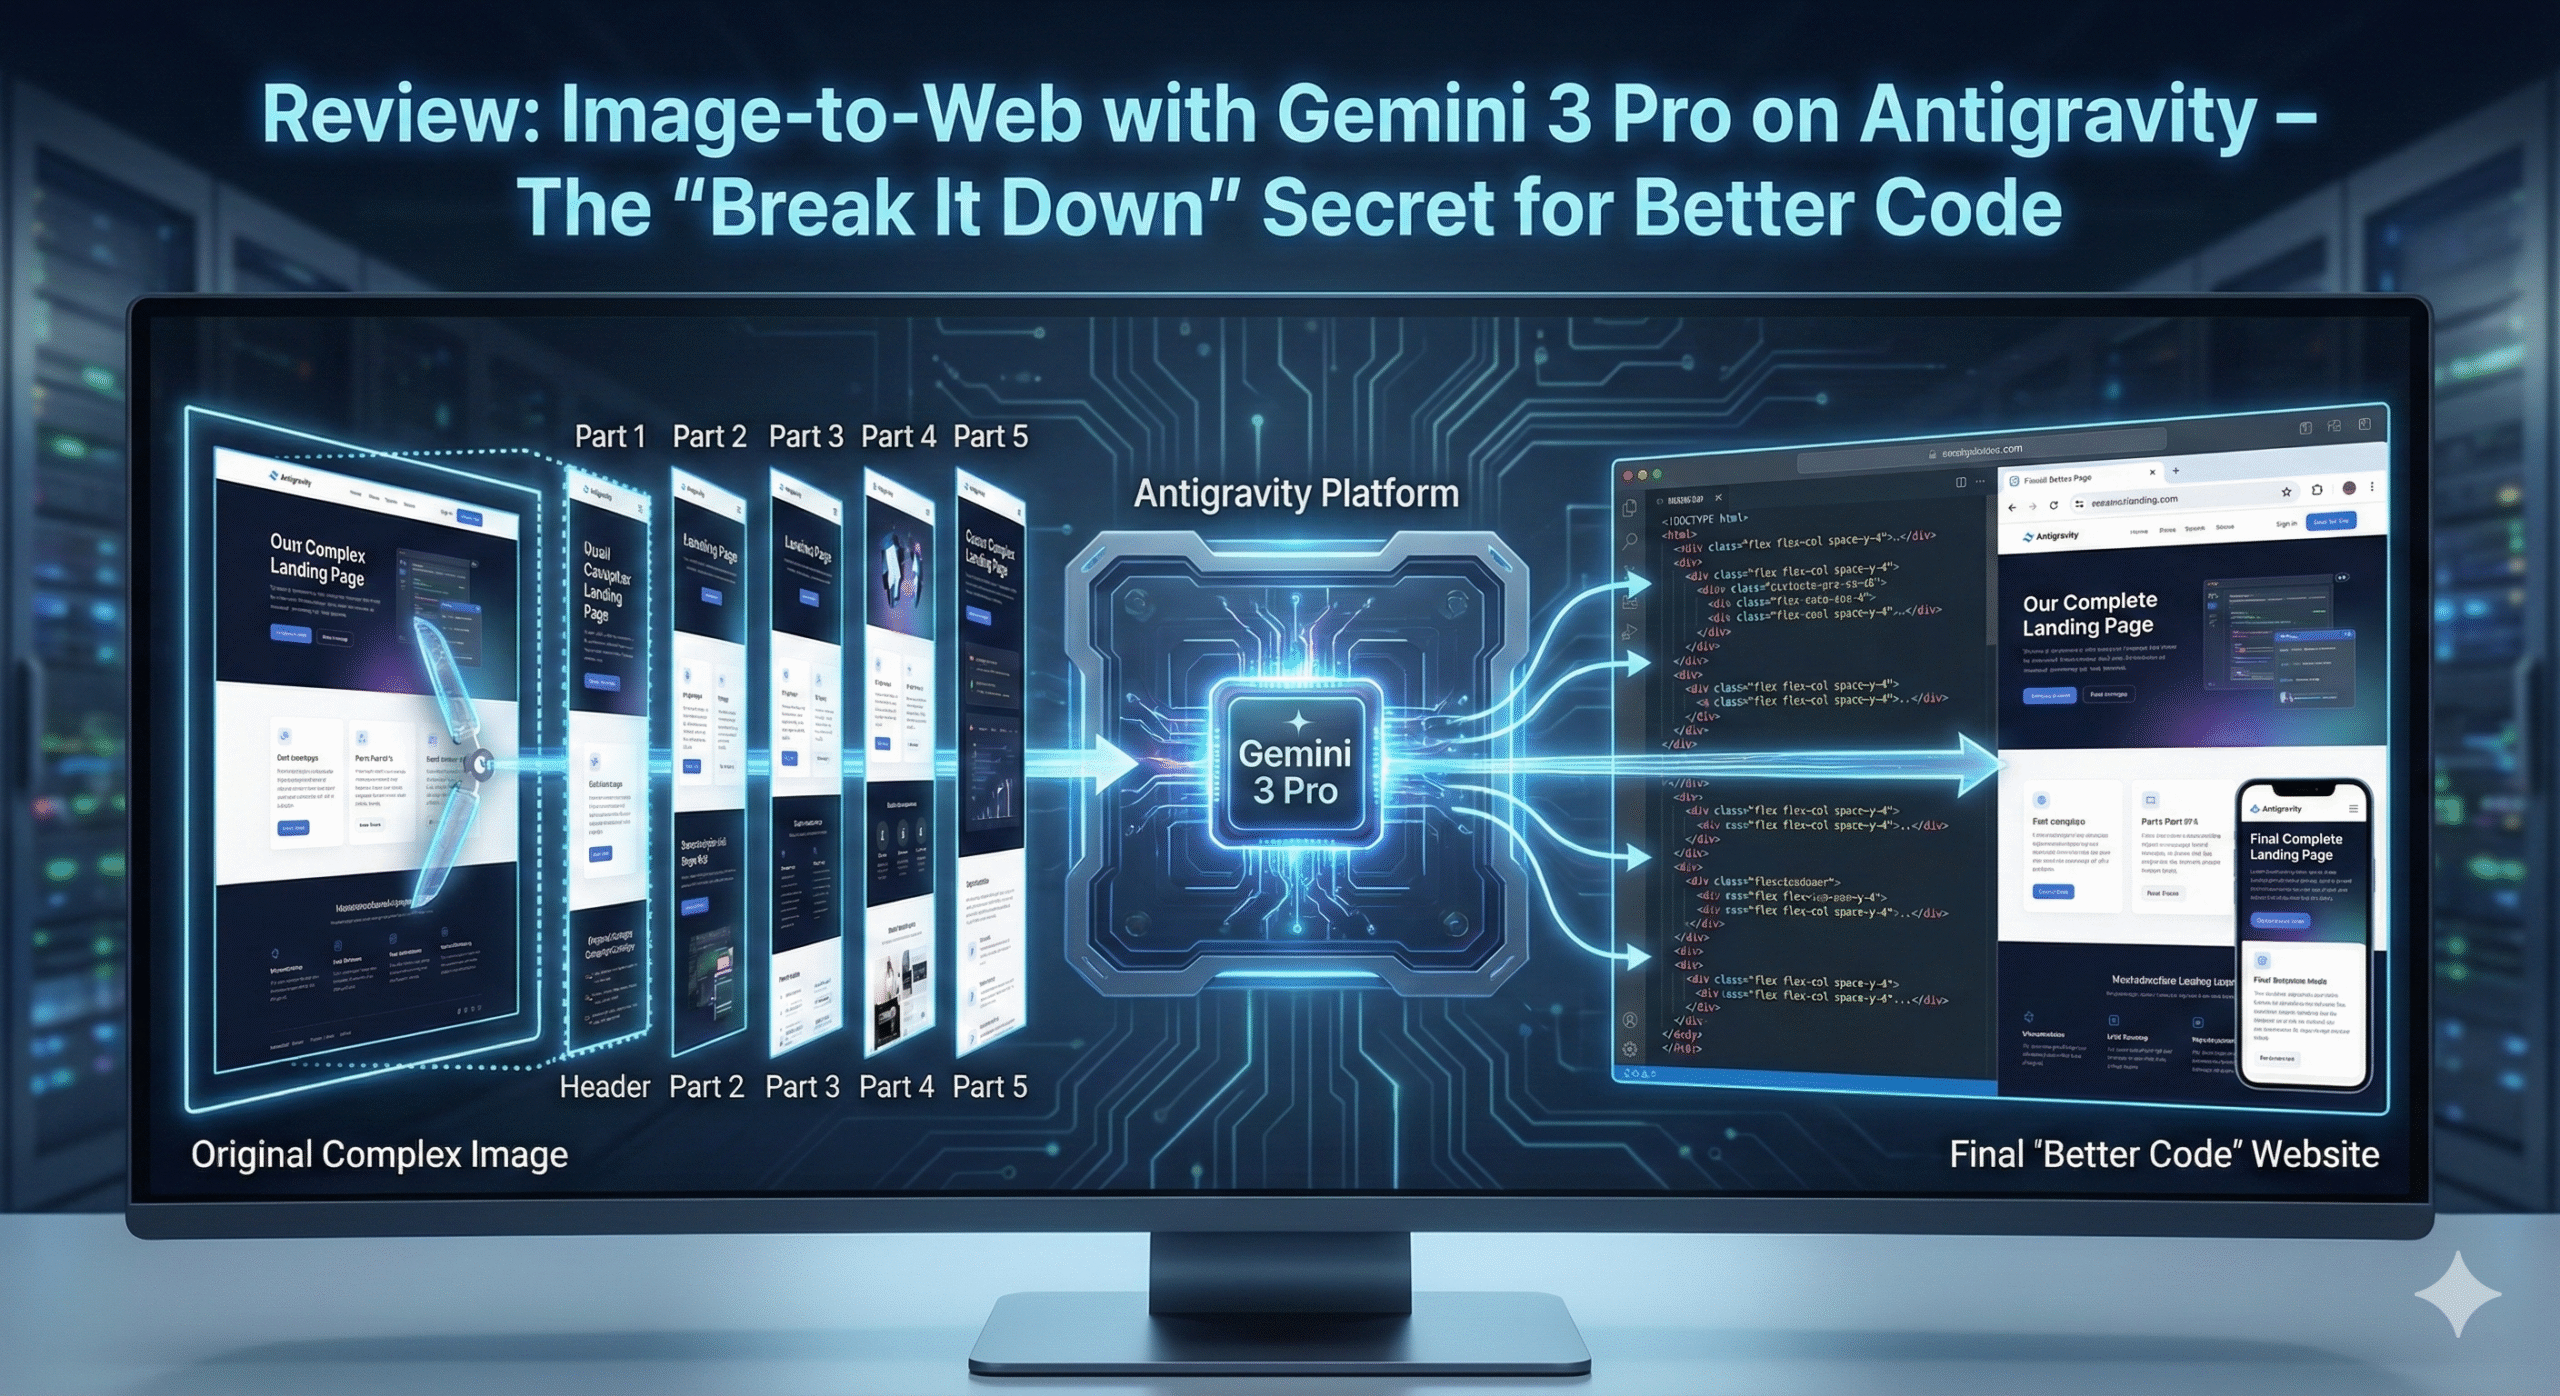
Recently, I had the opportunity to experience the Antigravity Google AI Pro account and decided to challenge the Gemini 3 Pro (High) model with a classic task: Converting a design image (Image-to-Code) into a web interface.
My goal was to create a complete Landing Page using HTML, CSS (Tailwind), and JavaScript. However, this journey wasn’t a “one-shot success.” Instead, it taught me an important lesson about how to effectively collaborate with AI. Here is my process.
1. The First Attempt: “Throwing” the Whole Design at the AI
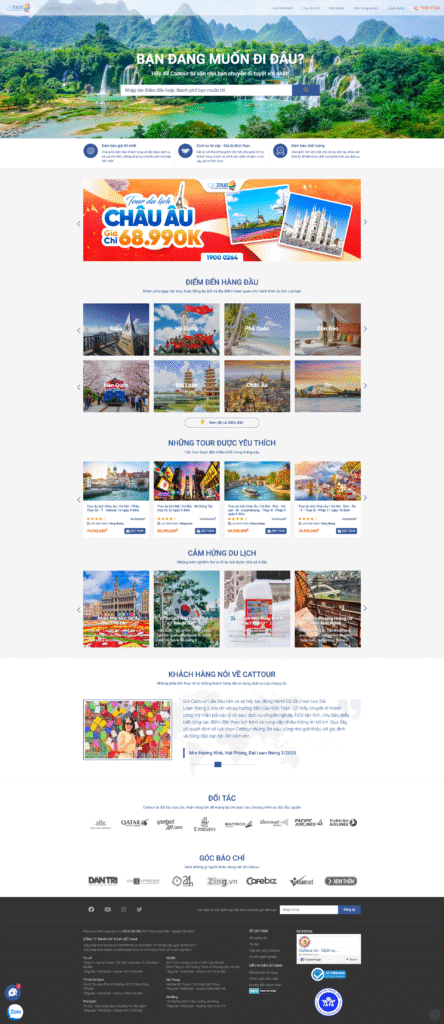
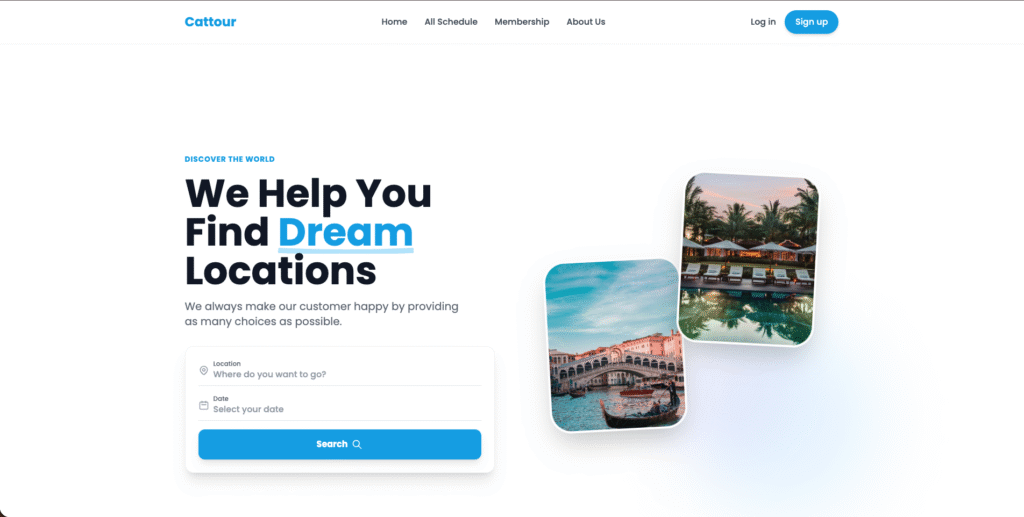
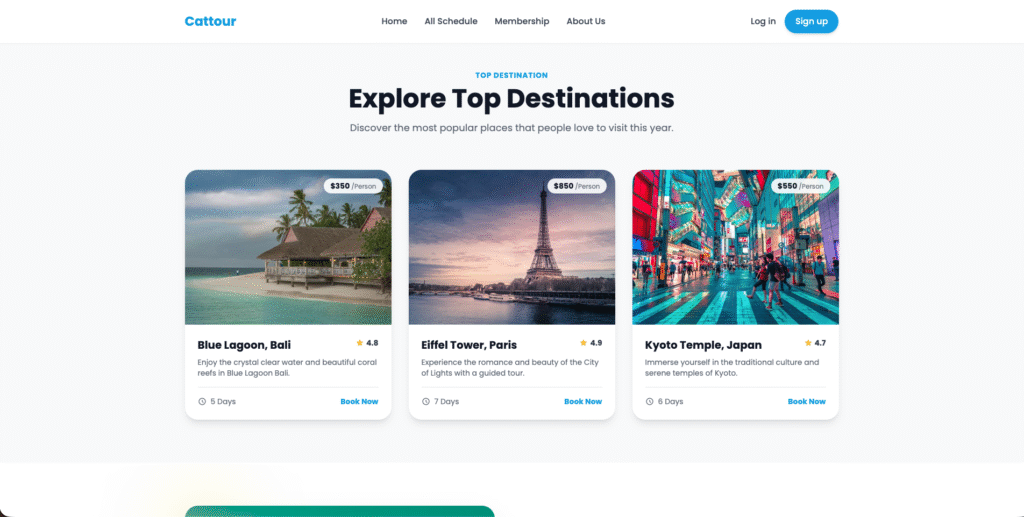
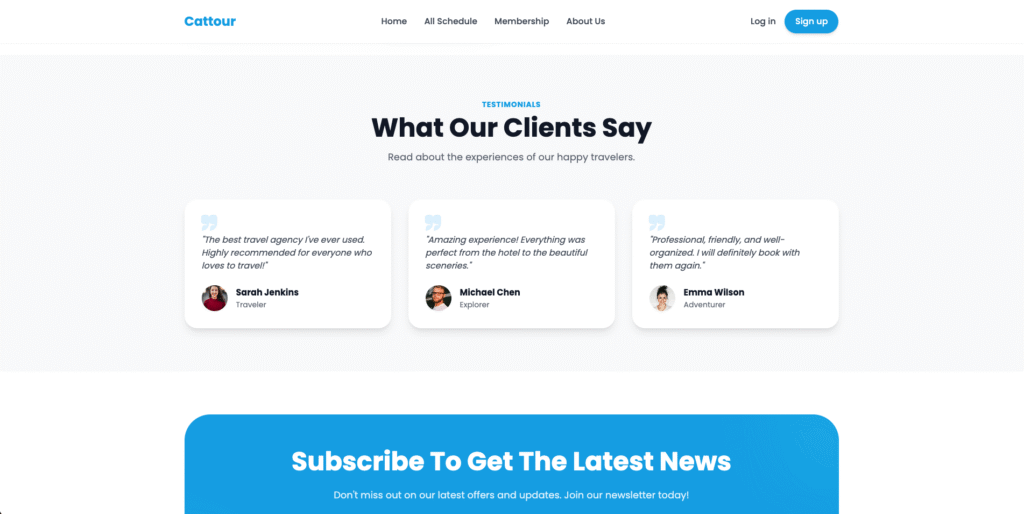
Initially, I took the simplest approach: I uploaded the entire full-page screenshot of the Landing Page and asked the AI to handle it.
Input:
- One long screenshot (full page) of the Landing Page.
- Prompt:Please convert this image into a responsive website using HTML, CSS, TaiwindCSS, and JavaScript. Make sure the layout matches the image, you can code in main_screen folder
The Antigravity Workflow: Antigravity immediately analyzed the request and generated an Implementation Plan. At this step, the system asked for my confirmation to proceed.
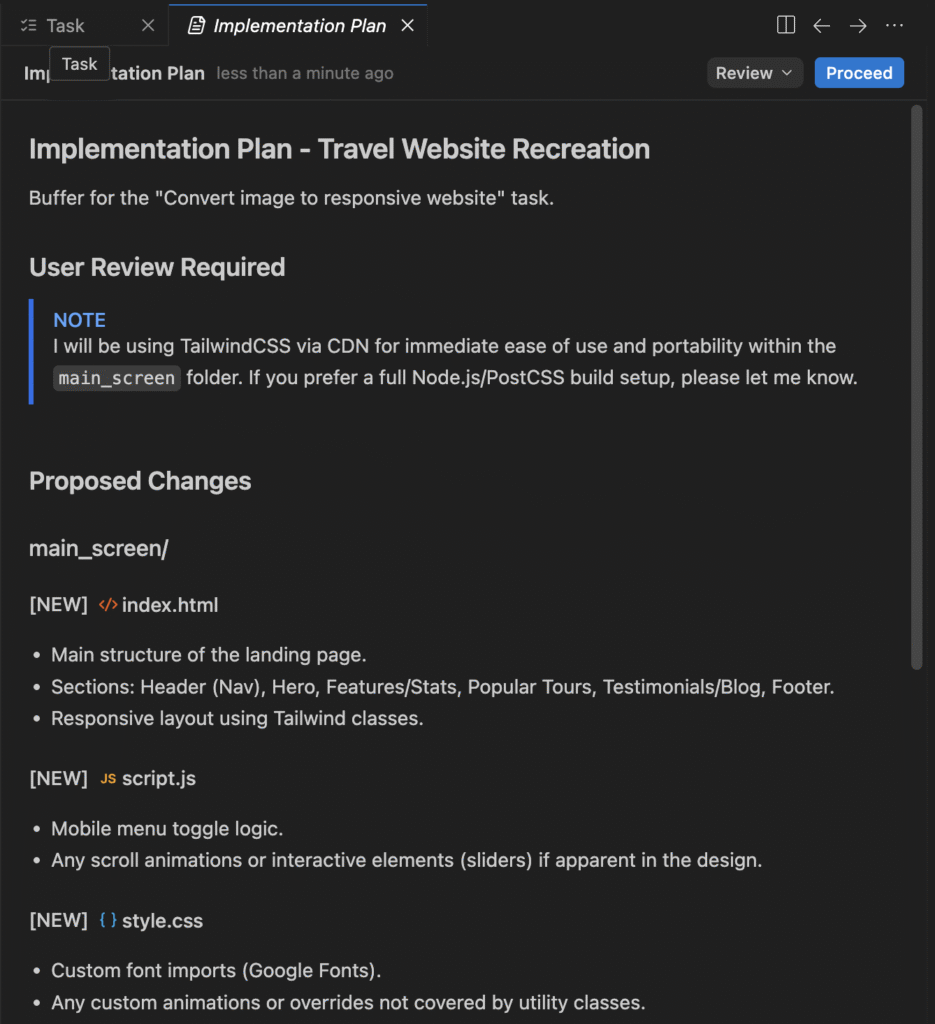
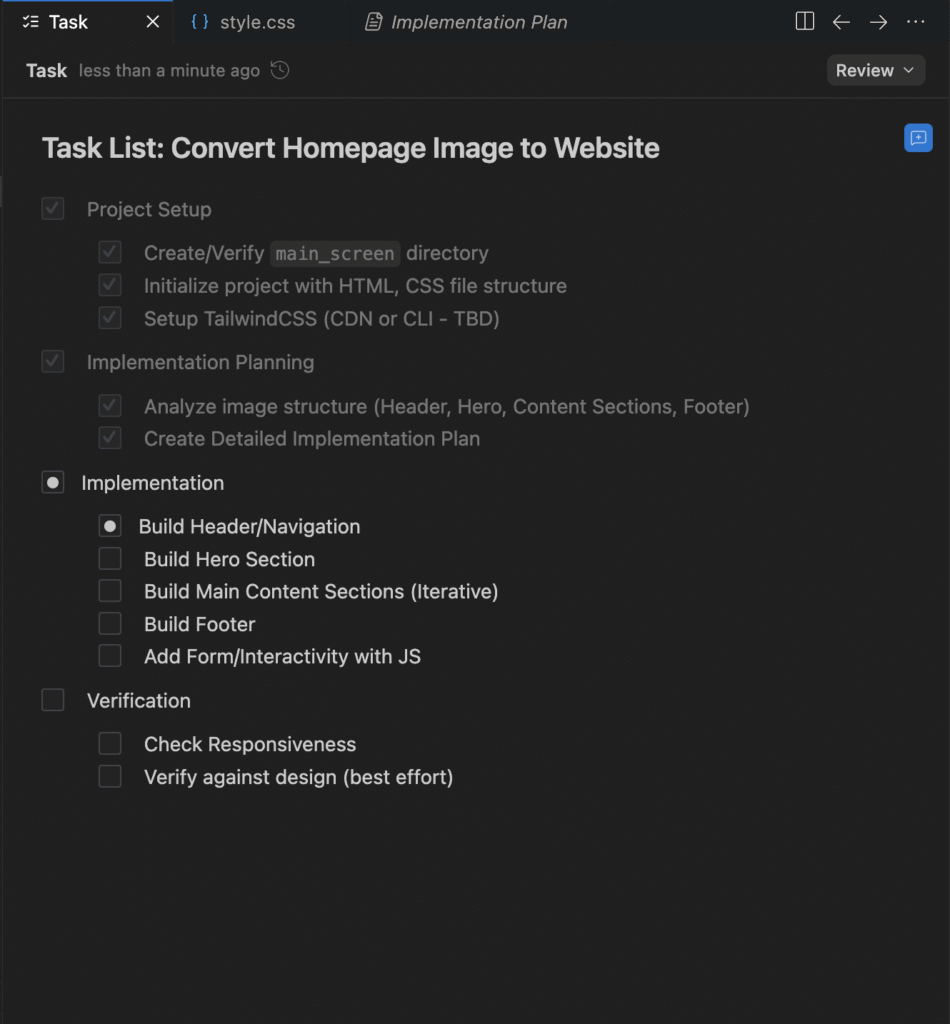
After confirmation, Antigravity created a list of specific Tasks so I could track the progress.
The Result: Although the workflow was very professional, the actual result was disappointing. The generated website interface was vastly different from the provided reference image; the layout was broken, and specific details were not captured accurately.
2. Changing Tactics: The “Break It Down” Approach
Realizing that Gemini (or any AI model) might struggle when processing too many details within a single large image, I decided to change my approach.
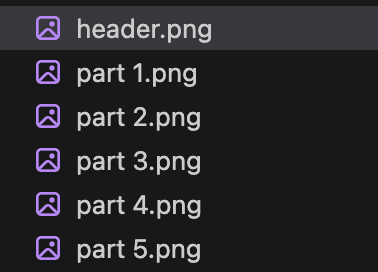
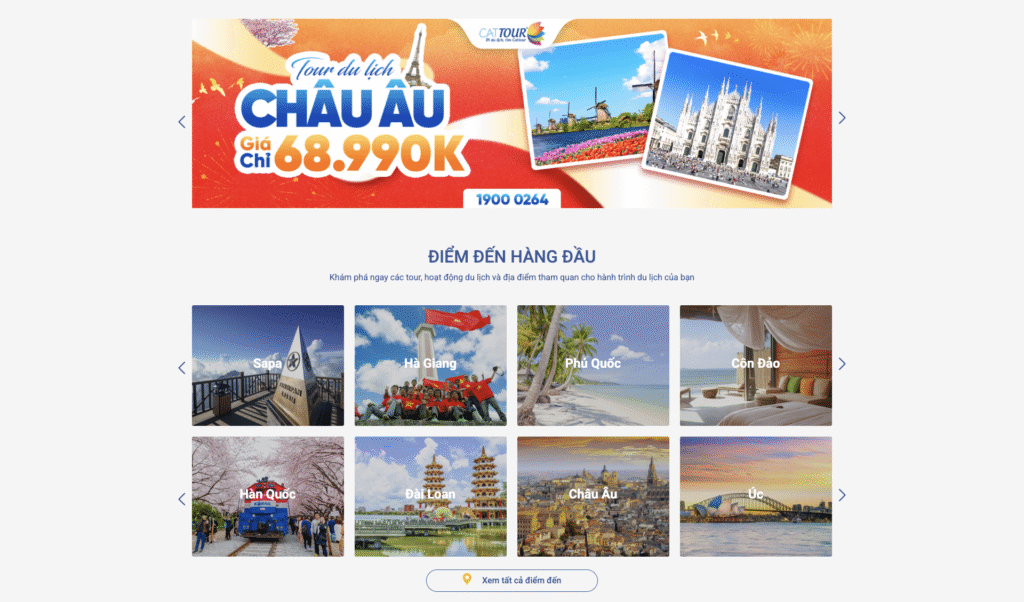
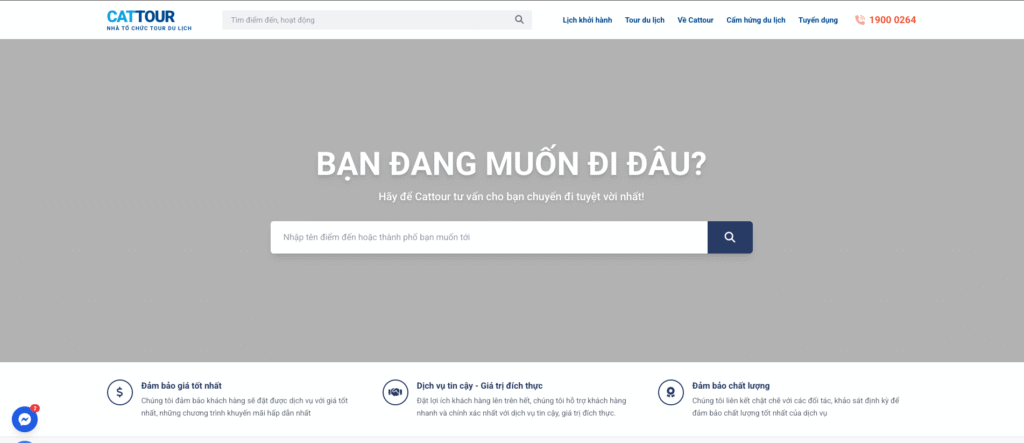
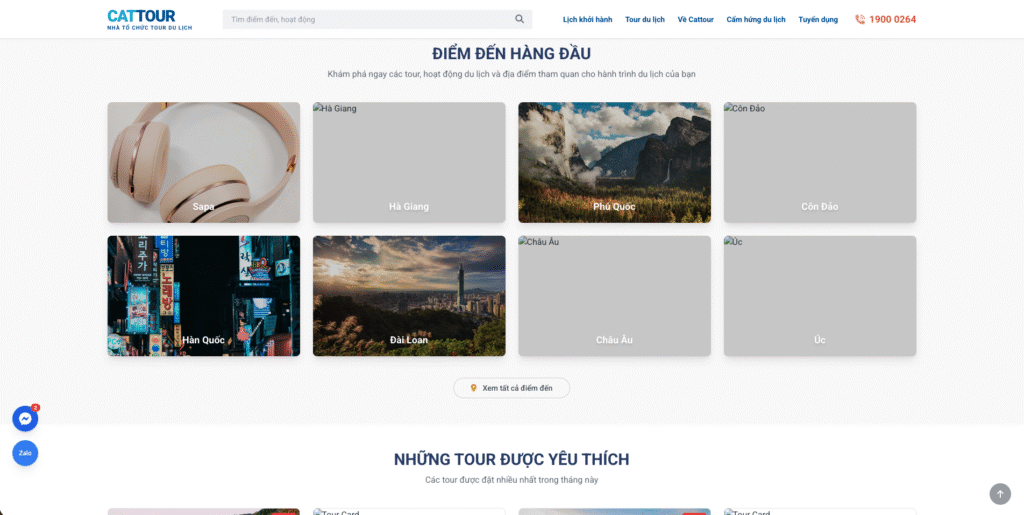
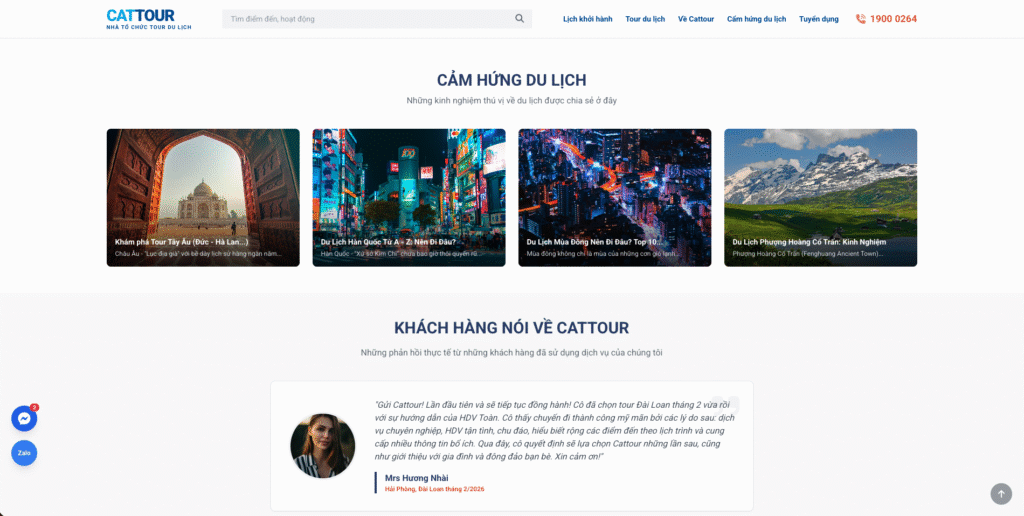
New Input: I sliced the original Landing Page image into several smaller sections: Header, Part 1, Part 2, Part 3, Part 4, and Part 5.
Example:

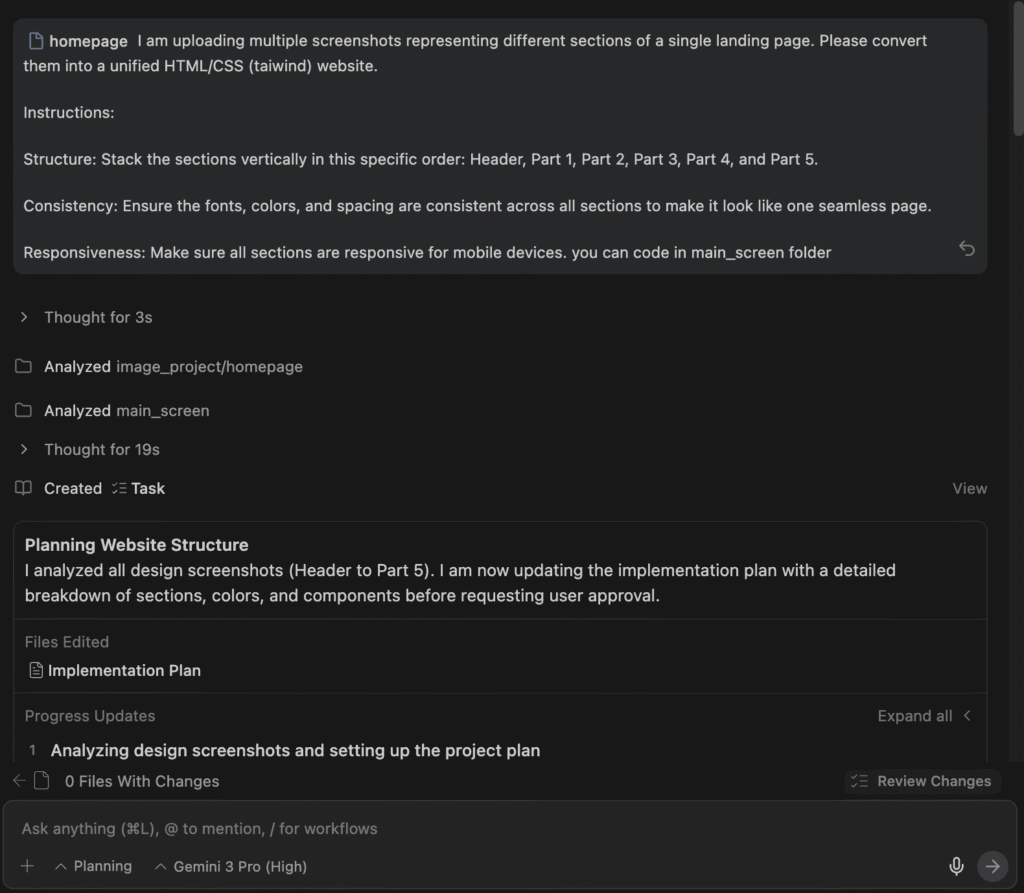
New Prompt: This time, I tagged all the sliced images in the prompt and provided detailed instructions on how to assemble them:
I am uploading multiple screenshots representing different sections of a single landing page. Please convert them into a unified HTML/CSS (taiwind) website.
Instructions:
- Structure: Stack the sections vertically in this specific order: Header, Part 1, Part 2, Part 3, Part 4, and Part 5.
- Consistency: Ensure the fonts, colors, and spacing are consistent across all sections to make it look like one seamless page.
- Responsiveness: Make sure all sections are responsive for mobile devices.
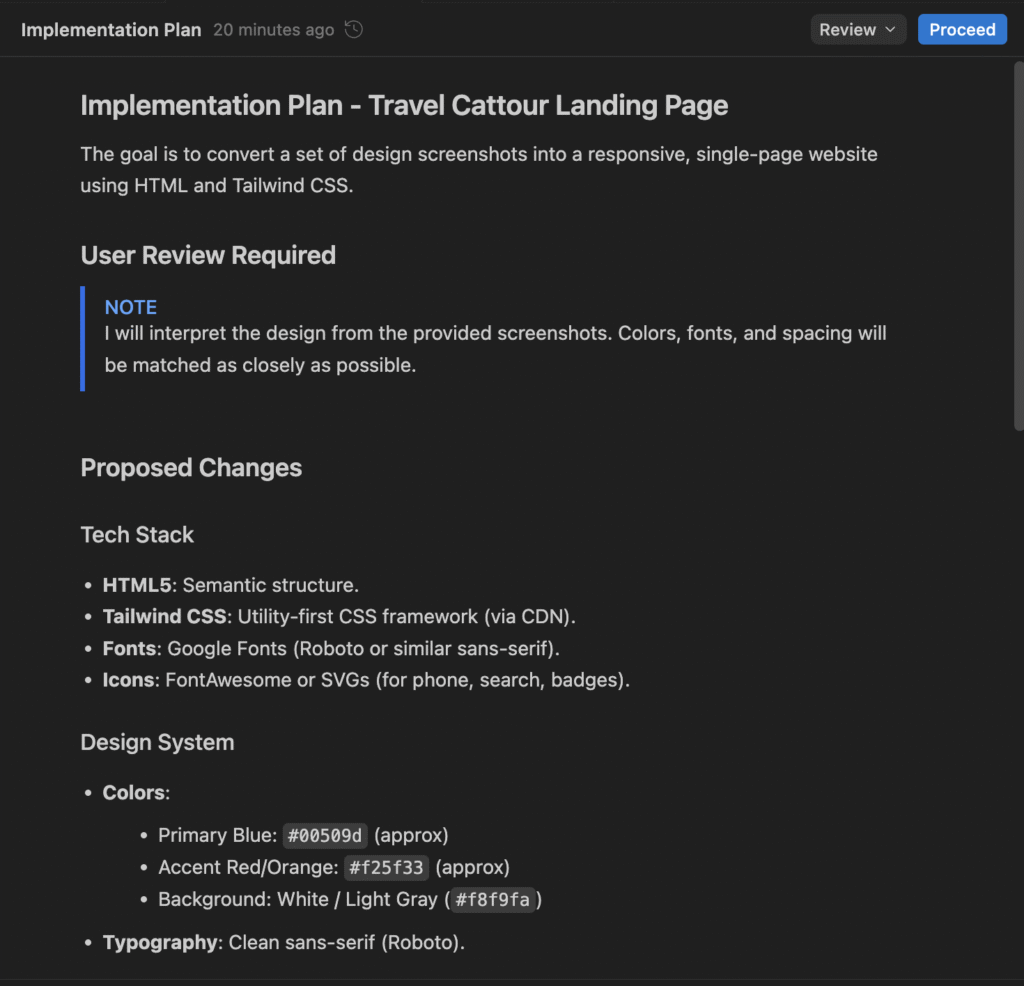
The Processing Workflow: Antigravity and Gemini executed a new Implementation Plan and Task list.
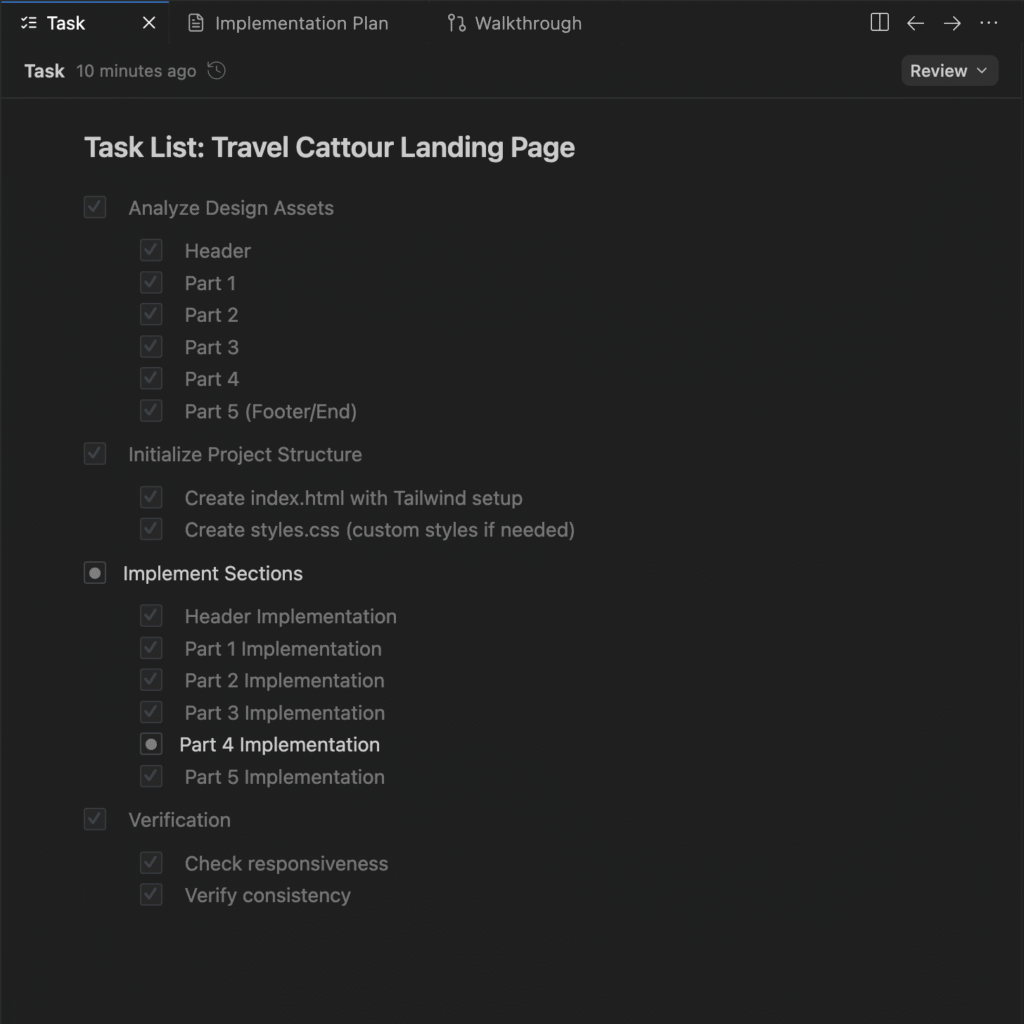
The key difference this time was that Gemini analyzed and processed each image individually. Instead of trying to solve the entire website at once, it focused on coding each section based on its corresponding slice.
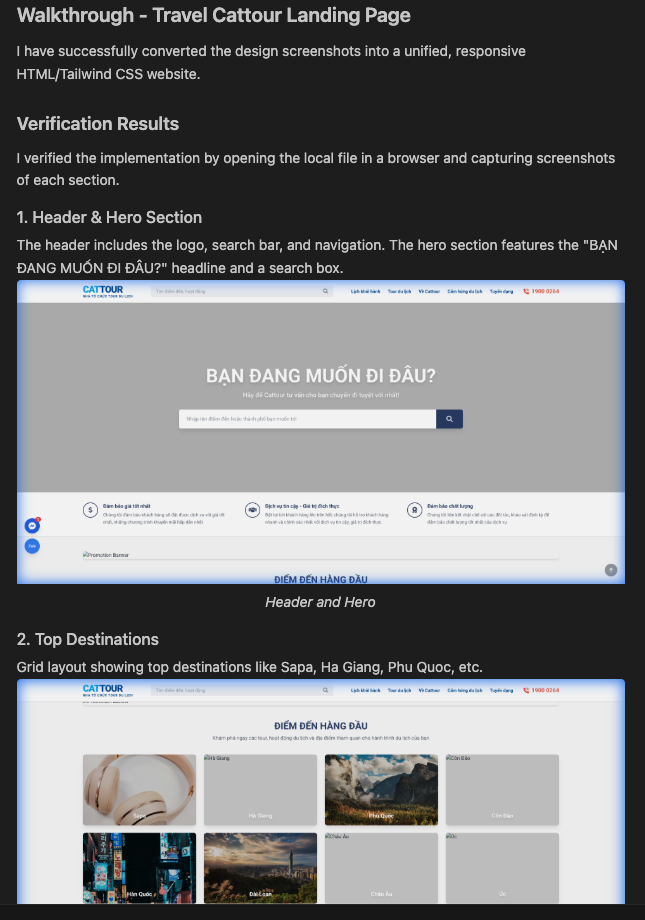
The Result: The change was truly impressive. The generated interface adhered much closer to the original design, with a clear layout and significantly better aesthetics than the first attempt.
Additionally, the Walkthrough feature on Antigravity worked effectively, introducing me to each part of the interface that had been created.
3. Conclusion
Through this experiment with Gemini 3 Pro on Antigravity, I learned a core lesson when using AI for UI coding:
Do not expect the AI to perfectly process a complex image instantly.
To make the model work most effectively:
- Break the problem down: Slice the interface into separate components or sections.
- Provide clear context: Guide the AI on the order of arrangement and requirements for consistency.
When we reduce the complexity of the input, Gemini’s ability to recognize details and convert them into code becomes significantly more accurate.